Tag: Wedding

DIY: Lace Wedding Centerpieces

Looking for the perfect table toppers? Enhance your reception table bouquets with some inexpensive, rustic flair. We love the homey, backyard-wedding feel of these lace covers for Mason jar vases. Mix and match using our great selection of lace to give your DIY wedding a quick and easy, vintage look.
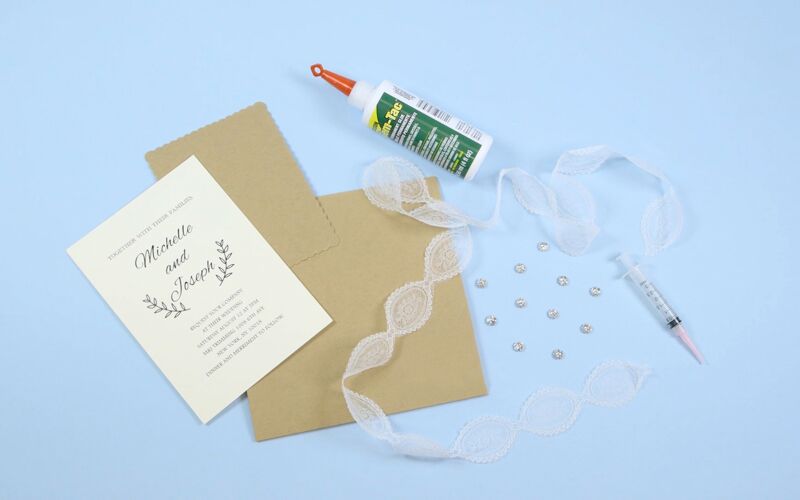
What you’ll need:

Cluny Lace

Cotton Eyelet Lace 

Leaf Lace Fringe

Scissors

Glue Gun

1 spool of invisible thread

30 Mason Jars (minus the lids)

Note: We used 3 different sizes of mason jars but you can choose to use 3 of the same.

1

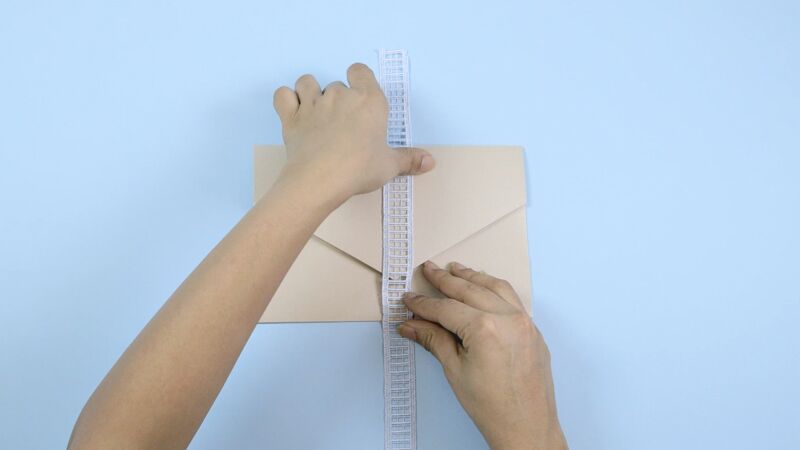
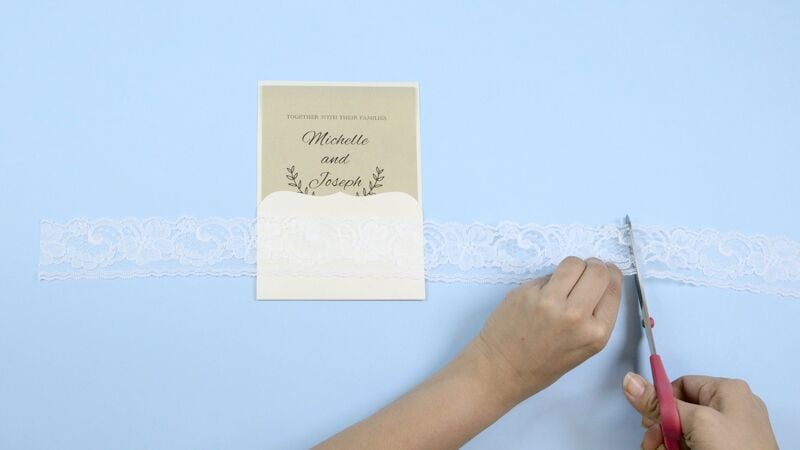
Measure the lace around each jar allowing for a 1/2″ seam (doing the measuring and trimming all at once saves precious time!)
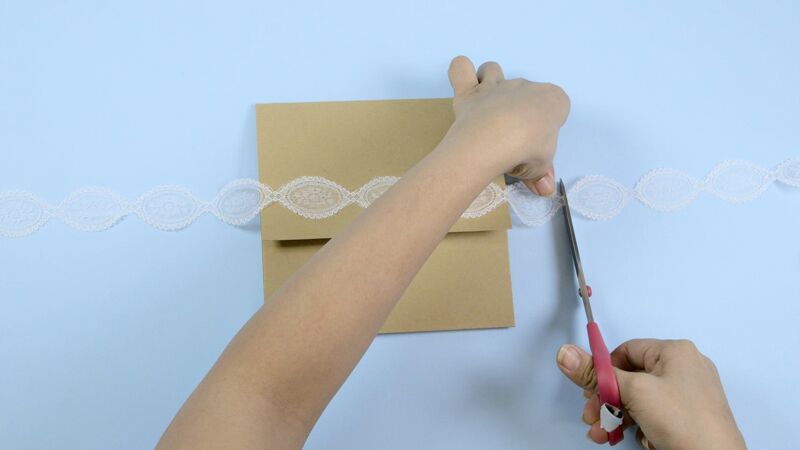
 

2

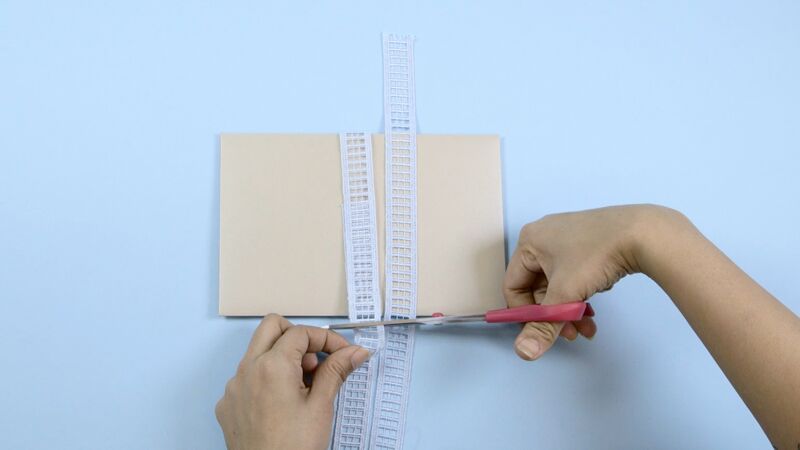
Cut lace accordingly
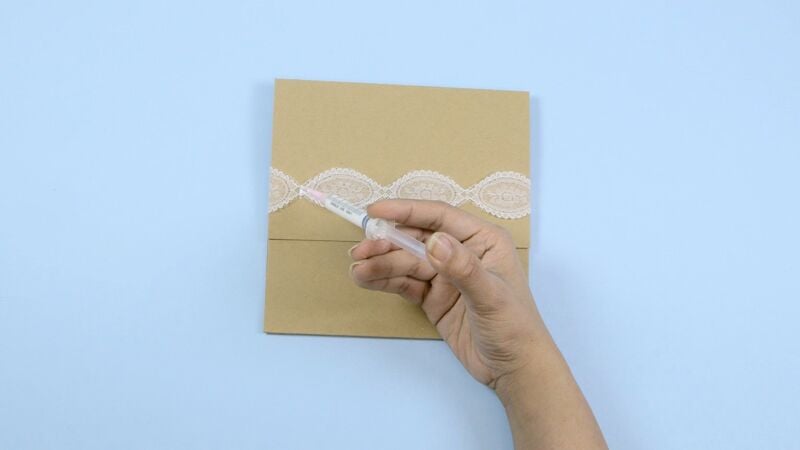
3

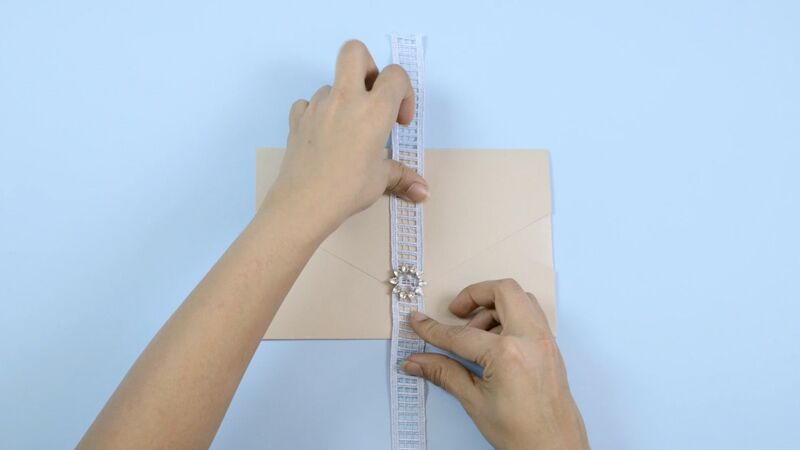
Wrap the piece of lace around the jar and eyeball a section 1/2” from the edge
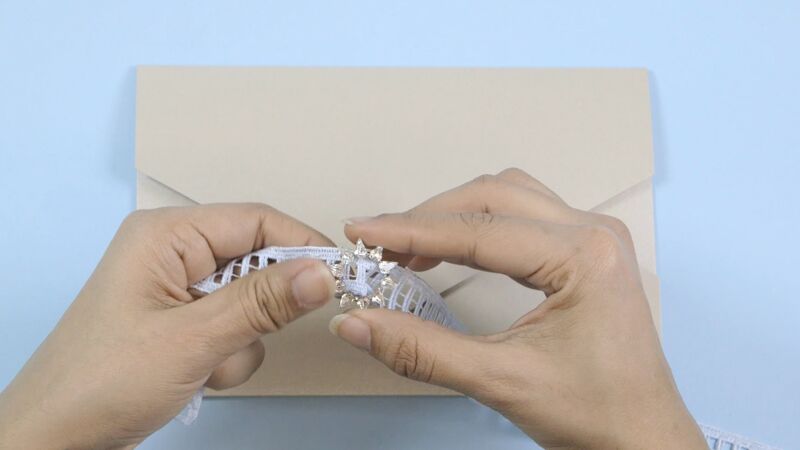
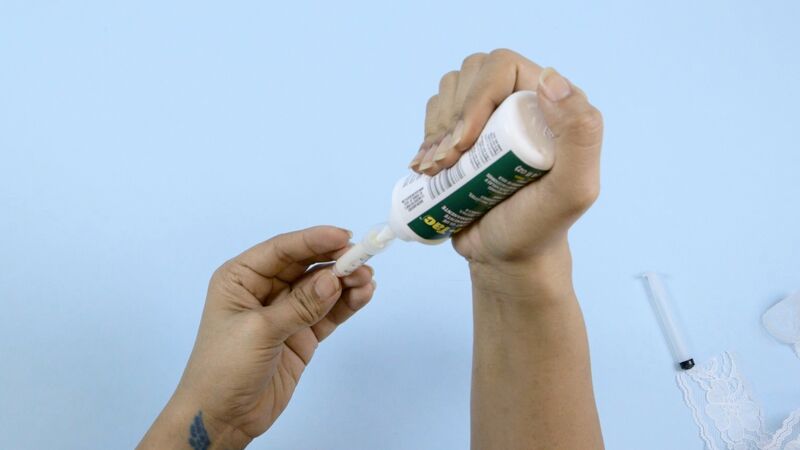
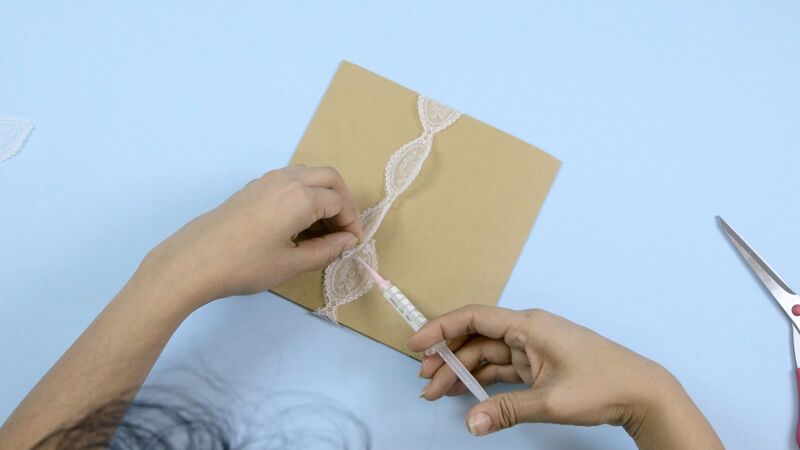
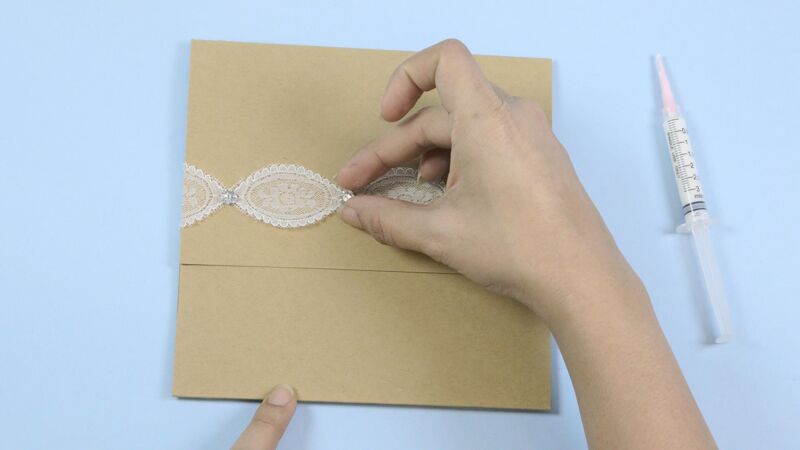
4

This is where you can choose to delicately glue the piece together overlapping at the ½” mark, or sew the edges together. We prefer gluing to save on time. If you’re sewing, make sure that you’re using invisible thread. It’ll disappear into the trim!


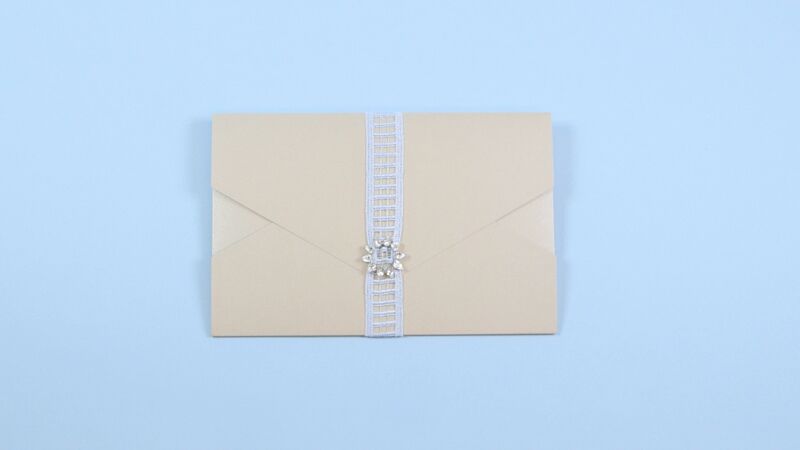
Voila! Beautiful vase coverings that give your tables a country feel!

Want to put together your own assortment of lace? Choose from M&J Trimming’s incredible selection of guipure, knitted and more to find the perfect lace for your special day. These DIY lace coverings for mason jars are also the perfect giveaway for guests that want to bring a little bit of your wedding day home with them! 

DIY: Wedding Invitation with Ladder Lace Trim

Wedding season is around the corner! Spring weddings are all about DIY! Need some wedding invitation inspiration? We’ve got you covered! Here are some simple DIY invites to make your wedding extra special!

What you’ll need: 

Envelope

Metallic Ladder Lace trim

Brilliance Star Buckle

Scissors

unspecified-11.jpg

Step 1: After stuffing envelope, measure ladder lace trim around outside of envelope once, leaving excess trim to be tied at the end. Cut with scissors.

unspecified-12.jpg

unspecified-13.jpg

unspecified-14.jpg

Step 2: Weave trim through rhinestone buckle. Place rhinestone in the center of the trim.

unspecified-15.jpg

unspecified-16.jpg

Step 3: Place rhinestone and trim on opening on envelope. Tie knot in the back.

unspecified-17.jpgunspecified-18.jpg

Simple and elegant is always the answer!

unspecified-19.jpg


Don’t forget to check out our youtube video!


DIY: Wedding Invitation With Lace And Rhinestones

A little sparkle goes a long way! This elegant wedding invitation is a great and easy DIY! We’ve broken it down for you!

What you’ll need:

Cardstock Envelope

Lace Trim

Brilliance Sew-On Jewels 

Gem- Tac

Glue Syringe

Scissors

unspecified-11.jpg

Step 1: Fill glue syringe with Gem-Tac.

unspecified-12.jpg

Step 2: Measure lace trim around envelope once. Cut excess with scissors.

unspecified-13.jpg

Step 3: Apply small amount of Gem- Tac with syringe to end of trim and seal. Allow time to dry.

unspecified-14.jpg

Step 4: Using syringe, apply small amount of glue to center of scallop and place rhinestone. Allow time to dry. Continue this until end of trim.

unspecified-15.jpg

unspecified-16.jpg

unspecified-18.jpg


You’re special day will be sure to sparkle with this DIY!

unspecified-19.jpg

Watch our full tutorial!


DIY: Wedding Invitation Sleeve with Velvet and Lace Trim

Spring weddings allow for some color and fun! Mix it up with this DIY invitation sleeve! The soft blush velvet and white lace trim are the perfect touch for the season. We made it simple for you with these easy to follow steps!

What you’ll need:

Invitation sleeve

Velvet Trim

Lace Trim

Brilliance Heart Buckle

Scissors

unspecified-11.jpg

Step 1: Measure white lace trim around sleeve equally on both sides. Use scissors to cut.

unspecified-12.jpgunspecified-13.jpg

Step 2: Measure velvet trim to equal lace, with excess on each side. Weave brilliance heart buckle through velvet trim until centered. And place velvet trim on top of lace.

unspecified-14.jpg

unspecified-15.jpgunspecified-16.jpg

Step 3: Tie both lace and velvet trim around card on back side. Tie ends tightly with knot. Use scissors to cut excess velvet.

unspecified-17.jpgunspecified-18.jpg

Flirty and sweet for this special day!

unspecified-19.jpg


Watch our youtube tutorial for a step by step process!


Brides Night Out Event Vendors

We are so excited about our Brides Night Out Event on Wednesday April 24th 2013 from 6:00-9:00PM. We have an amazing group of vendors participating in this first-time ever event being held at M&J Trimming. Each exhibitor is showcasing some of their amazing talent that will add an element of joy to your special day. We would like to take the time to focus on some of the amazing vendors who will not only be in attendance but offering some of their services to you.

Alpine Blanc NoirCrate Cocktail Caterers Chellisethe booth Sugar Plum SB Beauty macys KIM Hello Super 8 Florisan

We can’t wait to see you at our Bride’s Night Out Event!

DIY: Spring Favor Boxes

By Blerona

If your throwing any parties this spring, favor boxes can be the perfect gift to give to your guests at birthday parties, bridal and baby showers, engagement parties and more. And what better way to be creative then to make and embellish your own. Here are five different boxes we made themed around Spring, two of these boxes we made by printing a PDF pattern on hard stock paper, from Ruffled.com . You too can purchase small boxes at any paper store or you can buy colorful paper, download the free patterns (here) and make your own spring Favor Boxes. Either way make sure you have fun! 

What We Used:   

Box 1:
5/8″ Single Faced Satin Ribbon Item# 00297   in Tornado Blue 
Rhinestone Heart Buckle Item# 32413 in Silver (1.800.9.MJTRIM)

Box 2:
5/8″ Single Faced Satin Ribbon Item# 00297   in Lite Orchid
Victorian Lace Flower Motif Item# 43559 in Lt Purple (1.800.9.MJTRIM)

Box 3:
5/8″ Single Faced Satin Ribbon Item# 00297   in Spring Moss
Rhinestone Sprays Item# 26288 in Lt Amethyst
Download PDF Pattern

Box 4:
5/8″ Single Faced Satin Ribbon Item# 00297   in Silver
Download PDF Pattern

Box 5:
5/8″ Single Faced Satin Ribbon Item# 00297   in Antique White
Turkey Feather Fringe Item# 45222 in White  
3 or 4 Loose Pearls in White

Other Needed Tools: Scissors & Glue

One Wishing Tree, Four Ways!

By Blerona

We’ve got Spring Fever, Monday was such a beautiful day the weather finally warmed up and we couldn’t help but make some fun DIY’s. Since alot of parties are planned in Spring and Summer Season, we decided to create a Wishing tree in four different ways by embellishing them occording to the themes. What is a wishing tree you ask? Well what we did was put some branches in a clear vase with rocks on the bottom to hold them still. Then cut out beautiful decorative paper and leave a marker there for guests to write special messages or wishes to the person the party is being held for. Then they take there message and hang it up on the tree. 

 First up Birthday Girl Party

Materials


Birthday Boy Party

Materials


Baby Boy Baby Shower

Materials


Wedding / Bridal Shower

Materials

Make Your Own Invitation with M&J Bridal

By Blerona

We love seeing personal touches in a wedding, especially when it’s something our brides and grooms make themselves. M&J Bridal decided to be apart of that, we put together a beautiful invitation template for your personal use and we added the finishing touches to it. Check out the DIY steps and download the templete here…  

Enter To WIN a Custom Swarovski Crystal Cathedral Length Veil

M&J Bridal Salon is giving away a beautiful Custom Swarovski Crystal Cathedral Length Veil for your wedding day.

Here is how to enter: First, Like M&J Bridal Salon on Facebook. Second, Post your engagement story. We would love to hear how creative your Fiancé was. Were you surprised? How did you feel, etc? We will be announcing the winner on February 16, 2011.  Read more here…