Tag: Decorating

DIY: Lace Wedding Centerpieces

Looking for the perfect table toppers? Enhance your reception table bouquets with some inexpensive, rustic flair. We love the homey, backyard-wedding feel of these lace covers for Mason jar vases. Mix and match using our great selection of lace to give your DIY wedding a quick and easy, vintage look.

What you’ll need:

Cluny Lace

Cotton Eyelet Lace 

Leaf Lace Fringe

Scissors

Glue Gun

1 spool of invisible thread

30 Mason Jars (minus the lids)

Note: We used 3 different sizes of mason jars but you can choose to use 3 of the same.

1

Measure the lace around each jar allowing for a 1/2″ seam (doing the measuring and trimming all at once saves precious time!)


2

Cut lace accordingly

3

Wrap the piece of lace around the jar and eyeball a section 1/2” from the edge

4

This is where you can choose to delicately glue the piece together overlapping at the ½” mark, or sew the edges together. We prefer gluing to save on time. If you’re sewing, make sure that you’re using invisible thread. It’ll disappear into the trim!


Voila! Beautiful vase coverings that give your tables a country feel!

Want to put together your own assortment of lace? Choose from M&J Trimming’s incredible selection of guipure, knitted and more to find the perfect lace for your special day. These DIY lace coverings for mason jars are also the perfect giveaway for guests that want to bring a little bit of your wedding day home with them! 

DIY: Modern Dorm Room

Just because you’re in a college dorm room doesn’t mean you need to live in a basic box. You can have the future apartment of your dreams, in college, at a fraction of the cost. Just hop aboard the DIY train like everyone else on Pinterest and make your dorm room look classy beyond its years. I have three new DIYs for you that are easy to make and will have a big impact!

Gingham Lamp Cord

Gingham is back and how! This quirky plaid print looks great on clothes and home decor alike. So when I saw this plaid ribbon I had to do something with it. I decided to make a decorative cover for the bare wire of a lamp.

What you’ll need:

Plaid Ribbon

Vinyl Tape

Scissors

Glue Gun

Lamp cord

1

Glue the length of the ribbon to the length of vinyl. This is to give it a strong backing. 2 yards of ribbon made us about a foot of the final covering.


2

Now cut 8″ strips of the backed ribbon.


3

Next,  using your glue gun add glue to 1/2 at the end of the strip, plaid side facing up. Now make a loop by attaching it to the other end.


4

The next piece needs to be glued in a similar way but you need to pass it through the first loop before closing it. You’re essentially creating links. Repeat this process with the remaining loops.

5

When you’re done with all the links, thread your lamp cord through them, making sure you follow an even threading pattern.

Now lights on!

Faux Metallic Leather Basket

This catch all leather basket is perfect to have on your night stand or in the entryway. You can just toss your earphones and keys in here so you’ll always know where to find them on your way out.

What you’ll need:

Metallic Vinyl Tape

Scissors

Glue Gun

1
We’re making a basket that is 8″ wide,  6″ long and 5″ tall. See the below above for the measurements of the pieces you need to cut. Since we want the walls of the basket to be 5″ tall, using a pencil make a light mark at 5″ from both end of the base strips.


2

If you’ve made a basket before or used a basket weave for any project this will be simple. Even if you haven’t you just have to know it’s an alternating pattern. 1 up 1 down.
 

3

Apply a little glue at the joints as you go along so you can have some stability and the strips won’t be able to move out of place.


4

Once you’re done with the base strips ( 3 x 18″ + 4 x 16″) you’ll need to start weaving the sides of the basket. To do this, glue the 28″ strip to a base strip at the right angle formed by the base strips. Make sure this strip is alternating with the parallel strip. For example if the strip next to it is going under, you have to start by glueing the side strip over. This is the point of the basket weave, to interlock and create a sturdy structure.


5

Repeat weaving in and out till you’re all the way around the basket and glue the end piece. You can crease the corners to give it a more defined shape. Do this with the second strip as well, making sure it’s alternating with the previous strip.


6

To finish the ends, fold down and glue the remaining on inch wither inward or outward.


Aaaaand you’re done!


Faux Leather Strap Shelves

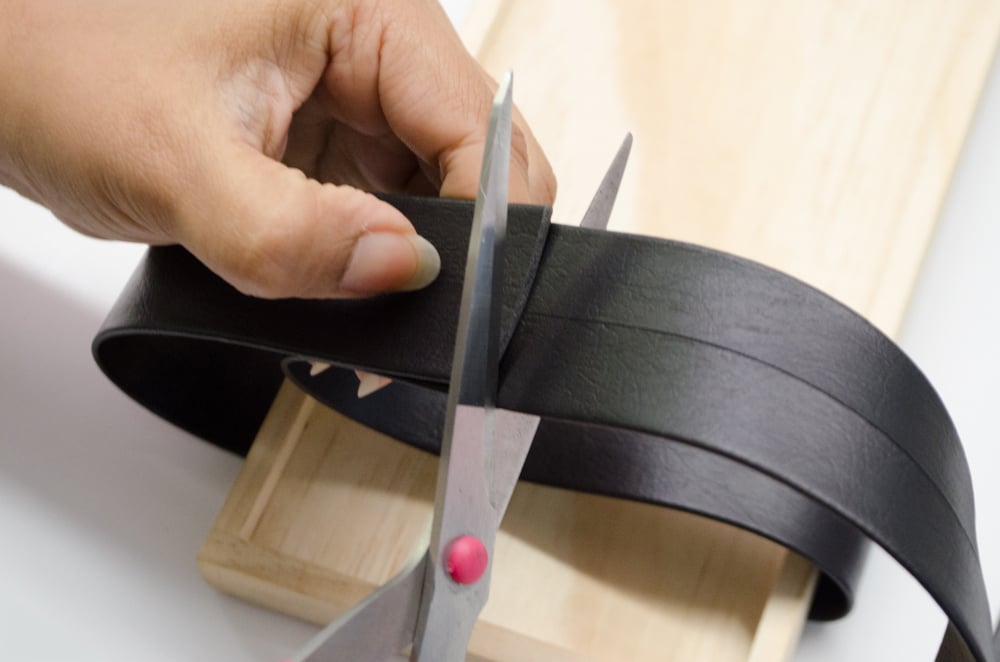
This might be the easiest of them all. Add a sleek touch to your shelves by adding these faux leather straps. They look good and are also actually functional. Double yay.

You’ll need:

Vinyl Tape

Scissors

Glue Gun

Shelf

Screws

Drill (If you don’t own a drill you can use a screw driver and do it manually)


1 

Measure how high or low you want the shelf hung. The longer the strap, the lower the shelf. Our strap was about 18″. When measuring, keep in mind the strap at the back will be straight while the one in the front will be longer because it’ll be at an angle. Mark the short end and the long end.


2

After you measure, cut the strap. Cut a second piece for the other end.


3

Glue the strap about 1.5″ in. Make sure you align the marks you made earlier with the edges of the shelf. Next, glue the sides.


4

When you figure out where you want the shelf, using a drill, drill the back strap at the top and the bottom. You can have a friend help you keep the shelf straight while you do this. Repeat for the other side. Then, drill the front strap to the wall in the middle of the other. Make sure you’re shelf is straight while you do this.

Ta da!

DIY: Bohemian Chic Dorm Room

Yes, yes, I know, you don’t want to think about school. You just want to keep enjoying your summer and pretend that it’s never going to end. But sadly, it must. Maybe a cool new dorm room is just what you need to make the start of school less daunting. Over the next couple of weeks we’re going to give you awesome budget-friendly ideas for decorating your dorm room. You can choose the one that suits your style the most and then put your own unique spin on it. The first one in the dorm decor series is a chic bohemian dorm room that can express your wandering spirit and bohemian aesthetic. We have three easy tutorials to bring bohemia straight to your dorm room.

Fringe Wall Hanging:

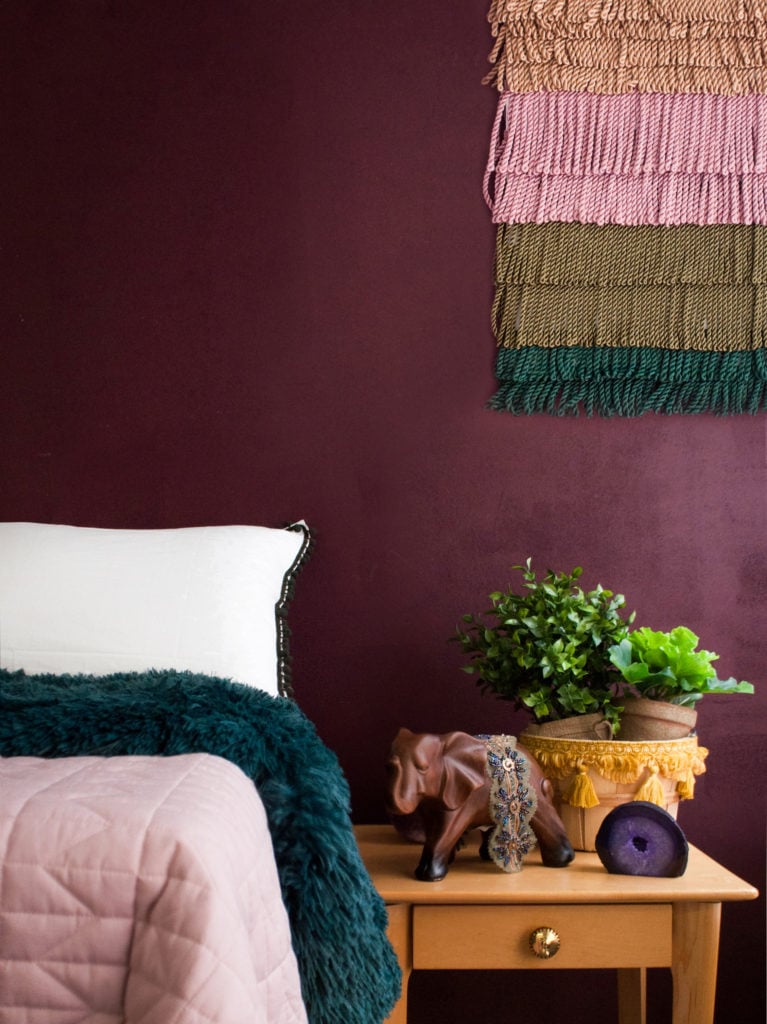
Woven wall hangings have been making the rounds all year and some of them can be time consuming and hard to make. We came up with an easier way to achieve the cool textured effect that you can customize and complete in less than 30 minutes.

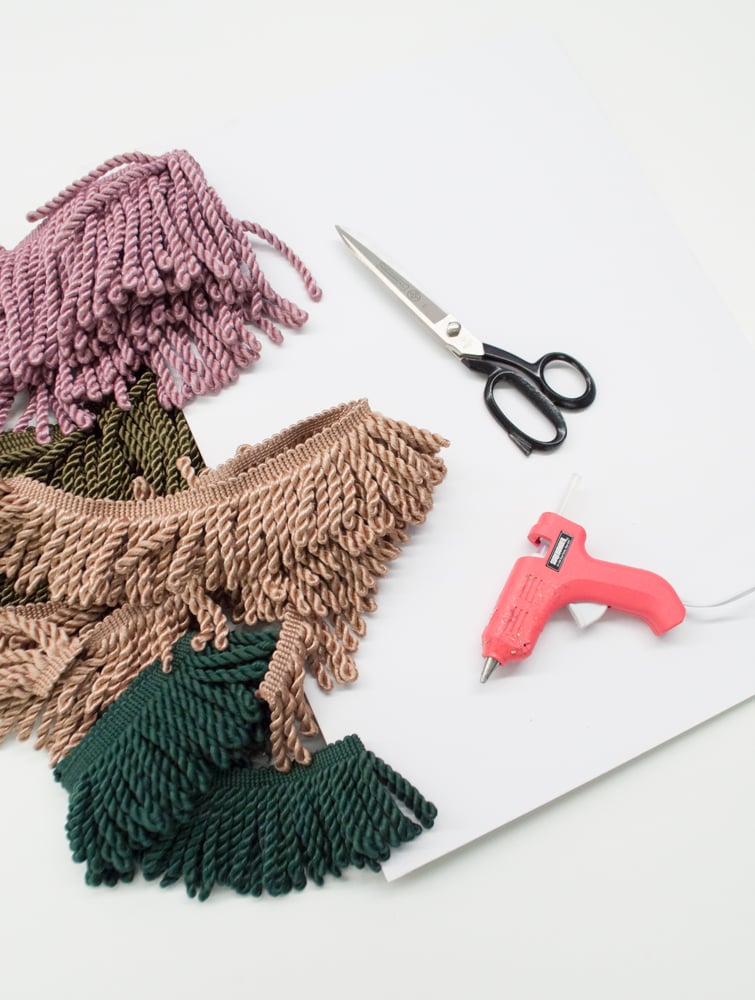
Here’s what you’ll need

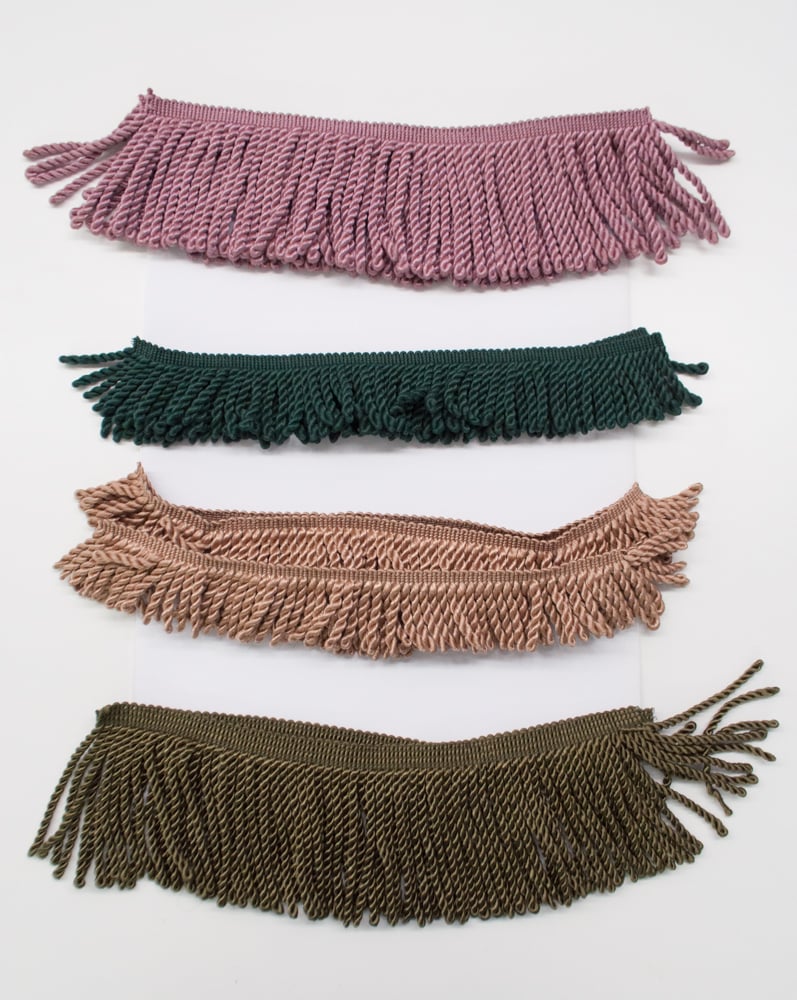
Various Colors of Bullion Fringe – Based on the width of your final hanging, buy double or triple that amount so that you can color block

We used these:

6″ Pink Bullion Fringe

6″ Loden Bullion Fringe

3″ Dark Beige Bullion Fringe

3″ Spruce Bullion Fringe


Scissors

Board – A piece of wood or sturdy cardboard would work. We made ours 11″ x 17″

A Glue Gun

1

Cut all the fringes to the width of the board you have + 2 inches.


2

Once you’ve planned how you’re going to lay out your colors, starting at the bottom, glue your first line of fringe. To finish the ends, glue the excess fringe around the fringe to the back.

3

Keep repeating this process until you get to the top and finish off the top edge by gluing the last fringe slightly higher, so it’s peaking out over the edge and covers the board behind. The aim is to not have the board show through at all.

4

Now just find a spot and hang up this beauty.

Tassel Trimmed Basket

This DIY is so easy I don’t think you need step by step instructions. But I’ll give them to you anyway.

Here’s what you’ll need:

A Basket

Tassel Trim

A Glue Gun

Scissors

1

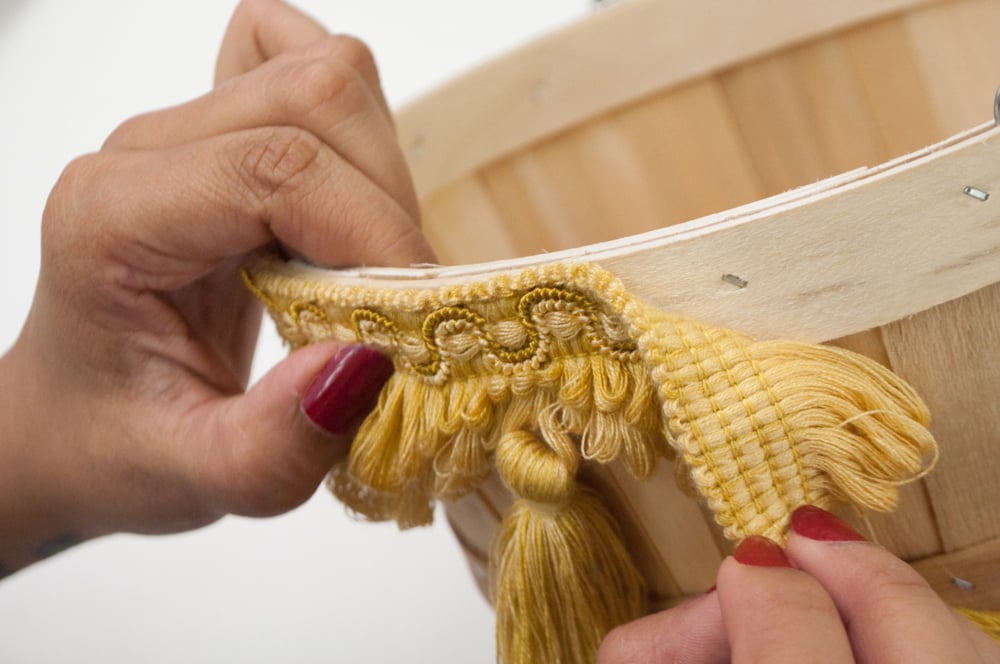
Start by applying glue on the top edge of the basket.

2

Place the tassel trim over the glue and press to secure. Make sure you align it to the edge. When you’re done, cut the excess and add a little glue to the cut end to prevent fraying.

3

Repeat this process, working on small sections at a time so the glue doesn’t dry out.

That’s it. Now go put some plants in it and show off your awesome project on a window sill or a side table.

Pom Pom Pillowcase

This DIY is a little more advanced (you need to know how to sew on a sewing machine). If you don’t have access to a sewing machine you can glue the trim on. This tutorial can also be applied to curtains, cushion covers and duvet covers. You can use bigger pom poms for a duvet cover.

What you’ll need:

Pillowcase

Pom Pom Trim

Scissors

Sewing Machine (or fabric glue)

Pins

1

Measure how much you need for the pillow case. You can either sew it in sections or per side. Cut according to what you decide. We decided to sew it as one continuous piece for 3 sides and do it separately for the open side.

2

Pin the trim to the pillow case edge. Make sure you’re not pinning it to the part the pillow has to fit through. Stick to the very edge, along the seam.

3

Using a sewing machine sew the trim along the edge of the pillowcase.

*An even more advanced option would be making the pillow case from scratch and sandwiching the pom pom trim between the fabric for a more finished look.


DIY: 3 Ways to Use Frames In Your Dorm Room

One of the most versatile things you can find is a frame. You probably already have plenty lying around or you can get them for a couple of bucks at ikea or if you’re adventurous you can find them at yard sales or thrift stores. I put together 3 ways you can use a frame in your dorm decor but this is just a starting point for you guys to come up with your own unique ideas.

LACE DRY ERASE BOARD

This one is super simple and quite useful. You can hang it on your wall and write yourself a note or on the outside of your dorm door for people to leave you messages when you’re out.

Here’s what you need:

A frame with glass

Cardstock (thick paper) in a light color

Wide lace like this one

Scissors

1

Take the backing out of the frame and lay it on the cardstock. I used a corner so I would only have to cut two sides.

2

Using a pencil trace around the board and cut out the resulting rectangle.

3

I used this Chantilly lace which was wide enough for a 11 x 14 frame with some extra. With the glass in the frame (facing down), place the lace and then the cardstock on top. Then carefully insert the backing to hold everything in place.

And that’s it. Now get your self some dry erase markers and make a to do list.

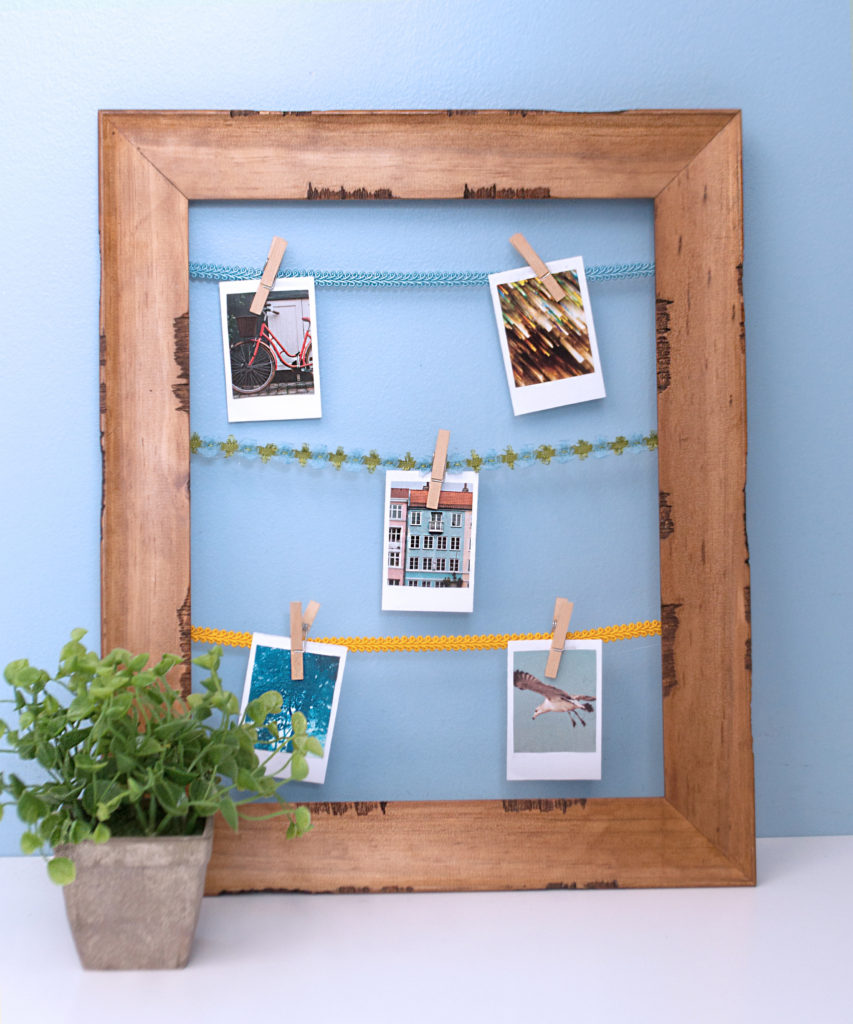
TRIMMED POLAROID HANGER

With Instax and other companies making affordable polaroid cameras, polaroids are a nice way to collect memories and document your travels. What you need is a cute frame where you can hang up your awesome polaroids.

Here’s what you need:

A frame

Braided trims in 2 colors (more or less, depending on the size of your frame.

This Rococo trim

Scissors

A Glue Gun

Clips to hang your polaroids

1

Measure the trim to fit from side to side of the frame and cut all of them equally.

2

Apply a small amount of glue to the right side of the trim and attach to one side. Let it dry for a minute. Then, pulling it tight, add glue the other end to the other side. Be careful with the hot glue though!

3

Repeat with the other two trims and you’re done.

Hang up your polaroids and show them off!

Velvet Ribbon Art

Want a sophisticated and tactile piece of art for your dorm room that’s not going to break the bank? I have just the idea for you. All you need to do is figure out your color scheme and then just play with the different velvet trims in different widths till you like the layout. You can see the one I made for some inspiration:

What you’ll need:

A frame

Velvet ribbon in various colors

This adorable velvet daisy trim

Tape

1

I used half a yard for each of the strips for a 14″ tall frame. Measure the inside area of the frame and add 4 inches to that measurement to know how much you’ll need for each strip.

2

Starting with one side start taping the ribbon taut onto the backing of the frame. I did it directly on the backing because it’s sturdy and won’t bend when I pull it tight.

3

Keep going, experimenting with different widths that you can change by overlaying the ribbon differently.Add the daisy trim in between for some dimension. The back is going to look messy with all the tape so if you want a cleaner more permanent solution use a glue gun and glue all the ribbon evenly.

And that’s it. Pop the backing back into the frame and hang your art up. 

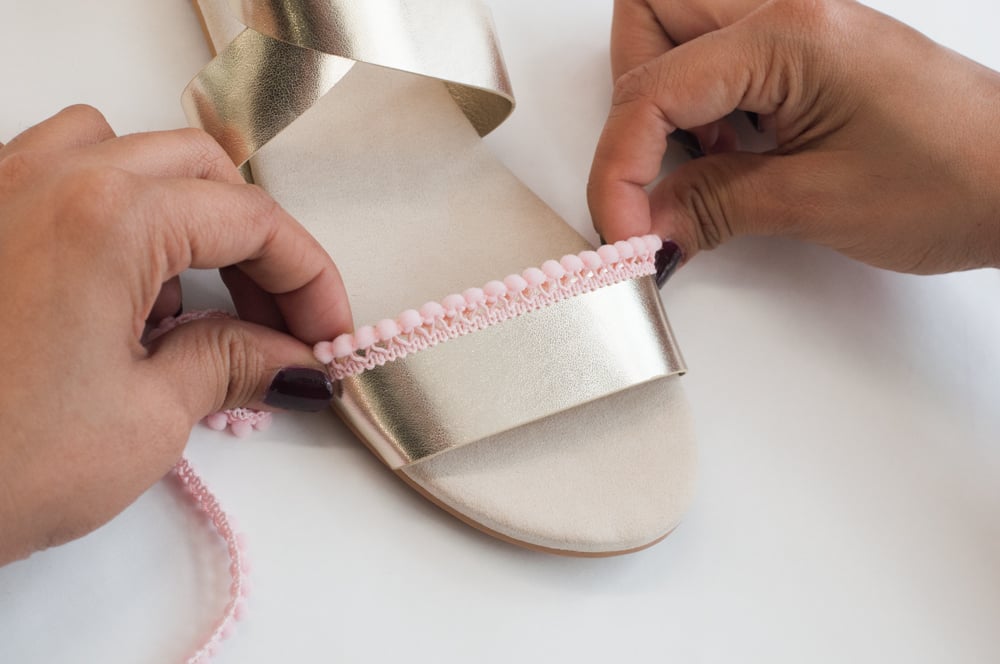
DIY: Beaded Summer Sandals

It’s time to free those toes! Put away the stuffy boots and slide into some flirty sandals, because spring is here! We just got these great new beaded iron-on trims and had to put them on something quick. 

What you’ll need:

A Pair of Sandals

Beaded Rhinestone Trim (This one is Iron-On but we didn’t want to iron it onto vinyl)

Pom Pom Trim

E6000

Scissors

Step 1: Cut the trim to size by measuring it on the sandals. To play it safe, cut a little extra on either side. You can always trim that later.

Step 2: Apply a thin line of E6000 on the the strap. Stick the pom pom trim to it with the pom poms facing outward.

(E6000 is a great glue but make sure you’re working in a well ventilated area since it’s a powerful formula. It also takes longer to dry than other glues. You can use a glue gun for quicker results)

Step 3: Apply glue between the two pom pom trims and glue on the rhinestone trim. Since this is an iron on trim you have the option of ironing it on if your base fabric will allow it.

Step 4: Trim the excess on either side and let dry.

And you’re done!

Greek Key Decor Inspiration

From chevron to stripes, we love all types of patterns at M&J Trimming! They immediately add interest and perk up plain pieces. From fashion to home decor, we’ve seen a lot of patterns take seasonal center stage and reign as the “it” pattern. But today’s we’re talking about a pattern that will always make a comeback: Greek key. Also known as the meander, this pattern features a repeating line motif that can add Mediterranean charm to any home.
M%J Trimming: Greek Key DoorsThis ornate door featuring Greek key is definitely the gateway to paradise. M&J Trimming: Greek Key Staircase RunnerThis Greek key runner is perfect for adding pizzazz to an already elegant stairway.

M&J Trimming: Greek Key PoolRecall the Greek Isles with a Greek key-tiled pool.

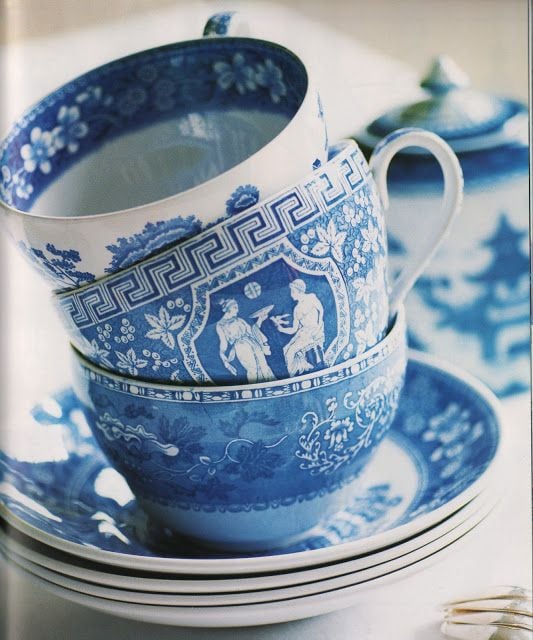
M&J Trimming: Greek Key Blue and White Tea CupsEven your tableware should rock a bit of Greek key. These blue and white teacups and saucers are so beautiful!

M&J Trimming: Living Room with Greek Key CarpetAn easy way to add impact to a room is through a patterned rug, and this blue key carpet looks perfect!

DIY: Jute Rope Coasters

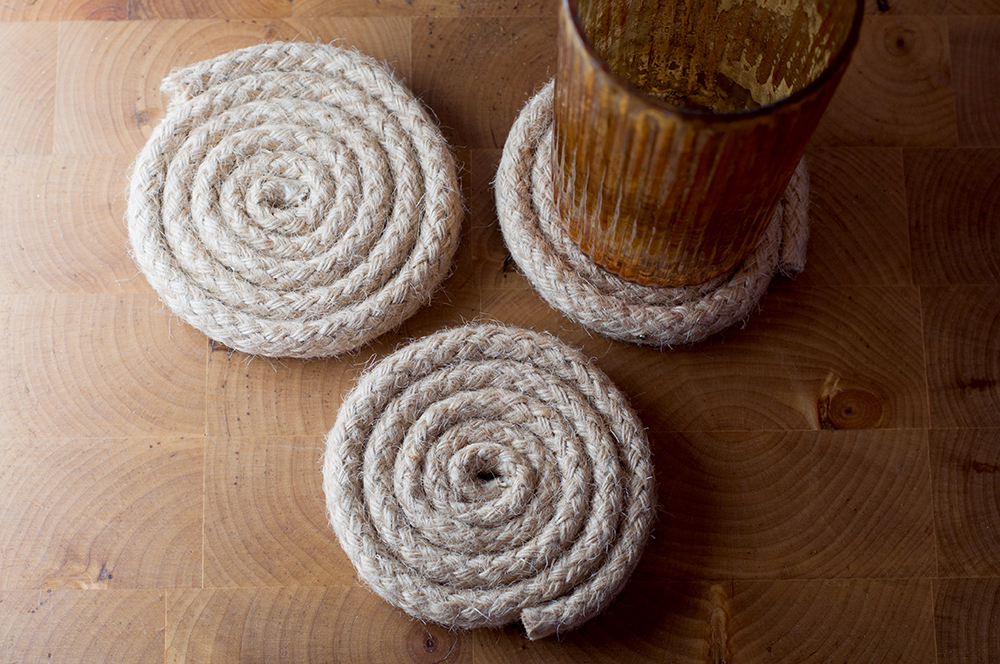
If you’re lucky enough to live by the sea, you might be a fan of nautical decor. This fun and carefree theme usually involves a combination of anchor art, navy accents, and definitely elements that feature rope. This DIY is for the sailors at heart and nautically-inclined. We’ve created a set of coasters using jute braid that are as simple to make as they are stylish.
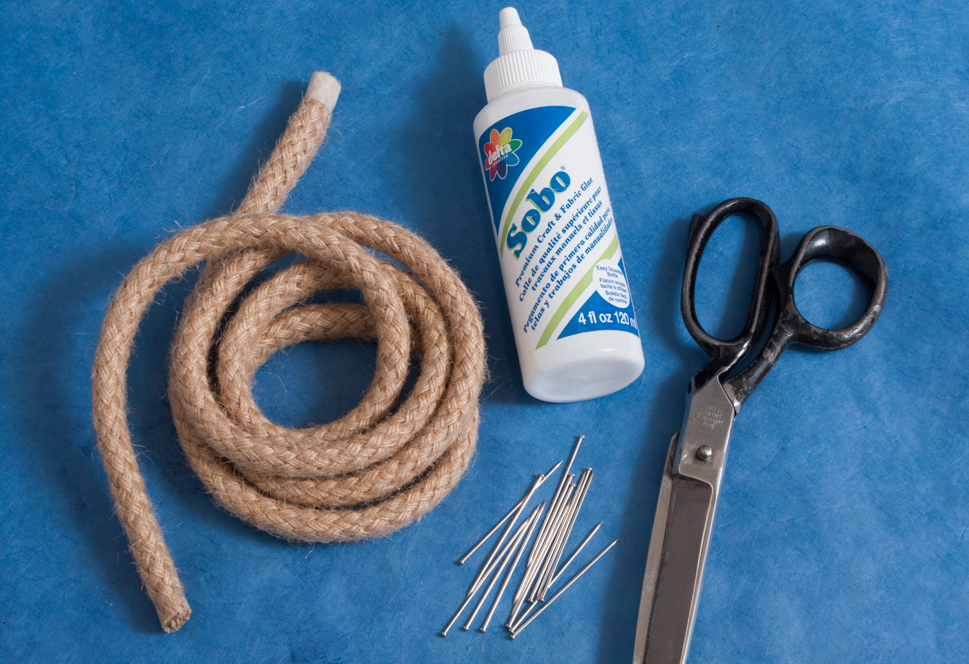
DSC_0395

What You’ll Need:

1/2” (13mm) Jute Tubular Braid

Long pins

Scissors

Sobo Glue

1. Cut one yard of jute for each coaster.
DSC_0396 2. Glue the ends of the coaster so they do not fray.
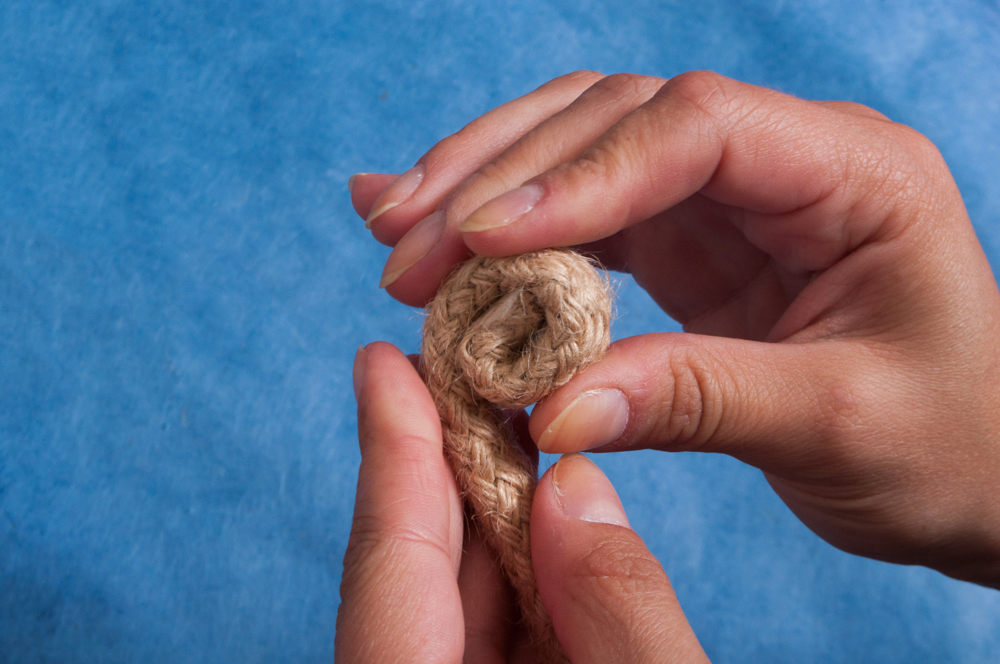
DSC_0397 3. Start rolling the jute into itself, kind of like a cinnamon roll.DSC_04004. Start to pin through the jute to hold each area in place.DSC_0450

Ceramics as Centerpieces

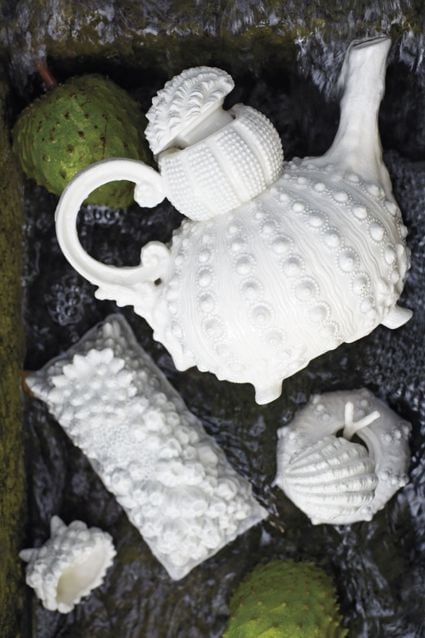
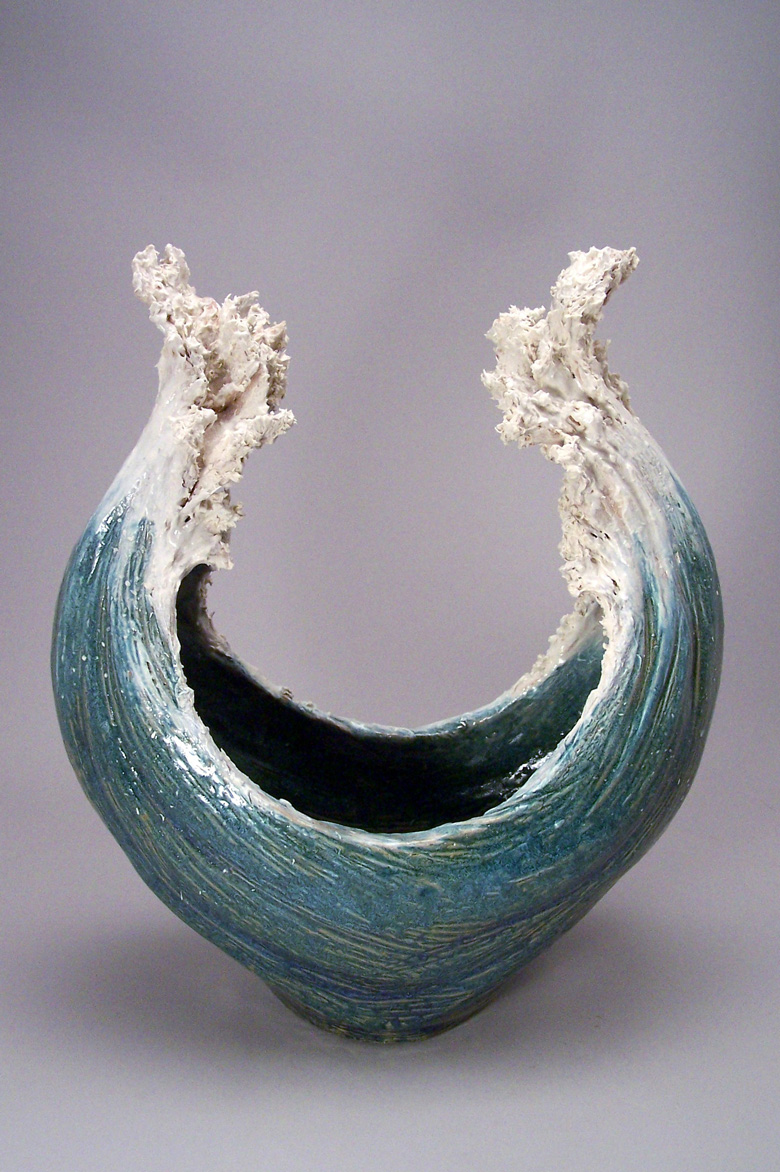
We often hear the phrase, “it’s what’s on the inside that counts”, and while it’s true in most cases, today we’re making an exception. We’re looking at the inspiring vessels for flowers, foods and drink that are making a comeback in homes all around the world: ceramics. Unique ceramics are becoming statement and conversation pieces that can make their way into any room of the home. They’re also readily available for purchase from artists all corners of the earth and hit all price points, making this truly accessible art. The best part? There are so many styles from modern to rustic, that you’re sure to find the piece for you!
Ceramic-Hanging-Pot1


26984146_004_f


d6209eca12693abebda8f0153b51f759


Anticipation_780x1172


tumblr_lfdkddK01N1qecfdw

DIY: Watercolor Throw Pillow

Welcome spring with a decor accent that highlights the colors of the season! We’ve made a pillow cover that’s perfectly pastel, and just the thing to brighten up your space after a chilly winter. We used Rit Dye to create a watercolor effect on the fabric by painting the dye on instead of dipping the fabric in.

DSC_0777 What You’ll Need:

Plain canvas pillow case

Rit Dye powder (Fuchsia and Royal Blue)

Paint brush

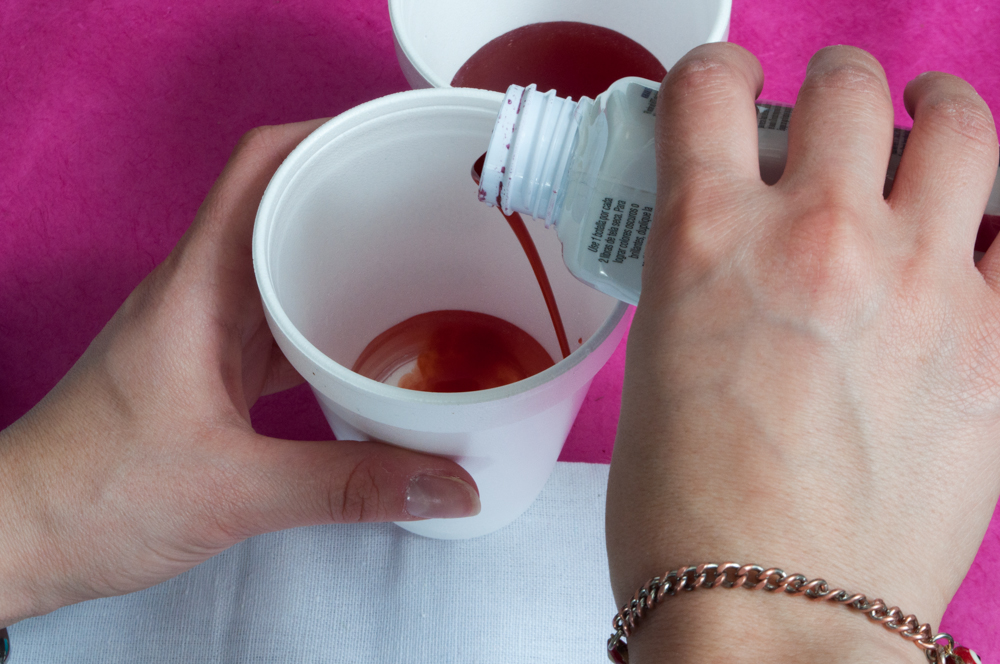
DSC_0780 1. Take three cups and fill with water at different depths. Add in dye so you have light, medium and dark shades of each color you are using.

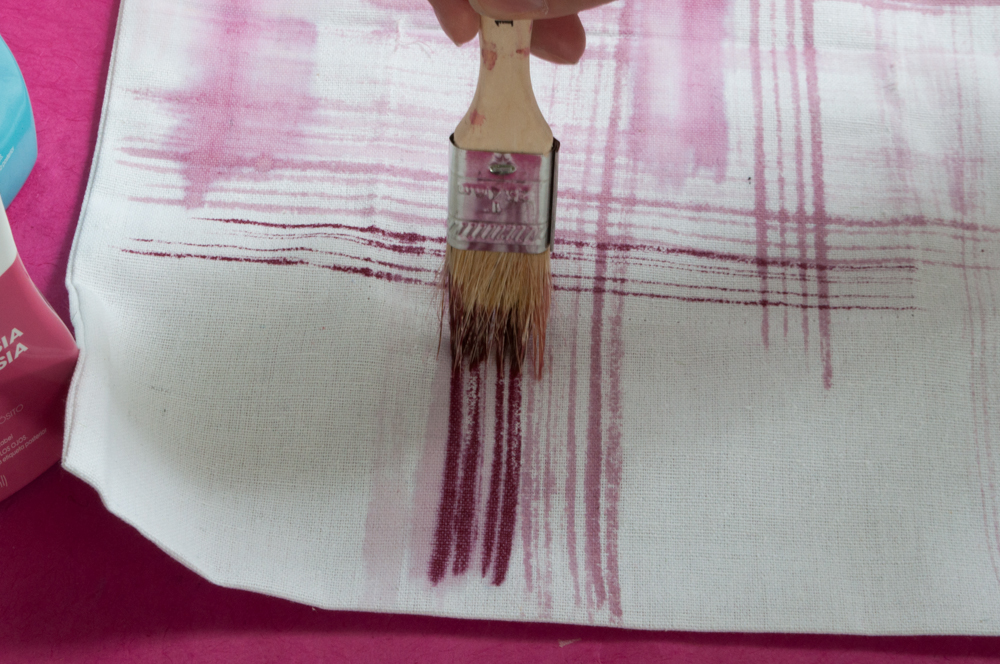
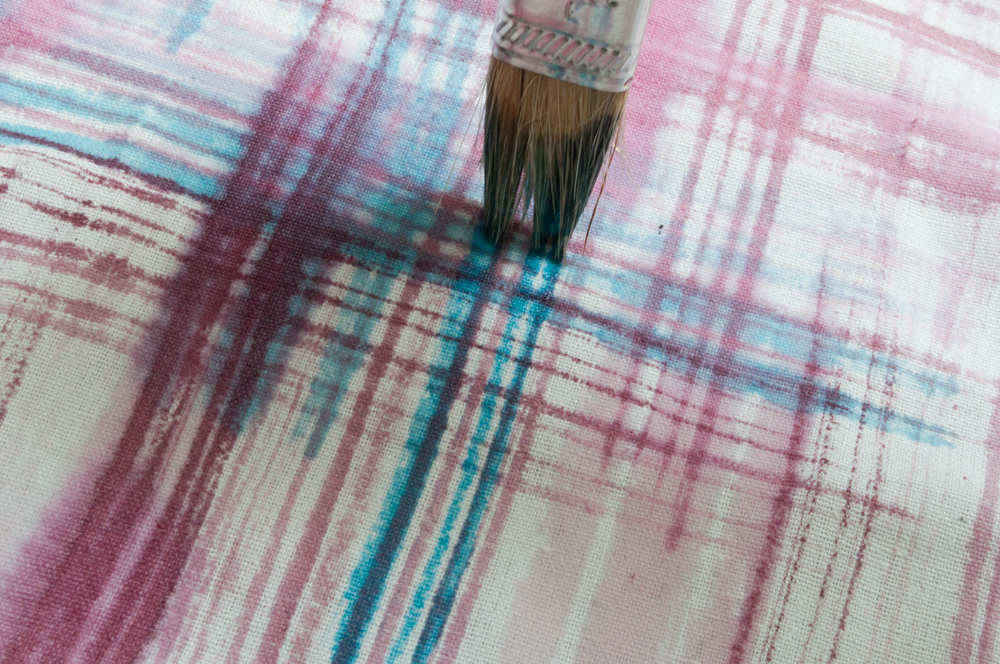
DSC_07912. Lay out your pillow and dip your paint brush into the dye. Create strokes going up and down making a cross-hatched pattern.

DSC_07953. Wash and let dry.DSC_0875

Watercolor Decor DIY Roundup

Inspired by the beautiful colors of spring, we love the light and playful look of watercolors. They’re the perfect pastel accents to your home if you want to breath seasonal life into your space without using florals. These decor DIYs are great weekend projects to get you revved up for the coming spring.    watercolor1sMake this cool watercolor teacup to hold trinkets and jewelry, or use it as a base for a candle.

DIY-watercolour-clock_feature-690x948Liven up your living space with a timepiece that’s also an art piece.

1500079875-adrienne-robertson-2Welcome spring with a bouquet of paper blooms that will last til next season! bedroom_accessories1Update your room with a fun piece of watercolor art that’s as pretty as it is easy to make!