Tag: How To

Back To School 2018: DIY Preppy Backpack

It’s that time of year again, the one that students dread and parents love: Back to School Season. The fall semester starts in about a month so it’s about time to start creating some great new school supplies, for a great price! I am going to start this series with an essential: the backpack. Today, we are creating the perfect, basic, preppy-style backpack which is perfect for every student who wants to update their backpack for the new school year!

Today’s Look: The Preppy Student

What You’ll Need:

Instructions:

Step 1: Cut zipper tassels already on bag off with scissors. Then, loop leather cord through zipper and cut to desired length, making a loop.
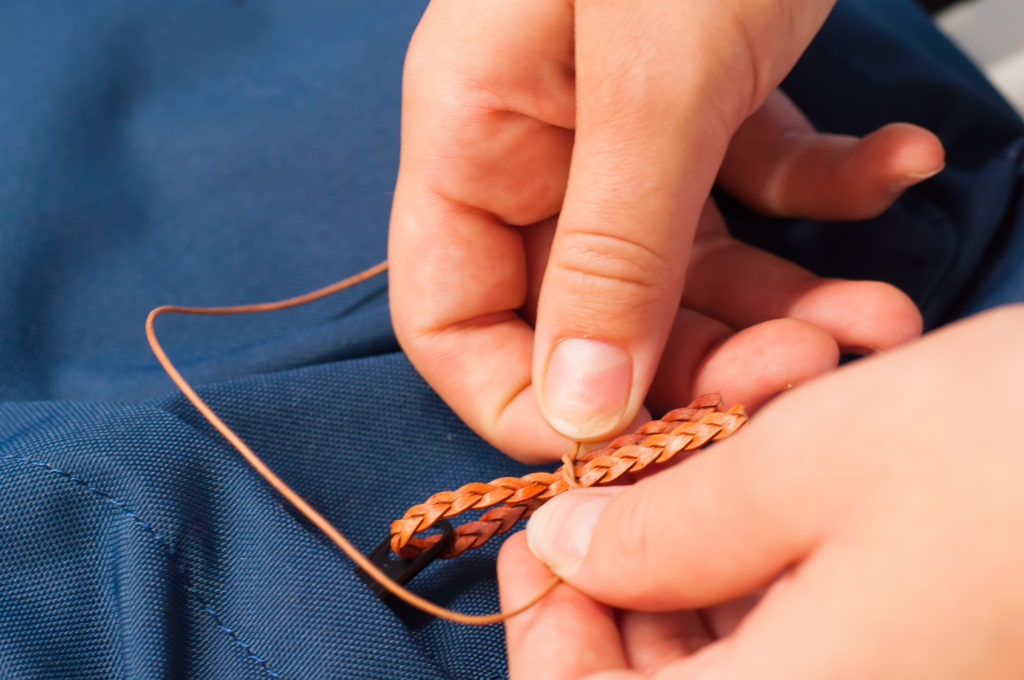
 

Take thinner cord and tie in a knot around the loop to hold it together. Wrap thin cord around and then tie in a knot twice to secure. Cut off excess of both cords. Repeat for all other zippers on bag.

Step 2: Take white grosgrain ribbon and striped grosgrain ribbon and layer them on top of each other, then glue with E6000 glue. Wait for it to dry a bit, then you can begin to line your backpack with it.

Glue ribbon to the inside part of the zipper flap and then fold to begin lining the backpack along the zipper.

Continuously glue as you go until the ribbon is all the way across the top of the backpack. To finish, fold over flap and glue, the same as when you started the ribbon.

Step 3: Using the same ribbon layered and glued on top of each other, glue to the side pockets of the backpack (if there are any) using E6000 glue. Tip: Use binder clips to secure ribbon while drying to make sure it stays in place!

Step 4: Now we are going to apply the letters! Lay out your monogram in the desired order and lay a thin piece of fabric on top in order to protect the letters from the iron.

Then, use your iron to press down onto the patches for about 20 seconds, or until they are attached to the bag.

Remove fabric for the finished look!


DIY Halloween Decor: Embroidered and Studded Pumpkins

With Halloween less than two weeks away, we’re skipping the more time-consuming DIYs and showing you two unbelievably easy and straightforward pumpkin décor ideas that you can put together at the drop of a (witch) hat.

First, a throwback DIY that is so quick and simple we had no choice but to raise it from the dead. If you’re looking for an easy DIY that will instantly make your doorstep more festive for your favorite frightening holiday, Halloween, this is it!

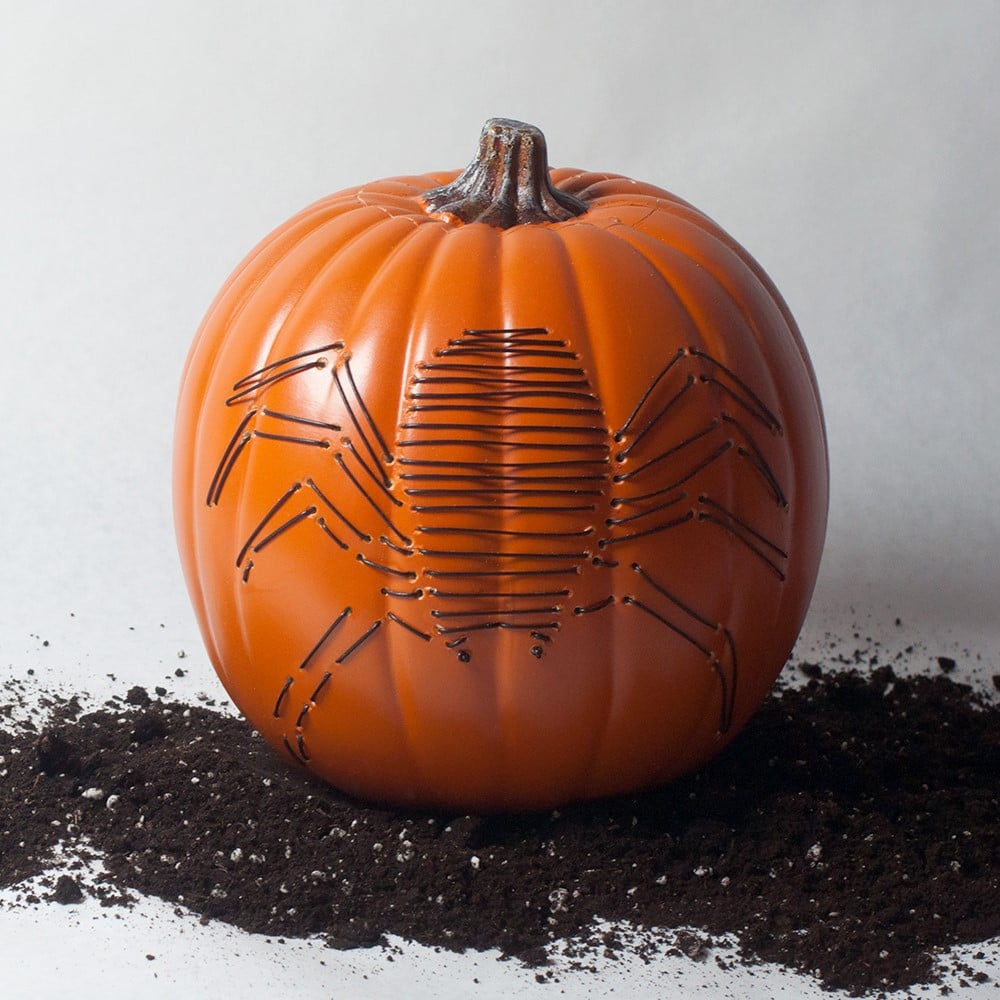
For a pumpkin decoration, instead of going the traditional carving route, we decided to make use of our leather cord to create a unique embroidered effect. We also used a craft foam pumpkin for this DIY so that it can last multiple seasons, but you can swap it out for the real thing too! Get ready to not carve up some pumpkins!

Spooky Embroidered Pumpkin

What You’ll Need:

Scissors

Spooky Image of Your Choice

Pins

1mm Round Leather Cord

Pumpkin

1

Cut out your image that you drew or printed. Pick a design that isn’t too complicated.


2

Pin paper cut-out to the pumpkin using the pearl head pins.


3

Cut out the top of the pumpkin. If you’re using a real pumpkin you’ll want to clean out the inside!


4

Make a knot at the base of the leather cord.


5

Either drill or puncture small holes into the pumpkin using your cutout as a guide. Make sure the holes are big enough to thread the cord through comfortably.

6

Start weaving your leather cord through all of the holes. Make sure every hole has a corresponding hole close by.

7

Continue weaving until the image is complete. For small areas you can tie a knot and weave back through one hole, as we did with the spider fangs.


And you’re done! #squadgoals


Studded Pumpkin

What You’ll Need:

Assorted Pronged Nailheads

Pumpkins in Assorted Sizes


1

Get several pumpkins in several sizes. We chose smaller pumpkins because we were low on time but this DIY is great for pumpkins of all sizes. You can use our Hotfix Nailheads if you are working with a hard plastic pumpkin.


2

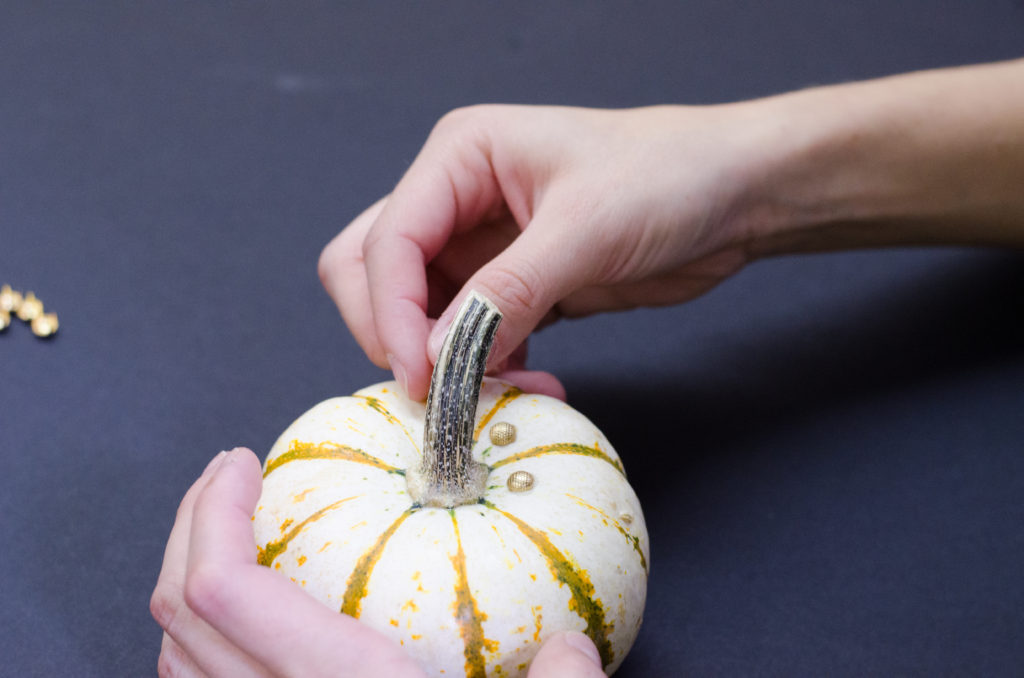
Carefully push the prongs of the nailhead into the skin of the pumpkin until they are secure. Or glue them on with Hotfix nailheads if you are using a plastic pumpkin.


3

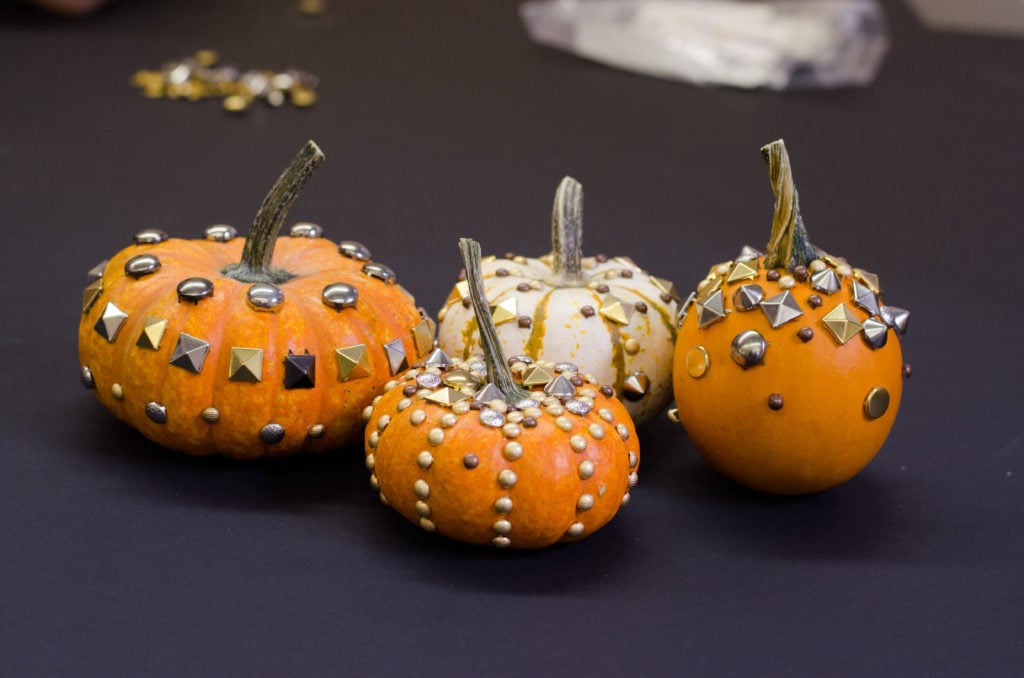
Play around with creating different patterns using various colors, shapes and sizes. Add as many or as few as you’d like and then you are done!


4

Here we used small round nailheads for our tiny pumpkin.


5

For this striking white pumpkin, we used different types of nailheads to create a playful look.


And here are the four beautiful pumpkins that were crafted in just minutes.

Happy Halloween!


DIY: Gucci Inspired Embroidered Fall Coat

Gucci has been bringing its A-game these last few seasons with downright decadent designs. They’ve used an amalgam of textures, fabrics and embroidery to create eclectic but wearable collections. I personally love the slew of tigers in various forms on everything from dresses to coats. The only thing that isn’t easy on the eyes or the wallet is their price tag. I like the idea of owing beautiful things without having to empty my bank account, so I made this Gucci Inspired Coat that’s way more affordable and super easy to create.

Gucci’s Embroidered Coats


Our Version

Price does not include cost of the coat.


What you’ll need: 

All these beautiful patches:

A coat

An iron

A thin cotton cloth to cover the patches while you iron


1

Place patches how you want them and take a picture so you know where everything goes. I stuck to the body of the coat but you can get creative with the back and the sleeves. If you want to keep it simple, you can just add flowers to the lapel.


2

Set the iron to high with no steam. Place a thin cotton cloth or teflon sheet over the patch and hold the iron down for 20 seconds. Repeat if necessary. Do this with all the patches.


And guess what? That’s it. You’re done. Yup, it’s that simple.

*This item is currently unavailable. Check out our full selection of floral patches.

DIY: Art Deco Earrings

Art deco marks a time of guilty pleasures and luxury. Think modern geometric architecture and flapper dresses. Think Gatsby. I’ve always loved the 20s and wanted to channel that into a pair of earrings that are modern yet reminiscent of more glamorous times. If you love Art Deco as much as I do you’re going to love these earring DIYs.

Color Block Leather/Vinyl Earrings

What you’ll need:

Leather/Vinyl Trim in different colors. We used these:

Pink

Green

Black

Scissors

Pliers

Jump Rings

Slide Connectors

Ear Wire Hooks

Card Stock for Template (A ruler would work too)

1

Using a template or a ruler I marked and cut out 3/4″ wide strips from the leather/vinyl. I did this with the pink and green.


2

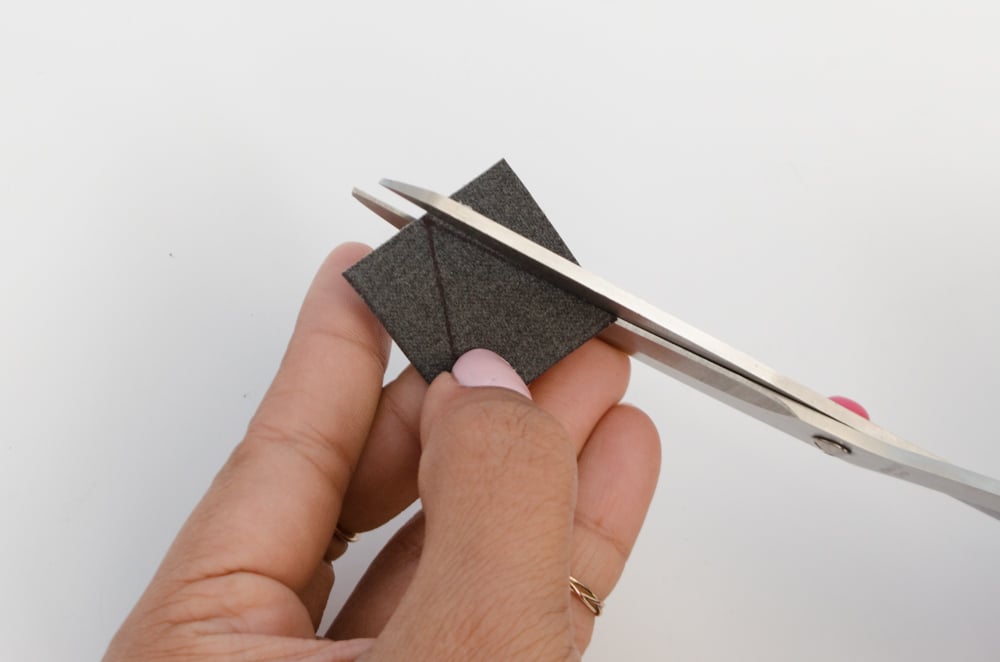
Then, using one of the cut trims as a measurement, I marked the width on the black vinyl. I then cut out a square and marked a triangle on it. Cut out the triangle.

3

Then, I lay each strip on top of the other so they’re overlapping about a 1/4″. I then use a sharp pin to poke holes on either end. I repeat this for the rest of the pieces.

4

Next, I put a jump ring through the holes to connect the pieces. Repeat this with all of the pieces.

5

Lastly, I used a slide connector, usually used on necklaces and bracelets, on the top piece. I used a pair of pliers to clamp it down. I like the hammered effect on the gold so I didn’t mind the dents the pliers made. I then added the earring hook to the loop on top.

And you’re done!

Neutral Color Block Earrings

What you’ll need:

3 colors of leather or vinyl. We used these:

Black

Brown

Tan

Scissors

Earring Hooks

Jump Rings

Magna-tac

Card Stock for Templates

1

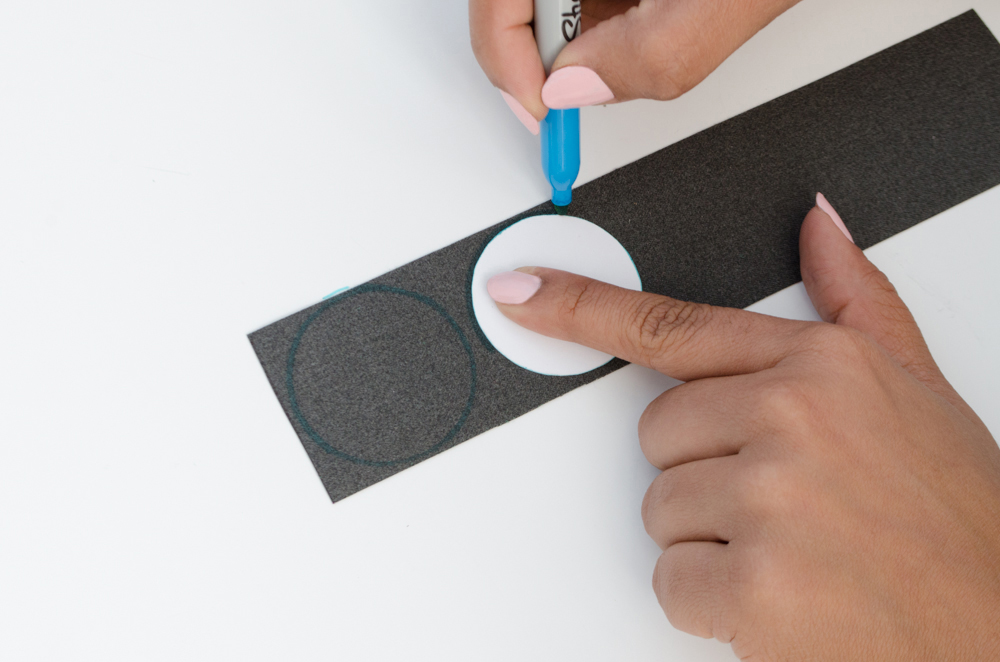
Using card stock, cut out two circles of different sizes. I used a 2 inch and 1 inch circle. Using the templates I cut out 2 black circles with the 2″ template and 2 brown circles with the 1″ template. I also cut out a 1.5 inch square out of the tan. This makes one earring so double it for 2.

2

Apply a thin layer of Magna-tac to the black circle and glue it in half. Repeat it with the other black circle.

3

Apply Magna-tac to the brown circles. Glue one black semi circle a 3/8″ in. Glue the second on a 3/8″ from the bottom. Then apply the second brown circle on top.

4

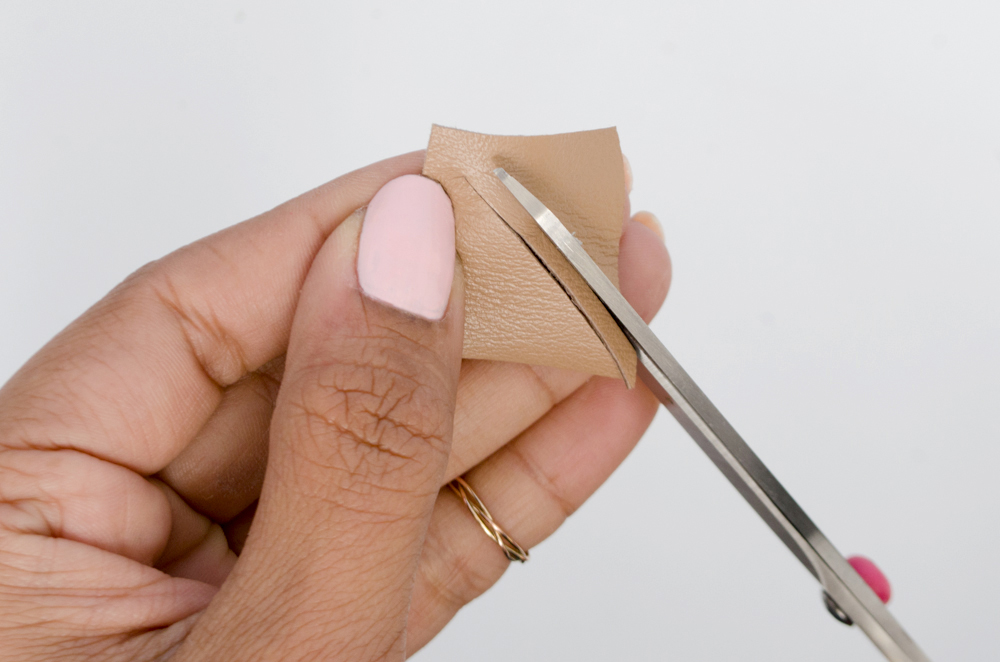
Cut a little fringe out of the tan square and glue it to the center.

5

Poke a hole through the top with a pin or sharp object. Put a jump ring through it and attach the earring hook before closing it.

Ta da!

DIY: Dorm Room Décor Round Up

Dorm Room Décor Round Up

After a long day of classes followed by a long night of studying in the library, what you need is to come home to some peace and quiet to recharge before tomorrow’s craziness. There are a few different style directions that you can take to make your dorm as comfy and inviting as ever while still maintaining all of your spunky personality.

Come home to a bright, colorful jungle and escape your surroundings with this DIY: Jungalow Dorm Room  This décor option is for those adventurous spirits that like to travel and explore the unknown. Think tropical birds, bright blues, deep greens and fun, eclectic prints. 

Rest and rejuvenate with DIY: Modern Dorm Room which will take you 10 years into the future when you’ve landed that sweet job and are living in your contemporary dream home. This style is for those with the latest fashion and decor tips at their fingertips who have an eye for modern design and know how to spice up any room with their trendy finds.

If you identify with the artists and bohemians all around you and love to wander, DIY Bohemian Chic Dorm Room will further express your free spirit. This room is all about earthy colors, rich textures and a fringe wall hanging that will bring your inner maverick to light.

The room where you’ll spend over 1/3 of your day should express your inner self and be home to your creative genius. Whichever option you choose, you can be confident that your dorm room will tower above all others in its unique, chic beauty.

DIY: Jungalow Dorm Room

If you love plants and the word “Jungalow” is unfamiliar to you, you should get acquainted, quickly. The true queen of Jungalow is Justina Blakeney, with her ‘jungaliciousness’ (her word) decor and homes. It combines bright colors and organic textures with nature. It’s not a hard look to achieve and if you can’t keep plants alive just find some real looking fake ones. Besides, if you’re in college, looking after yourself is hard enough. I have two easy DIY’s to add some color to your Jungalow.

Beaded Jungle Lamp

I found this fabric in our fabric drawer and I couldn’t believe how perfect it was for this DIY. I decided to sew a lampshade for it that fit one of the frames I had. You could just modify an existing lampshade or buy one for cheap at a thrift store. And you can substitute the printed fabric for solid colors if that’s more your style.

Here’s what you’ll need:

A lampshade

Beaded Fringe

Sequin Patches – We used this, this and this

Sewing Machine or Strong Fabric Glue

Iron

1

First, start by placing your patches on your lampshade. Since I made mine I could lay it flat, but if you have a pre-made one you can pin your patches to it for placement. Once you have them where you want them, cover them with a thin cotton cloth. Using an iron on it’s hottest setting, press and hold down for 20 seconds at a time. Repeat if necessary. Be careful, the metal of the lamp will get hot too. For all those of you who own a hair iron, you can use that too.

*DO NOT do this while the lamp is still plugged in.

2

Once all the patches are ironed on, start pinning the beaded fringe to the fabric. If you’re going to be gluing it to the lampshade you can skip this step. Pin the fringe and the fabric with their ‘right’ sides facing each other.

3

If you’re using glue (I suggest Sobo Craft Glue or E6000), start gluing the fringe in sections to the inside of the lampshade for a neater finish. You can use binder clips to keep it in place while it dries. I would sew a few stitches by hand just to secure it.

If you’re sewing it to a lampshade, sew along the pinned fabric, removing the pins as you go along.

Now plug that lamp in and watch the beads catch the light.

Jacquard Bed Scarf

You must be wondering what a bed scarf is. Trust me, the term is new to me too. I just called it that decorative quilt-like thing at the foot of the bed. So that’s what a bed scarf is. I decided to use all the beautiful jacquards that we have and it totally goes with the Jungalow theme.

You’ll need:

Jacquard trim – We used the following:

1 ½” Ivory and Gold Jacquard

30MM Metallic Jacquard

2″ (50mm) Sun Moon Jacquard

Embroidered Metallic Jacquard

50MM Imported Wine Metallic Jacquard

53MM Fine Imported Jacquard

1 ¼” Metallic Jacquard Red/Gold

40MM Metallic Jacquard Red/Green


Tassel trim

Scrap fabric – You can choose a print you like that complements the jacquard

Scissors

A sewing machine – If you don’t have a sewing machine you can glue the trims together but I strongly recommend sewing

1

Plan the arrangement of your trims. Take a picture when you’re done so you know the order you want them in.


2

Take the first two trims and lay one over the other, overlapping very slightly. Now sew along the edge making sure you’re sewing both together. Repeat this process with the all the trims.


3

When you’re done with all the jacquard, place the tassel trim with the tassels at one end of the scarf, facing away from the edge; right side facing down. Next,  take the scarp fabric and lay it over the the tassel trim, sandwiching it in between.


4

Sew along about 1/2″ from the edge. You can leave the fabric in the back unfinished and cut it to about 2 inches or you can do a double fold and sew it. Repeat this for the other side of the scarf. I added a top stitch just to make it more sturdy.


And Voila. Jungalow done.


3 Ways to DIY Summer Shorts

It’s getting hot out there and it’s time to bust out your Daisy Dukes. With these three easy DIYs you can take your plain old shorts and turn them into pretty little things. Check out this video to learn how to make 3 awesome pairs of shorts for the summer:

For more details:

Floral Patched Shorts

Lace Trimmed Shorts

Rhinestone Bling Shorts 

DIY: Lace Denim Shorts

Lace and denim just seem to go hand in hand don’t they? I personally think it’s girly in the nicest way. Check out how you can make these adorable shorts to complete your summer attire. Check out the video below to see how to make them and scroll down for more information:

Here’s what you’ll need:

A pair of denim shorts

Lace like these

Thread and Needles

1

Before I started, I cut two inches off the bottom of the shorts. I did this to accommodate the extra length the lace was going to add. This is optional but odd lengths on shorts can be extremely unflattering so I would suggest doing it.

2

I then started sewing the lacy about three inches in. I made small stitched every half inch or so along the top of the lace. I started and ended at the inner seam for a clean finish.

3

You need to around the whole leg and then repeat it with the other side.

That’s it!


DIY: Multicolor Lettered Clutch

I’m sure you’ve seen the graphic clutches on the runway the last couple of seasons, with everything from patches to embroidered letters. Now you can make your own.

Watch the video to see how to make it and scroll down for more detailed instructions.


What you’ll need:

A Clutch/ Flat bag

Markers

Iron On Letters like these

Iron

Tip: Use a teflon sheet or cotton cloth to cover the letters when you iron them.

Step 1: Color in the letters. This step is optional. I just wanted something more personalized. You can even dye them for a more uniform color.

Step 2: Place the letters how you want them.

Step 3: Covering the letters with a cotton cloth or teflon sheet, iron in sections, holding the iron down for 20 seconds at a time. Repeat if necessary.

Go on now, flaunt your new clutch.

DIY: Matching Infinity Bracelets

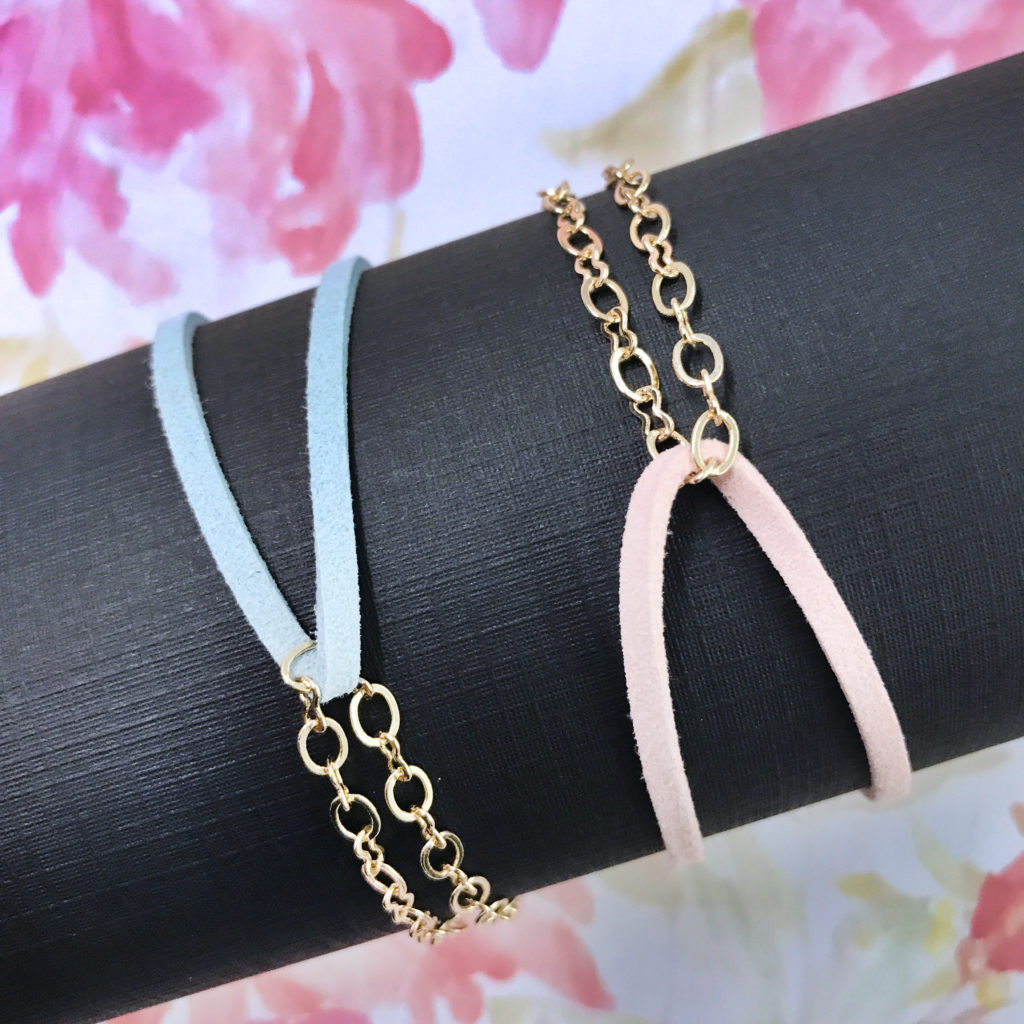
Finding a gift for your mom is one of the hardest things to do. There’s nothing that can express your gratitude and love for someone who’s loved and cared for you selflessly all your life (and before!). But every year, in May, we try! A mother and child’s bond is forever and we wanted to express that with these simple DIY Infinity Bracelets, one for you and one for your mom, so you can wear your special link wherever you go.

What you’ll need:

Gold Link Chain

Suede Cord

Pliers

E6000

Cord Ends

Jump Rings

Lobster Claw Closure

Step 1: Measure your the cord wrapped snugly around your wrist and cut. Do the same with the second color. Cut the chain to the same length.

Step 2: Apply a little E6000 to the ends of the cords and insert into the cord end. Let it dry. Once it’s dry you can use a flat nose plier to flatten the cord end to pinch the cord and secure it.

Step 3: Add a jump ring, linking the two cord ends.

Step 4: Loop the chain inside the cord and connect the ends with a jump ring. Before closing the jump ring add a lobster claw closure.


And you’re done!

We hope your mom loves it!