Tag: Home Decor

DIY: Pom Pom Flowers

You know those DIY tutorials that are so simple you catch yourself asking, “Wait, what’s the catch?”. Well there is no catch! It’s just that simple to make these adorable pom pom flowers that you can use to brighten up a space. The best part is you can keep them simple or get creative and make some elaborate flowers with different sizes of pom poms.

What you’ll need:

Big Pom Poms

Glue Gun

Sticks or Thin Branches

Scissors

Step 1: Trim the sticks to the length you want. I cut mine about ten inches.

Step 2: Cut the pom poms from the trim.

Step 3: Add a some glue to the end of one stick with your glue gun and stick a pom pom on. Apply glue and add a couple of more pom poms to create a flower. I varied the number to make different shapes.

Aaaand *drum roll* you’re done.


DIY: Greek Key Trimmed Lamp

This week’s DIY is super simple, but incredibly chic. We took one of our favorite patterns, Greek key, and added it to a basic white lamp shade. The result? A lamp that looks fabulous, and is easy and inexpensive to make.DSC_0835

1 3/8″ (33mm) Greek Key Jacquard

Sobo Glue

Scissors

Lamp Base

DSC_08361. Wrap the trim around the base of your lampshade to see how much trim your will need.

DSC_08372. Cut to the length you will need

DSC_08393. Apply glue to the base of the lampshade.

DSC_08384. Place your trim on the areas with glue.  If your lampshade has a seam, start there.

DSC_0844Continue wrapping the trimming around the lampshade until it covers the entire length of the base.

DSC_0876


DIY: Jute Rope Coasters

If you’re lucky enough to live by the sea, you might be a fan of nautical decor. This fun and carefree theme usually involves a combination of anchor art, navy accents, and definitely elements that feature rope. This DIY is for the sailors at heart and nautically-inclined. We’ve created a set of coasters using jute braid that are as simple to make as they are stylish.
DSC_0395

What You’ll Need:

1/2” (13mm) Jute Tubular Braid

Long pins

Scissors

Sobo Glue

1. Cut one yard of jute for each coaster.
DSC_0396 2. Glue the ends of the coaster so they do not fray.
DSC_0397 3. Start rolling the jute into itself, kind of like a cinnamon roll.DSC_04004. Start to pin through the jute to hold each area in place.DSC_0450

Nightstand Necessities Inspiration

One of the most intimate spots in the home is sometimes the most overlooked: the nightstand. But your nightstand can say a lot about your personality because it holds the last things you use right before you drift off to sleep. From books to magazines to a soothing scented candle, your nightstand is a very personal spot, and like the rest of our homes, we want it to look stylish! Check out these end tables that you’ll be happy to end your day with.bf57c508ad96fcef2ba1aaa2eb8a9bf2

a752f31ae4dfe49beb14a26d693e8993

e6fc98f4060f6aa66be3edd71685dfbb

Simple-DIY-Nightstand


548f8c50d7ab0_-_dsc_0022

DIY: Nautical Wreath DIY

Memorial Day is this weekend, and that marks the unofficial start of summer! Get your home ready for the sunny days of summer with a warm summer wreath! We used a basic wreath and wrapped it with ribbon and jute to give it a fun nautical feel.

DSC_0768

Materials:

Wooden flat circular wreath

1.5” Heavy Apron Tape

Small Tubular Jute

1” Stitched Grosgrain

7/8” Grosgrain Ribbon

Scissors

Hot Glue

 DSC_0770
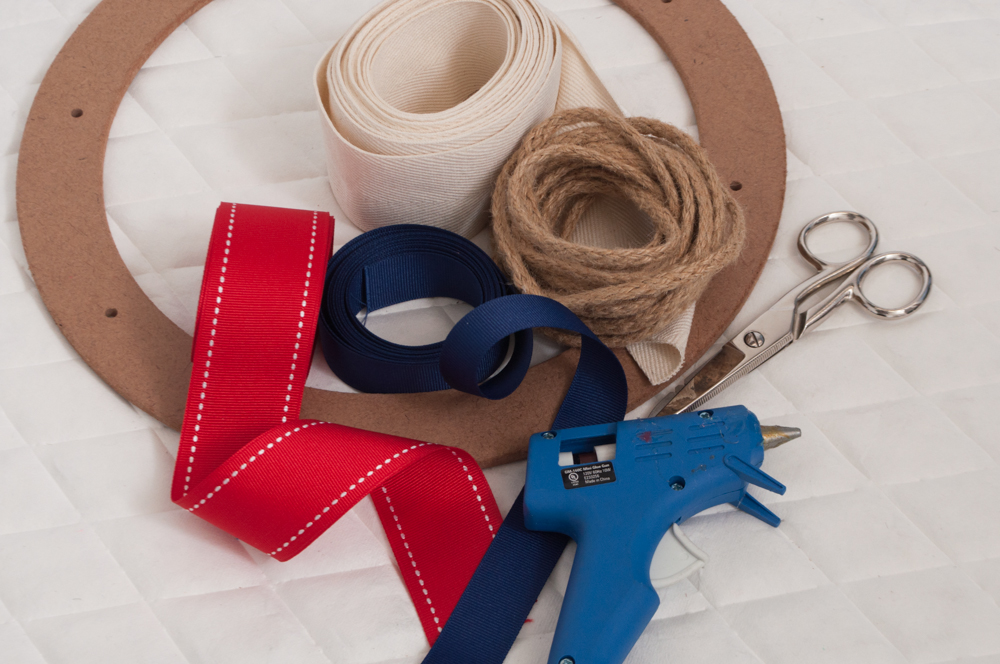
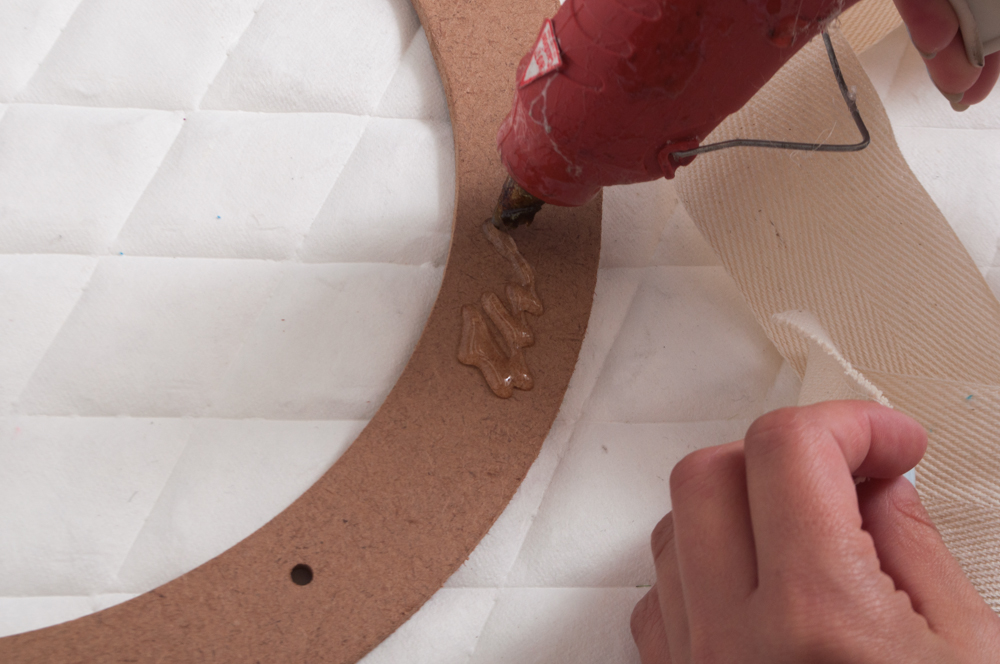
1. Take your apron tape and glue the tip down on the back of the wreath.

DSC_07742. Start wrapping around the entire wreath until you meet the area you started with.DSC_07773. With the excess tape create a continuing loop for hanging the wreath once it is complete. Glue the end to the back and cut excess.

DSC_0786
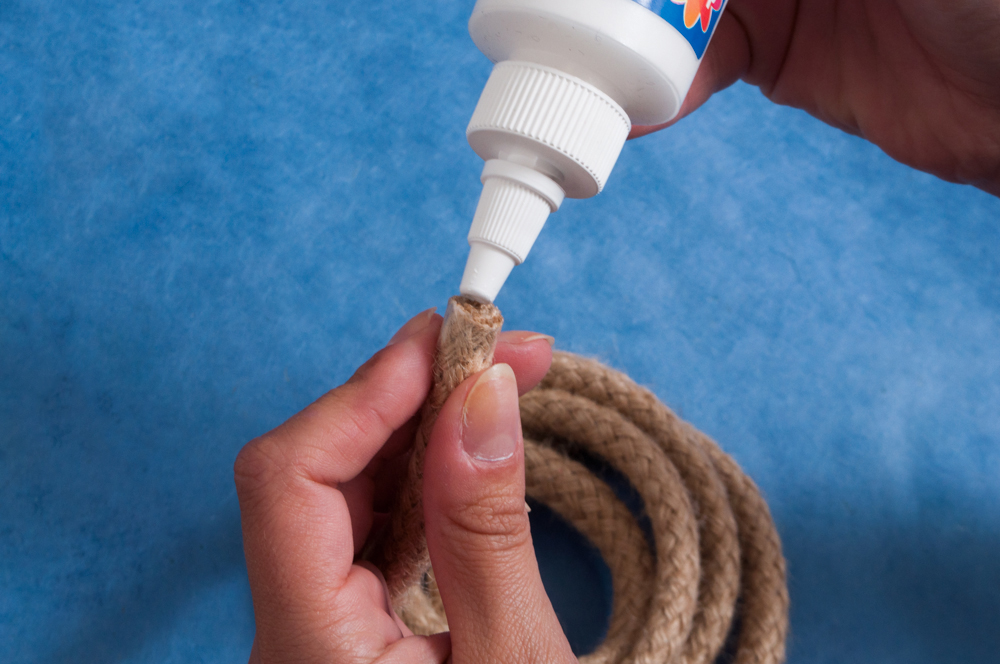
4. Take your jute and glue the tip into the back of the wreath under the tape.

DSC_07915. Wrap around wreath until you reach the end. Cut and glue tip into the tape behind the wreath.

DSC_0792
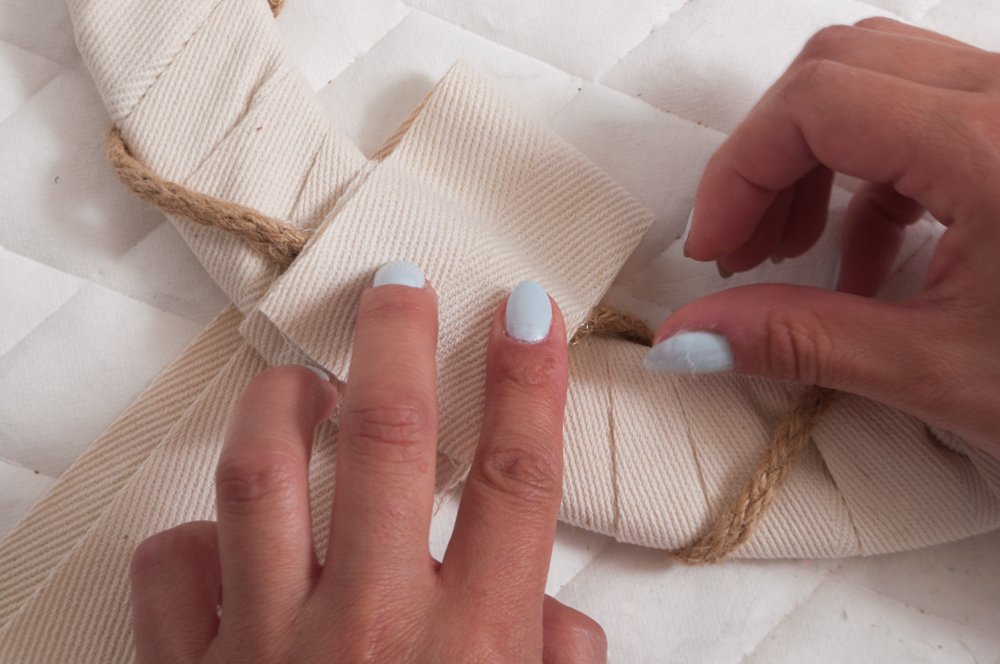
6. Create two bows with the red and navy ribbon. Glue red one down and then the smaller navy one on top.

 nautical-wreath

Doormat DIY Roundup

If you’re having guests over, make a great first impression withe these a-door-able mats! From sassy to sweet, doormats are the perfect way to add a little bit of personality to your home.

rug DIY 3Grab a can of spray paint, and go to town on a plain doormat!

MosaicDoormat-HeaderThis decorative doormat hides a cute “hello” message in mosaic!

010Add a natural touch to your doorway with this stone welcome mat!

OLYMPUS DIGITAL CAMERAIf you want to celebrate your green thumb, check out this garden hose doormat!

donut-rug-biteGive your guests a sweet welcome with this doughnut rug!

Ceramics as Centerpieces

We often hear the phrase, “it’s what’s on the inside that counts”, and while it’s true in most cases, today we’re making an exception. We’re looking at the inspiring vessels for flowers, foods and drink that are making a comeback in homes all around the world: ceramics. Unique ceramics are becoming statement and conversation pieces that can make their way into any room of the home. They’re also readily available for purchase from artists all corners of the earth and hit all price points, making this truly accessible art. The best part? There are so many styles from modern to rustic, that you’re sure to find the piece for you!
Ceramic-Hanging-Pot1


26984146_004_f


d6209eca12693abebda8f0153b51f759


Anticipation_780x1172


tumblr_lfdkddK01N1qecfdw

Spring Wreath DIY Roundup

There’s nothing more cheerful than seeing a beautiful wreath upon entering a home. Welcome spring to your abode with these friendly seasonal wreaths! Tulip_Door_Wreath_Tutorial_SpringWhy do we have to wait for May flowers? Bypass the April showers and make this tulip wreath to brighten your doorway!

SONY DSCWhat could be better than a fluttering kaleidoscope of butterflies greeting guests as the walk into your home?

diy-spring-wreath-pinAll of the elements of spring, from flowers to birds’ nests, are captured in this wreath.

cf3d9cb6668c66b8fb27727d7075e0abUse fabric scraps to make this colorful wreath that can easily be used inside too!

Easter and Spring wreath 5This wreath is made with an unlikely material: bubblegum! Who knew a chewy treat could look so modern and sophisticated?

DIY: Watercolor Throw Pillow

Welcome spring with a decor accent that highlights the colors of the season! We’ve made a pillow cover that’s perfectly pastel, and just the thing to brighten up your space after a chilly winter. We used Rit Dye to create a watercolor effect on the fabric by painting the dye on instead of dipping the fabric in.

DSC_0777 What You’ll Need:

Plain canvas pillow case

Rit Dye powder (Fuchsia and Royal Blue)

Paint brush

DSC_0780 1. Take three cups and fill with water at different depths. Add in dye so you have light, medium and dark shades of each color you are using.

DSC_07912. Lay out your pillow and dip your paint brush into the dye. Create strokes going up and down making a cross-hatched pattern.

DSC_0795
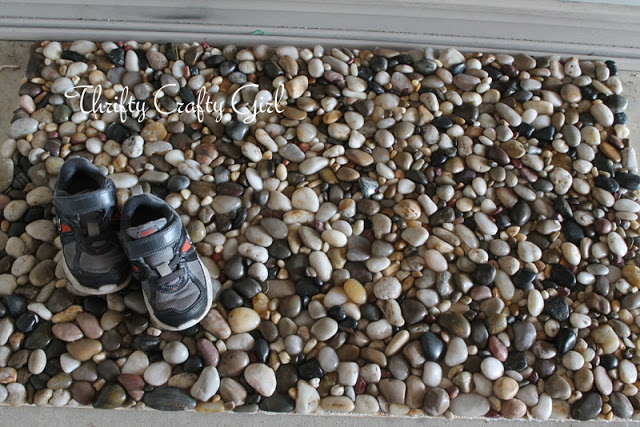
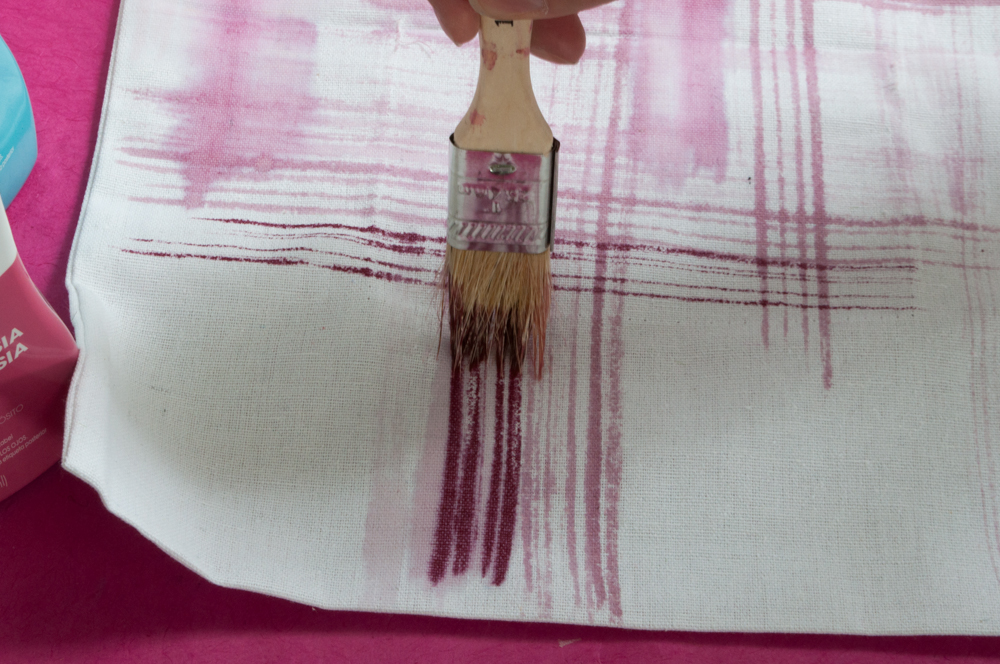
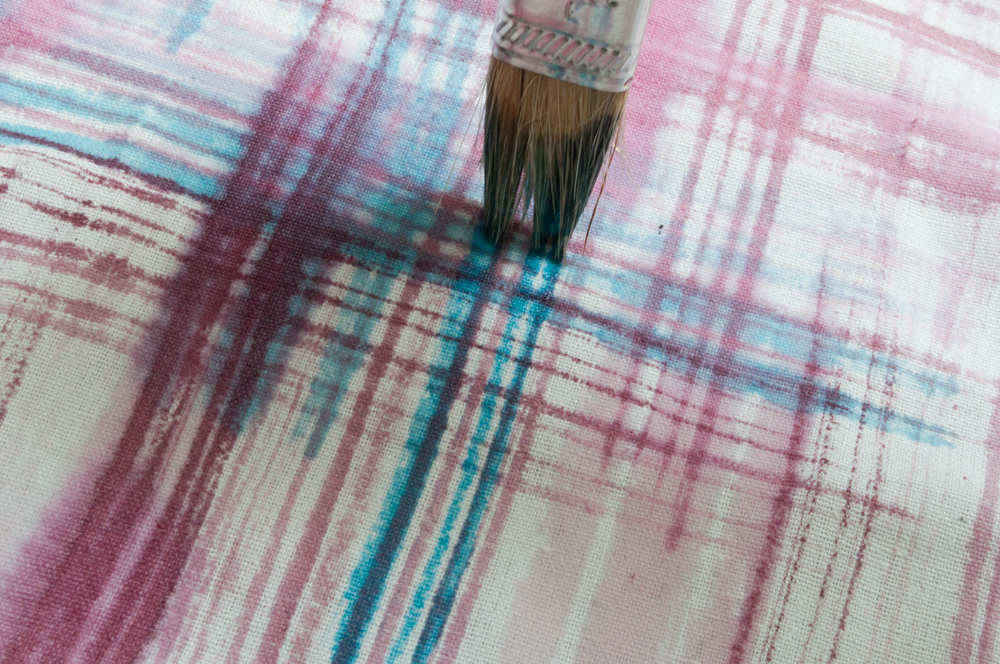
3. Wash and let dry.DSC_0875