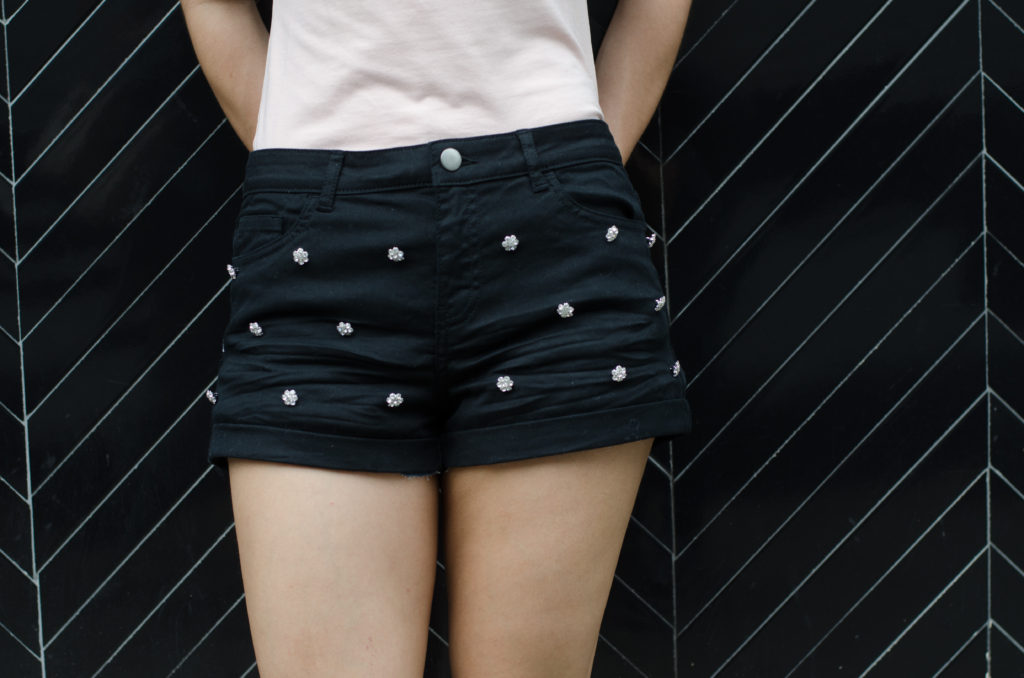
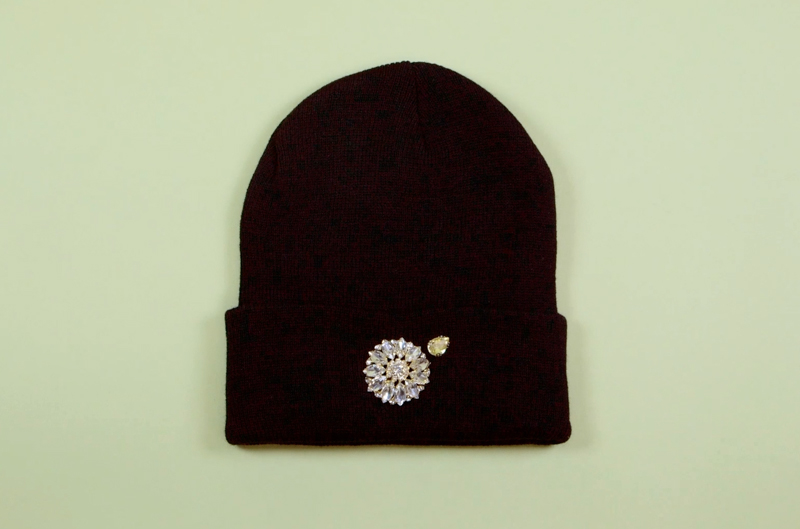
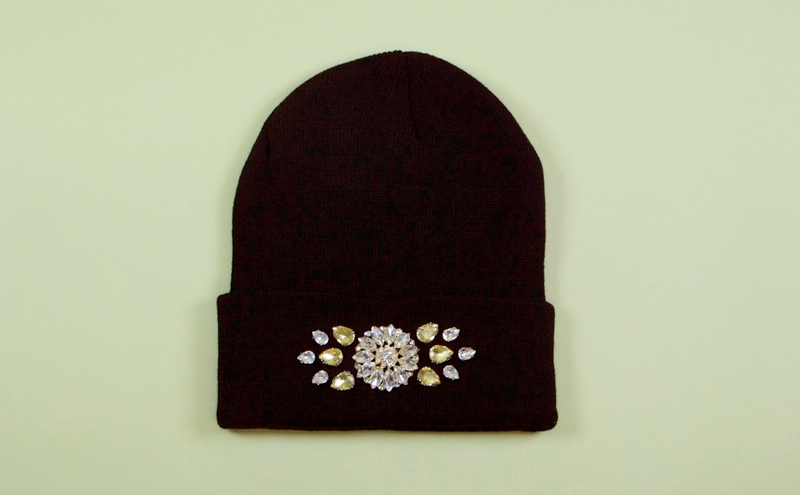
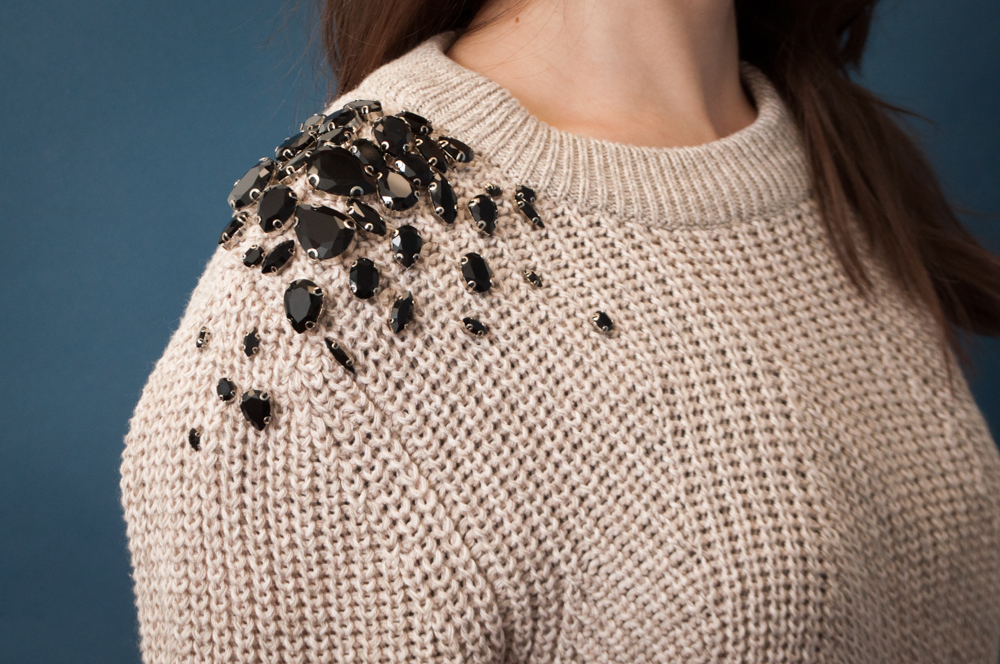
Can you take a pair of casual shorts and turn them into a hot little number for a night out? You absolutely can, and should. These cute little rhinestone buttons add the perfect amount of bling to a plain pair of shorts. Check out the video below to see how to make them and scroll down for more details:

What you’ll need:
A pair of shorts
Rhinestone buttons like these (make sure you select 14mm Crystal/Silver)
Tailor’s chalk


1
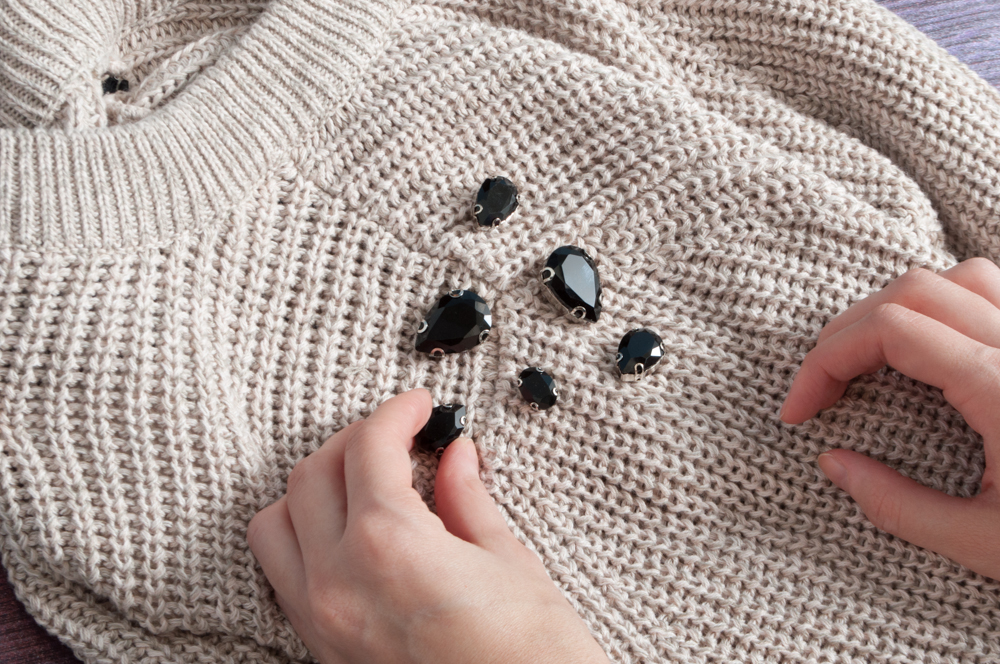
Using tailor’s chalk, mark where you want the buttons. I spaced them out about 3 inches or so in an alternating pattern.


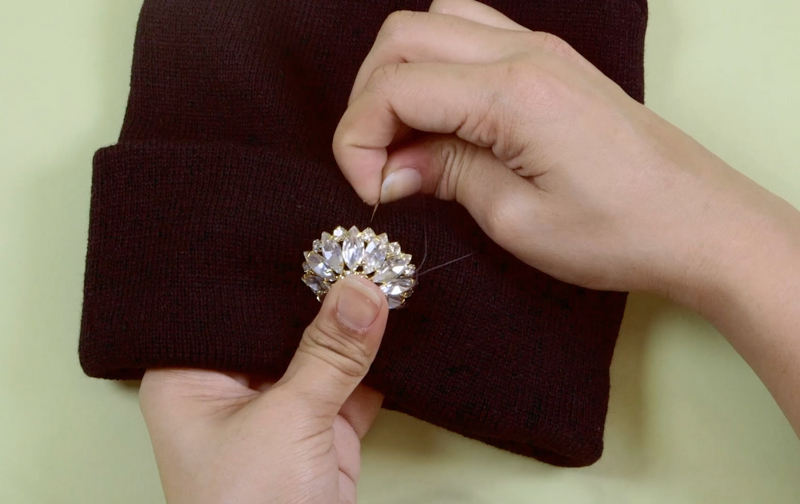
2
With a needle and thread sew the buttons on using the shank in the bank.

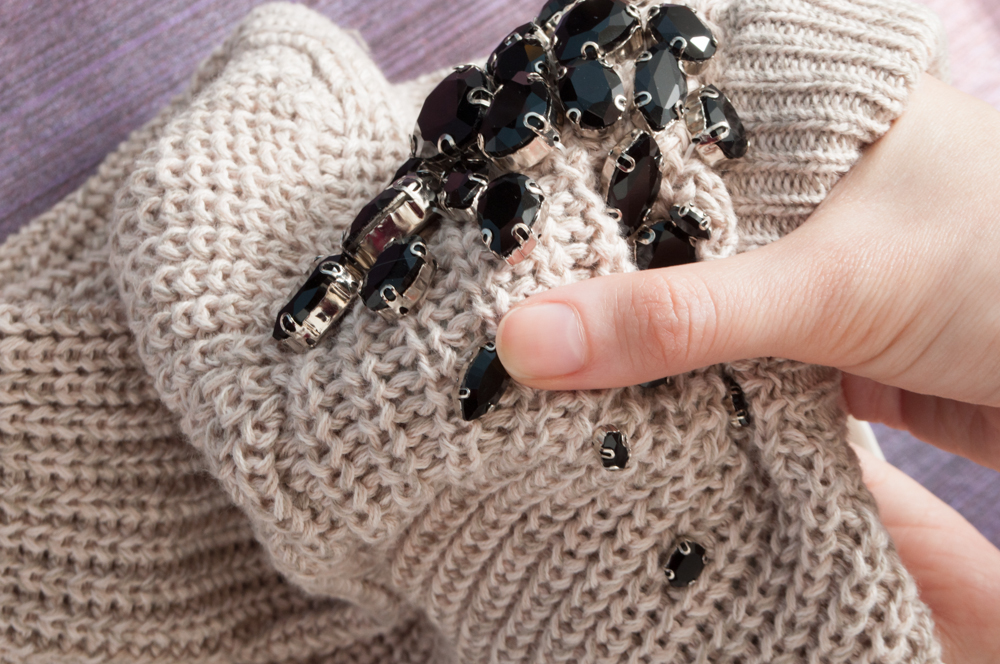
3
Repeat step 2 wherever you’ve marked a spot with the chalk.
That’s it!


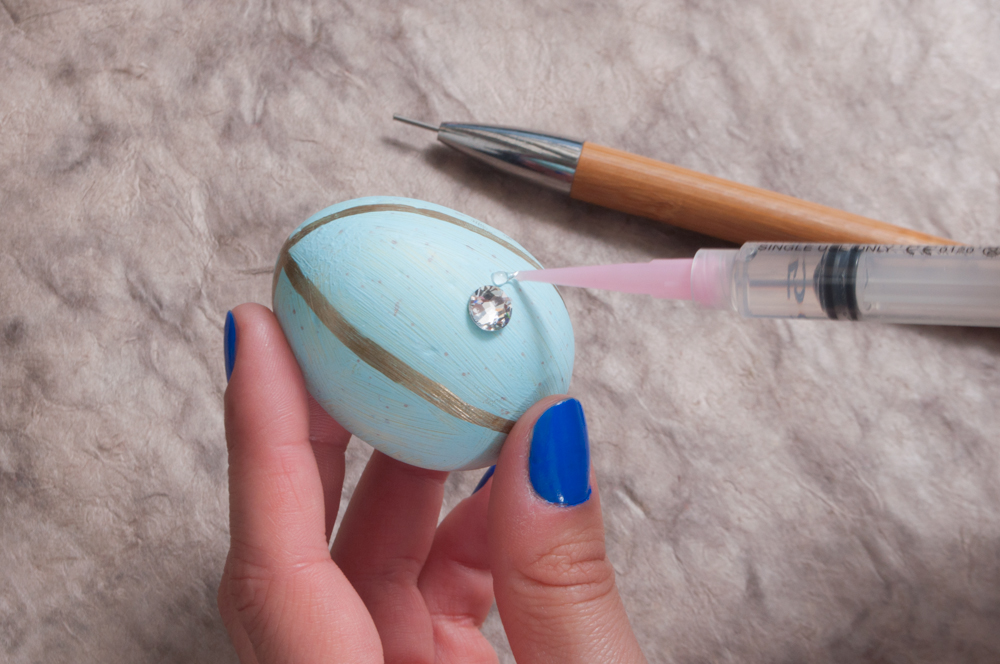
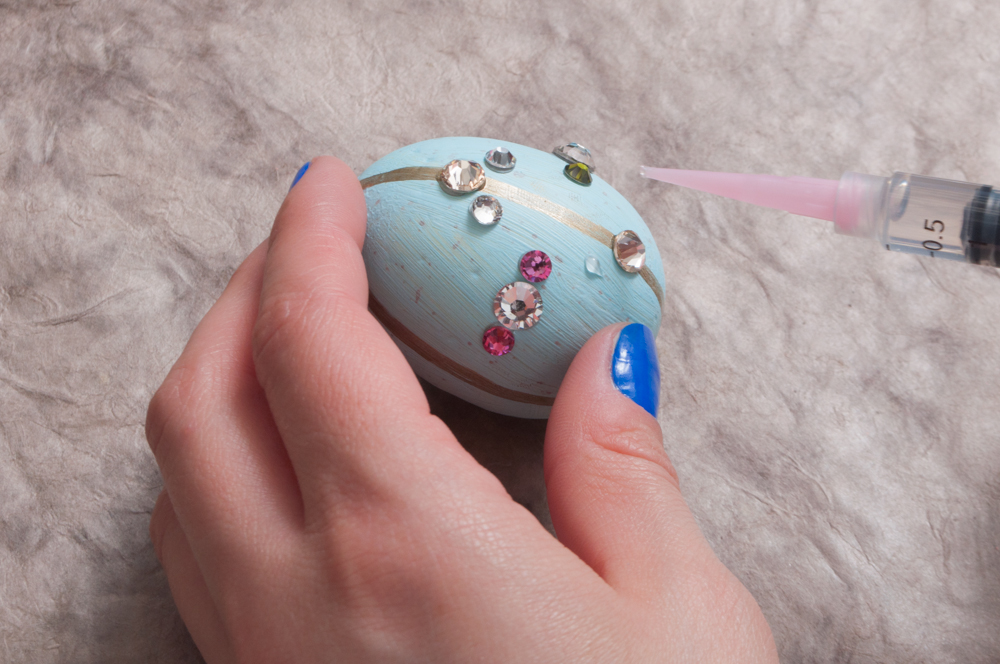
 1. Place
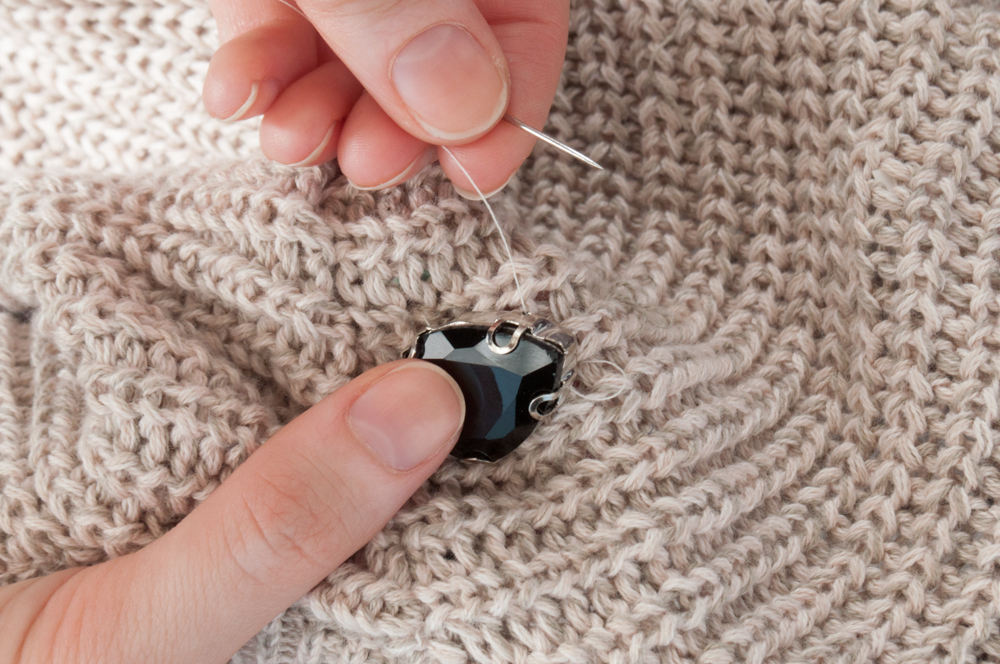


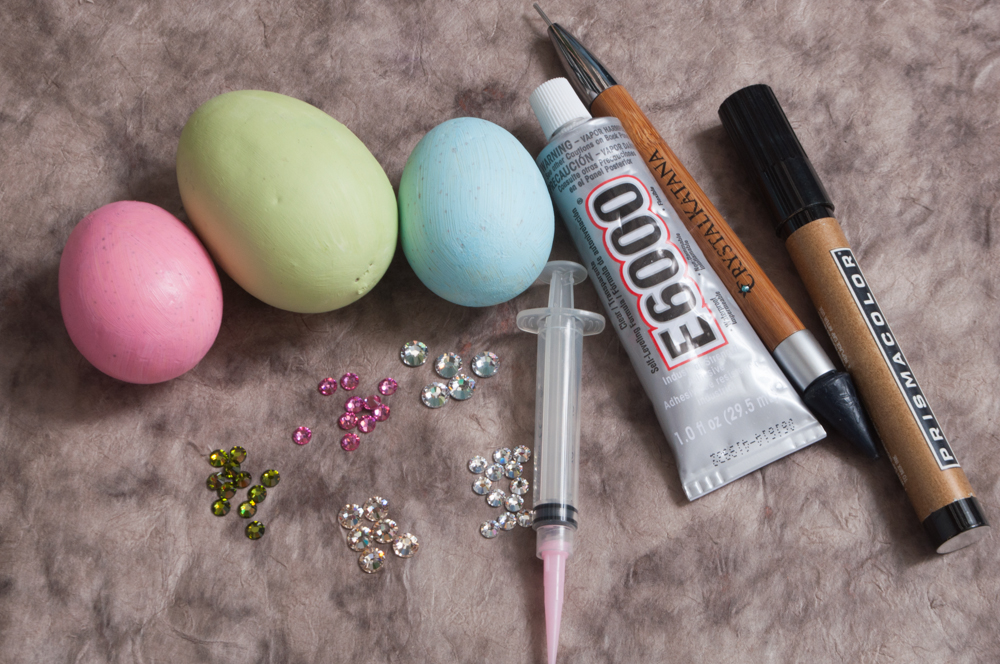
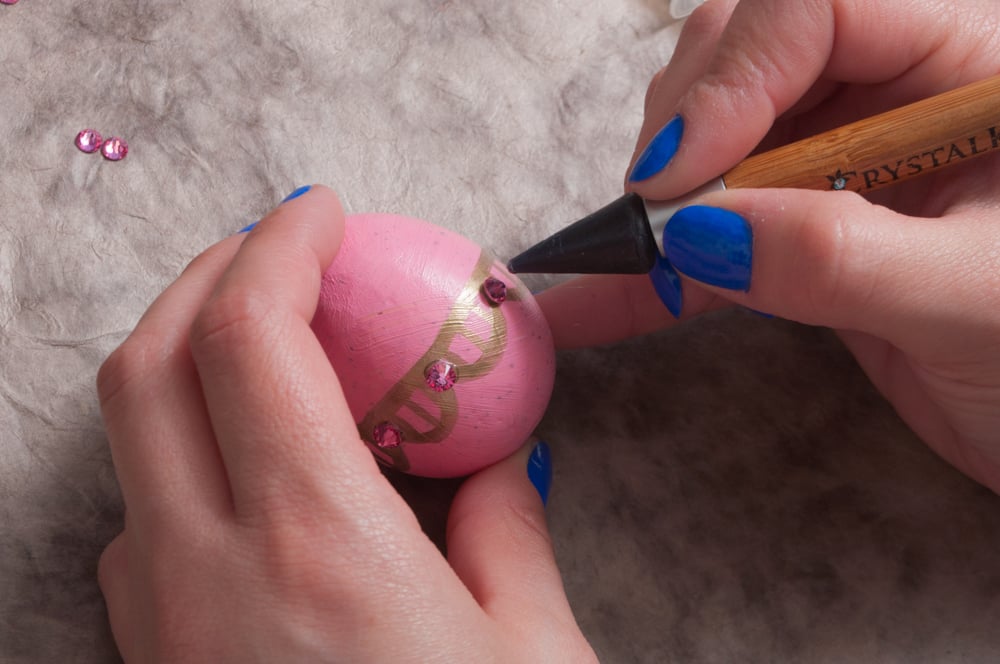
 1. Create a scallop pattern with your gold pen going around the middle of the egg.