Tag: Interior

DIY: Dorm Room Décor Round Up

Dorm Room Décor Round Up

After a long day of classes followed by a long night of studying in the library, what you need is to come home to some peace and quiet to recharge before tomorrow’s craziness. There are a few different style directions that you can take to make your dorm as comfy and inviting as ever while still maintaining all of your spunky personality.

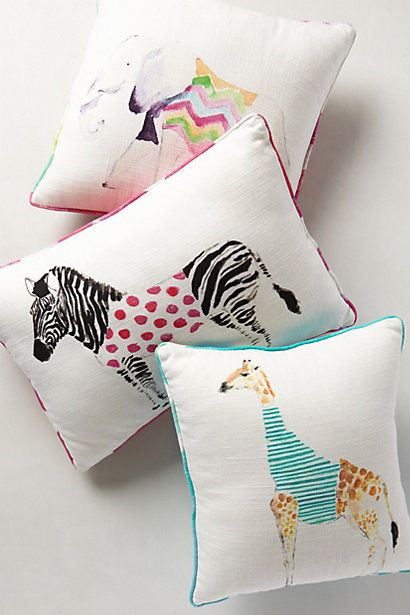
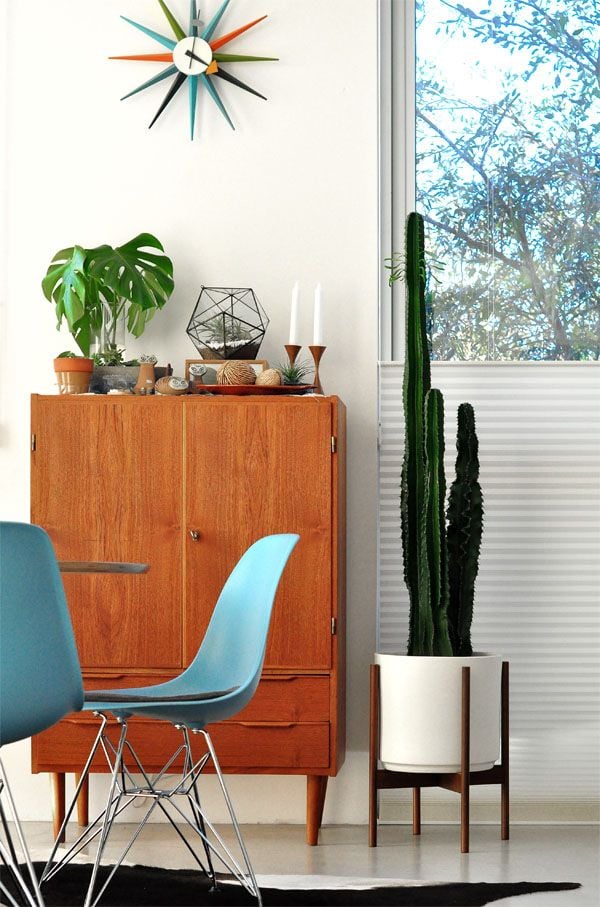
Come home to a bright, colorful jungle and escape your surroundings with this DIY: Jungalow Dorm Room  This décor option is for those adventurous spirits that like to travel and explore the unknown. Think tropical birds, bright blues, deep greens and fun, eclectic prints. 

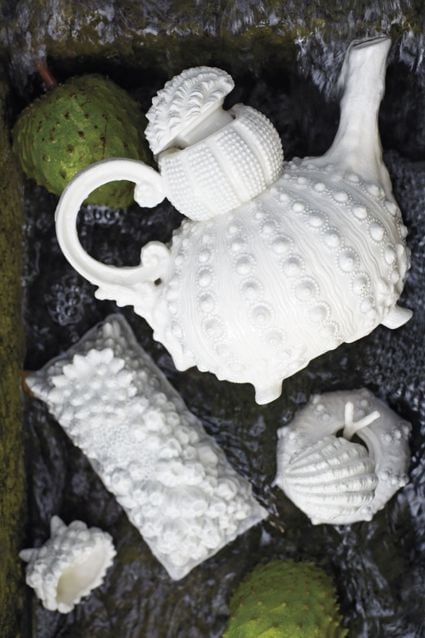
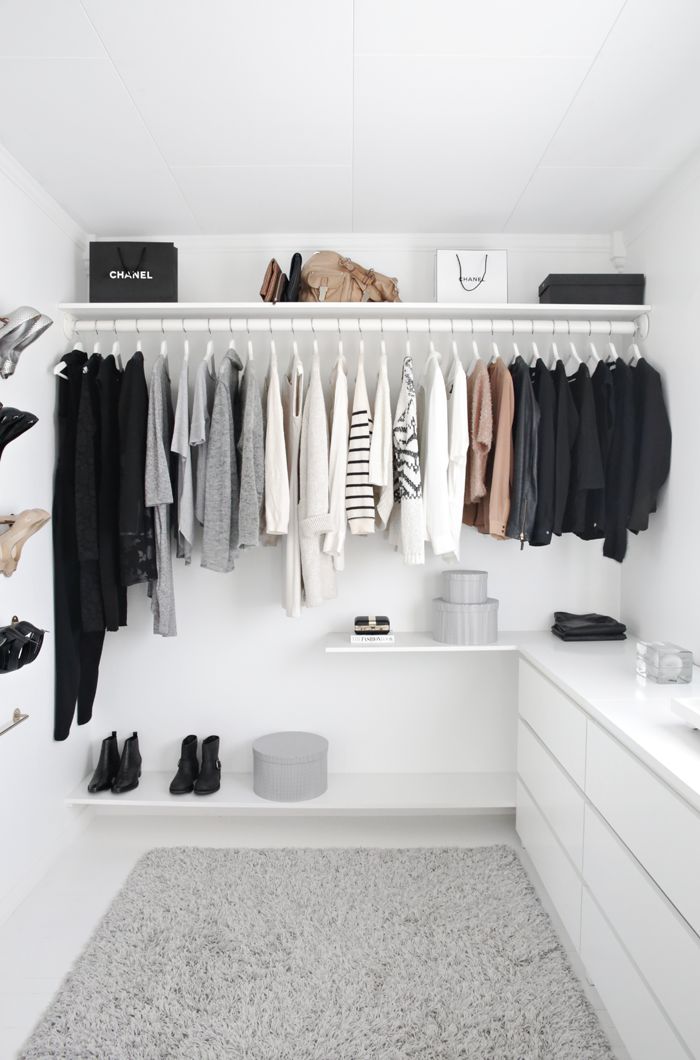
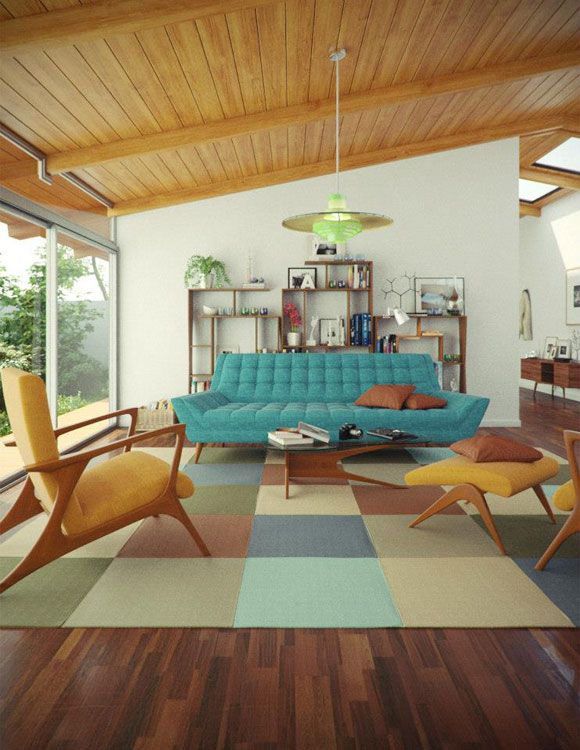
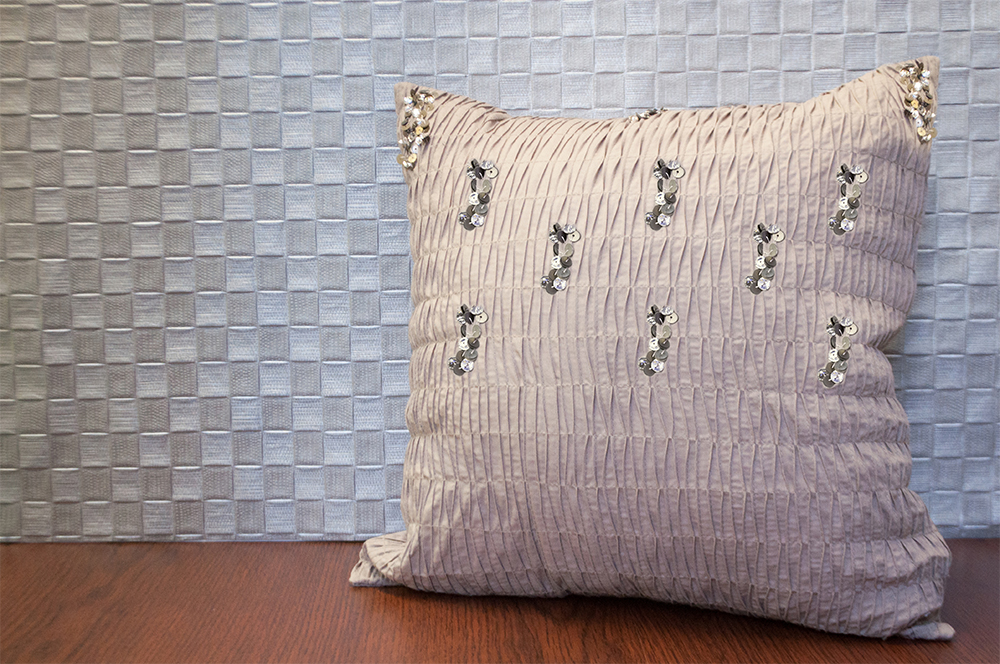
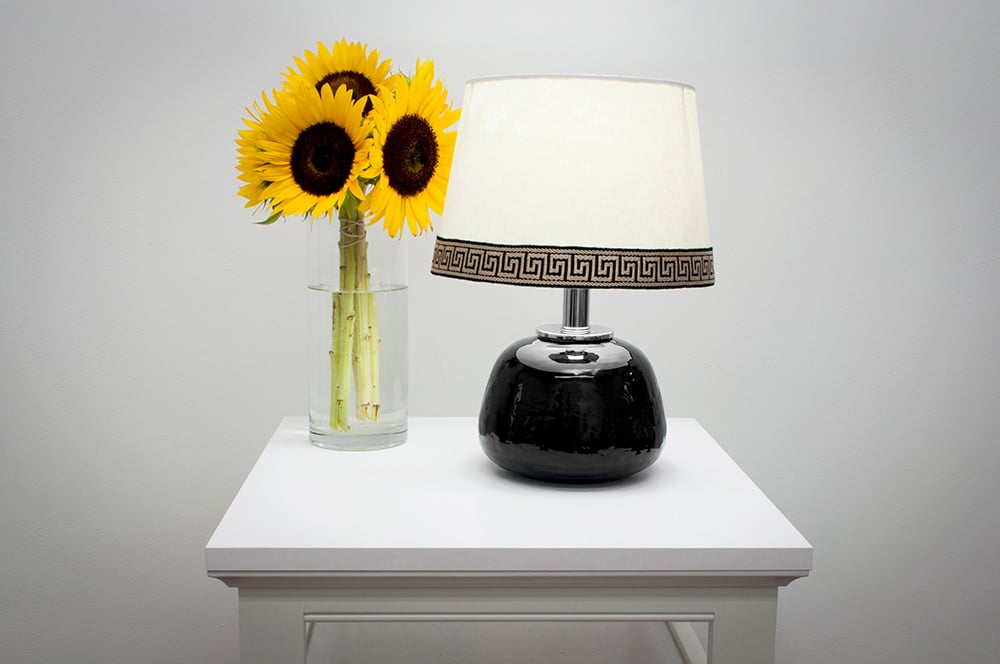
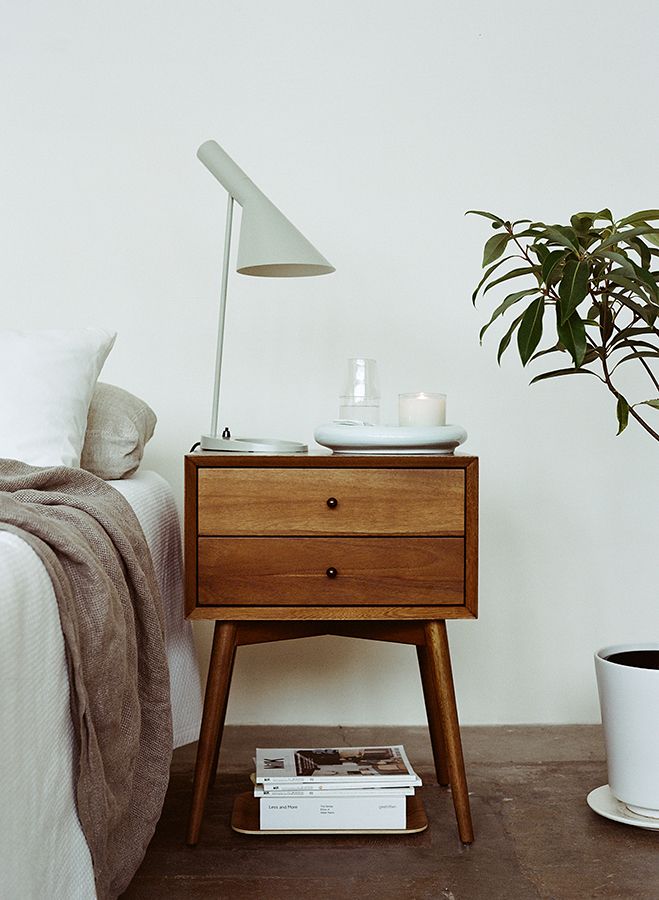
Rest and rejuvenate with DIY: Modern Dorm Room which will take you 10 years into the future when you’ve landed that sweet job and are living in your contemporary dream home. This style is for those with the latest fashion and decor tips at their fingertips who have an eye for modern design and know how to spice up any room with their trendy finds.

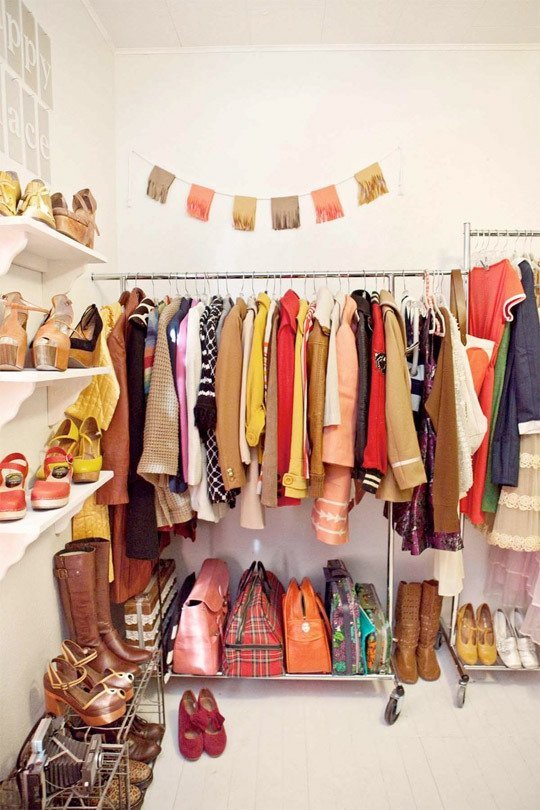
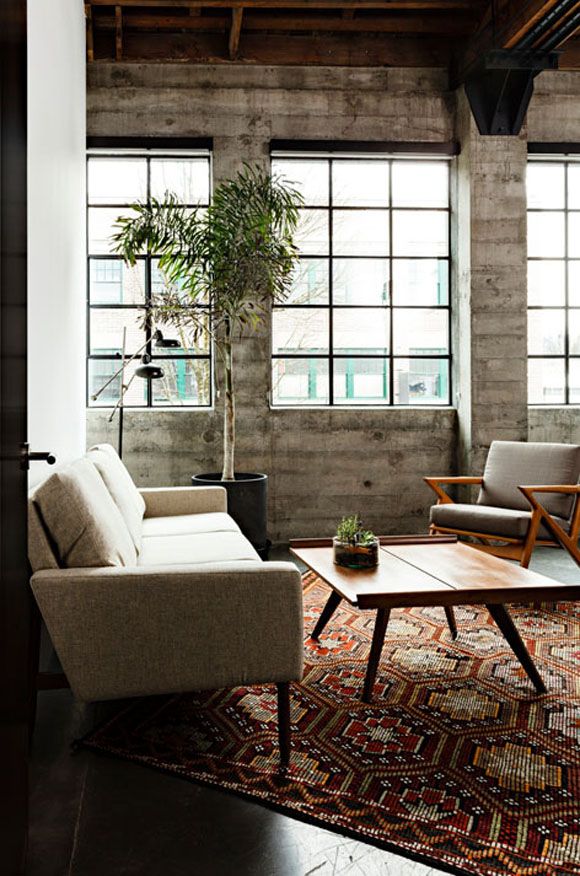
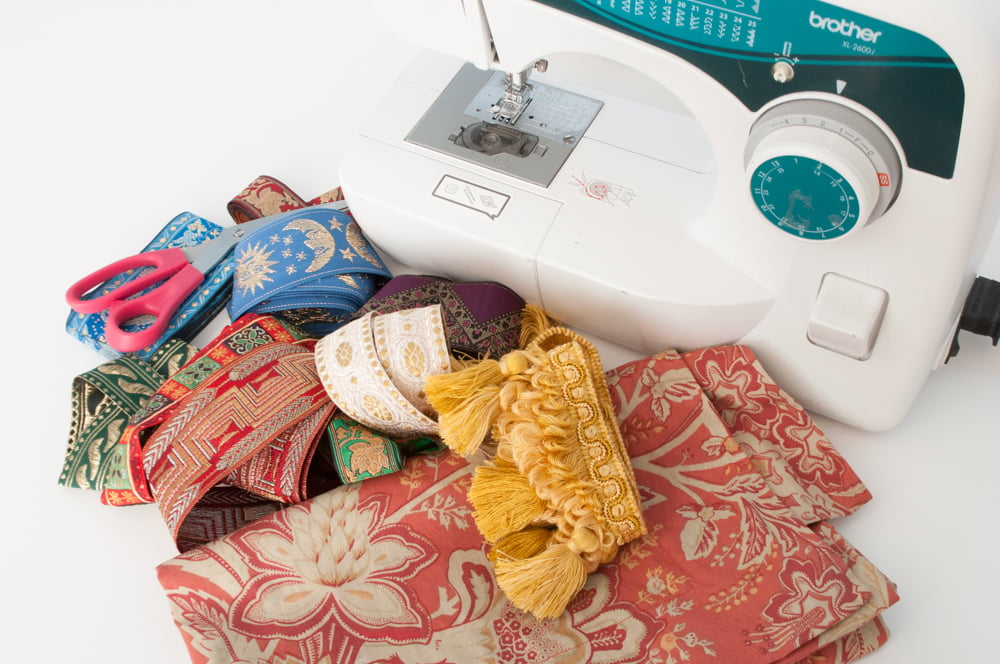
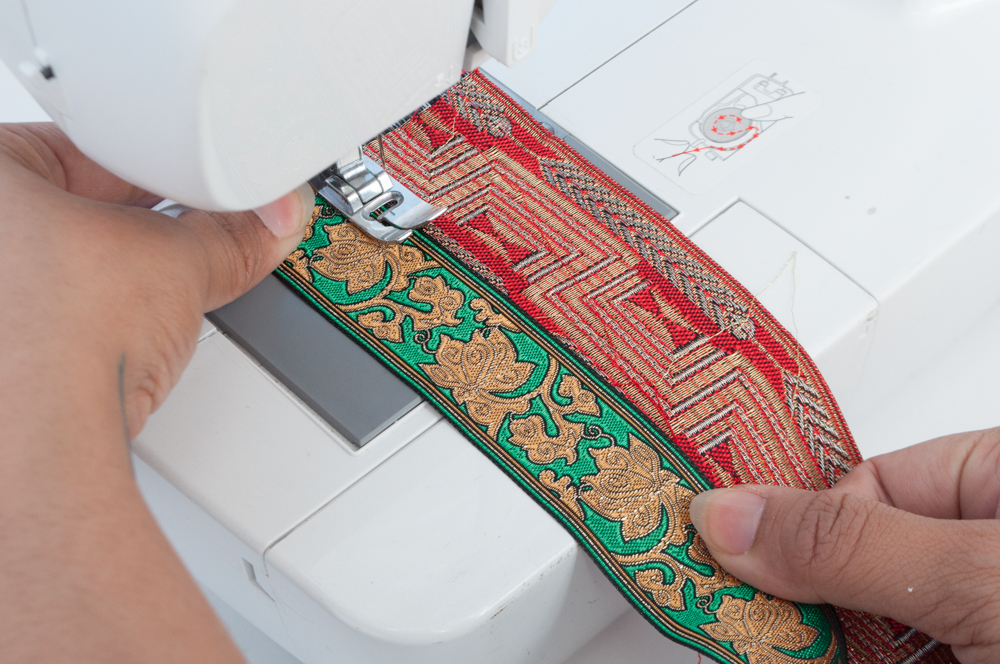
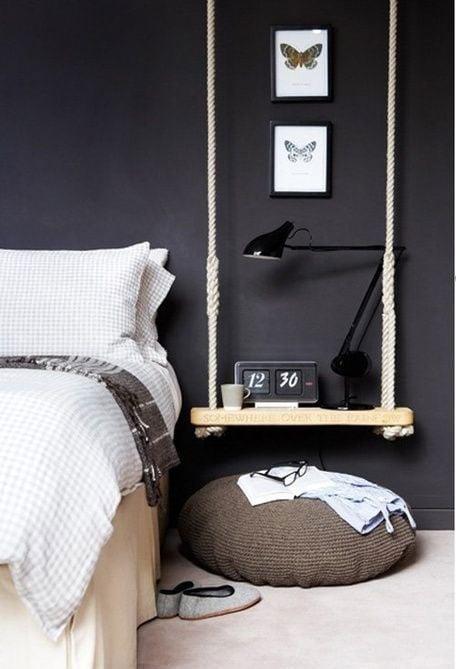
If you identify with the artists and bohemians all around you and love to wander, DIY Bohemian Chic Dorm Room will further express your free spirit. This room is all about earthy colors, rich textures and a fringe wall hanging that will bring your inner maverick to light.

The room where you’ll spend over 1/3 of your day should express your inner self and be home to your creative genius. Whichever option you choose, you can be confident that your dorm room will tower above all others in its unique, chic beauty.

DIY: Jungalow Dorm Room

If you love plants and the word “Jungalow” is unfamiliar to you, you should get acquainted, quickly. The true queen of Jungalow is Justina Blakeney, with her ‘jungaliciousness’ (her word) decor and homes. It combines bright colors and organic textures with nature. It’s not a hard look to achieve and if you can’t keep plants alive just find some real looking fake ones. Besides, if you’re in college, looking after yourself is hard enough. I have two easy DIY’s to add some color to your Jungalow.

Beaded Jungle Lamp

I found this fabric in our fabric drawer and I couldn’t believe how perfect it was for this DIY. I decided to sew a lampshade for it that fit one of the frames I had. You could just modify an existing lampshade or buy one for cheap at a thrift store. And you can substitute the printed fabric for solid colors if that’s more your style.

Here’s what you’ll need:

A lampshade

Beaded Fringe

Sequin Patches – We used this, this and this

Sewing Machine or Strong Fabric Glue

Iron

1

First, start by placing your patches on your lampshade. Since I made mine I could lay it flat, but if you have a pre-made one you can pin your patches to it for placement. Once you have them where you want them, cover them with a thin cotton cloth. Using an iron on it’s hottest setting, press and hold down for 20 seconds at a time. Repeat if necessary. Be careful, the metal of the lamp will get hot too. For all those of you who own a hair iron, you can use that too.

*DO NOT do this while the lamp is still plugged in.

2

Once all the patches are ironed on, start pinning the beaded fringe to the fabric. If you’re going to be gluing it to the lampshade you can skip this step. Pin the fringe and the fabric with their ‘right’ sides facing each other.

3

If you’re using glue (I suggest Sobo Craft Glue or E6000), start gluing the fringe in sections to the inside of the lampshade for a neater finish. You can use binder clips to keep it in place while it dries. I would sew a few stitches by hand just to secure it.

If you’re sewing it to a lampshade, sew along the pinned fabric, removing the pins as you go along.

Now plug that lamp in and watch the beads catch the light.

Jacquard Bed Scarf

You must be wondering what a bed scarf is. Trust me, the term is new to me too. I just called it that decorative quilt-like thing at the foot of the bed. So that’s what a bed scarf is. I decided to use all the beautiful jacquards that we have and it totally goes with the Jungalow theme.

You’ll need:

Jacquard trim – We used the following:

1 ½” Ivory and Gold Jacquard

30MM Metallic Jacquard

2″ (50mm) Sun Moon Jacquard

Embroidered Metallic Jacquard

50MM Imported Wine Metallic Jacquard

53MM Fine Imported Jacquard

1 ¼” Metallic Jacquard Red/Gold

40MM Metallic Jacquard Red/Green


Tassel trim

Scrap fabric – You can choose a print you like that complements the jacquard

Scissors

A sewing machine – If you don’t have a sewing machine you can glue the trims together but I strongly recommend sewing

1

Plan the arrangement of your trims. Take a picture when you’re done so you know the order you want them in.


2

Take the first two trims and lay one over the other, overlapping very slightly. Now sew along the edge making sure you’re sewing both together. Repeat this process with the all the trims.


3

When you’re done with all the jacquard, place the tassel trim with the tassels at one end of the scarf, facing away from the edge; right side facing down. Next,  take the scarp fabric and lay it over the the tassel trim, sandwiching it in between.


4

Sew along about 1/2″ from the edge. You can leave the fabric in the back unfinished and cut it to about 2 inches or you can do a double fold and sew it. Repeat this for the other side of the scarf. I added a top stitch just to make it more sturdy.


And Voila. Jungalow done.


DIY: Greek Key Trimmed Lamp

This week’s DIY is super simple, but incredibly chic. We took one of our favorite patterns, Greek key, and added it to a basic white lamp shade. The result? A lamp that looks fabulous, and is easy and inexpensive to make.DSC_0835

1 3/8″ (33mm) Greek Key Jacquard

Sobo Glue

Scissors

Lamp Base

DSC_08361. Wrap the trim around the base of your lampshade to see how much trim your will need.

DSC_08372. Cut to the length you will need

DSC_08393. Apply glue to the base of the lampshade.

DSC_08384. Place your trim on the areas with glue.  If your lampshade has a seam, start there.

DSC_0844Continue wrapping the trimming around the lampshade until it covers the entire length of the base.

DSC_0876


Nightstand Necessities Inspiration

One of the most intimate spots in the home is sometimes the most overlooked: the nightstand. But your nightstand can say a lot about your personality because it holds the last things you use right before you drift off to sleep. From books to magazines to a soothing scented candle, your nightstand is a very personal spot, and like the rest of our homes, we want it to look stylish! Check out these end tables that you’ll be happy to end your day with.bf57c508ad96fcef2ba1aaa2eb8a9bf2

a752f31ae4dfe49beb14a26d693e8993

e6fc98f4060f6aa66be3edd71685dfbb

Simple-DIY-Nightstand


548f8c50d7ab0_-_dsc_0022

DIY: Nautical Wreath DIY

Memorial Day is this weekend, and that marks the unofficial start of summer! Get your home ready for the sunny days of summer with a warm summer wreath! We used a basic wreath and wrapped it with ribbon and jute to give it a fun nautical feel.

DSC_0768

Materials:

Wooden flat circular wreath

1.5” Heavy Apron Tape

Small Tubular Jute

1” Stitched Grosgrain

7/8” Grosgrain Ribbon

Scissors

Hot Glue

 DSC_0770
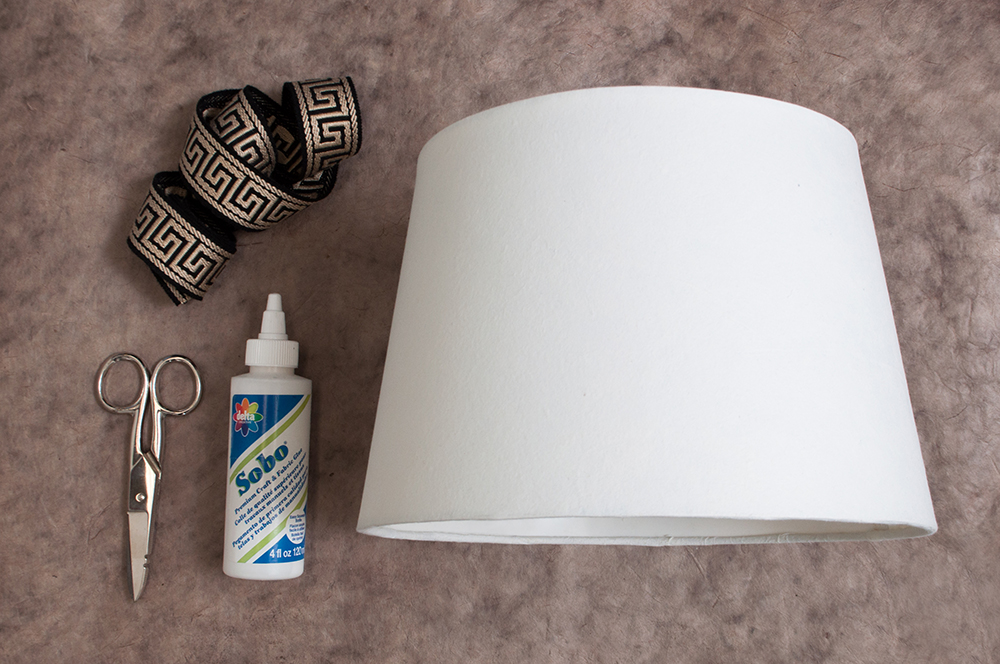
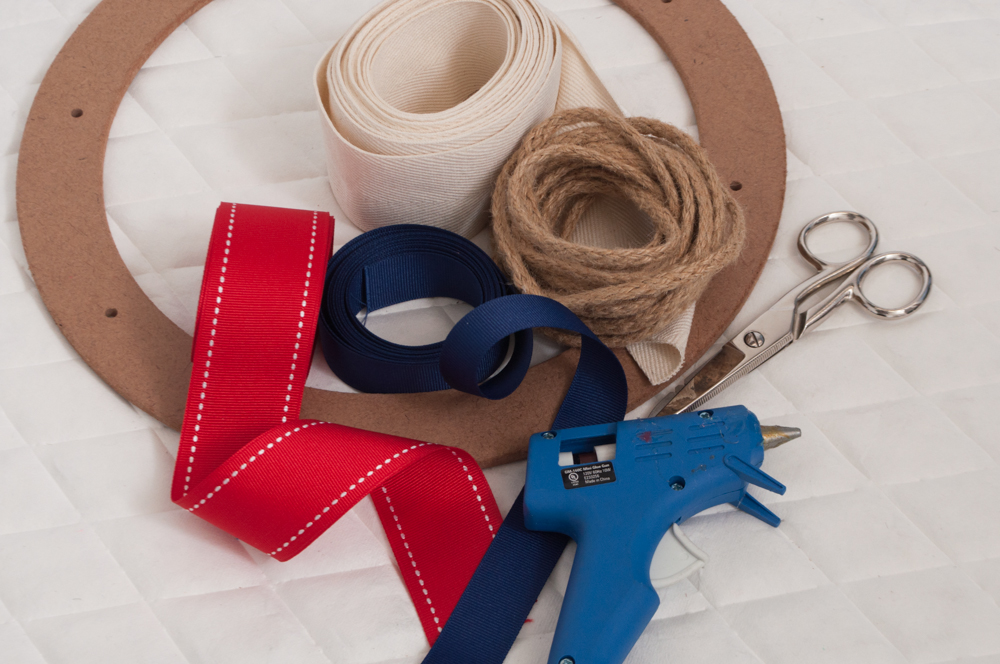
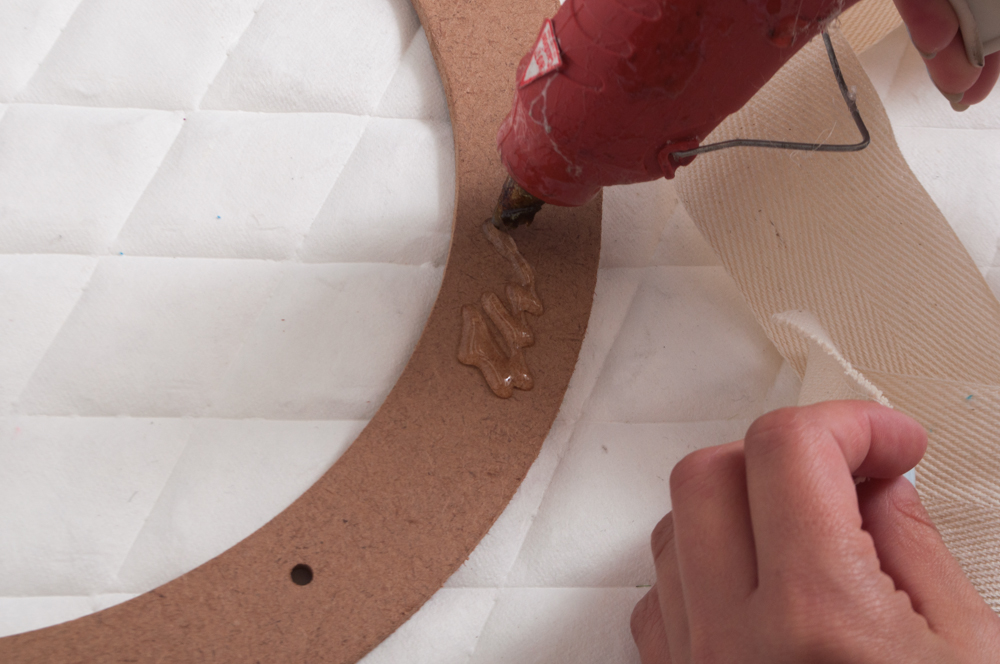
1. Take your apron tape and glue the tip down on the back of the wreath.

DSC_07742. Start wrapping around the entire wreath until you meet the area you started with.DSC_07773. With the excess tape create a continuing loop for hanging the wreath once it is complete. Glue the end to the back and cut excess.

DSC_07864. Take your jute and glue the tip into the back of the wreath under the tape.

DSC_07915. Wrap around wreath until you reach the end. Cut and glue tip into the tape behind the wreath.

DSC_0792
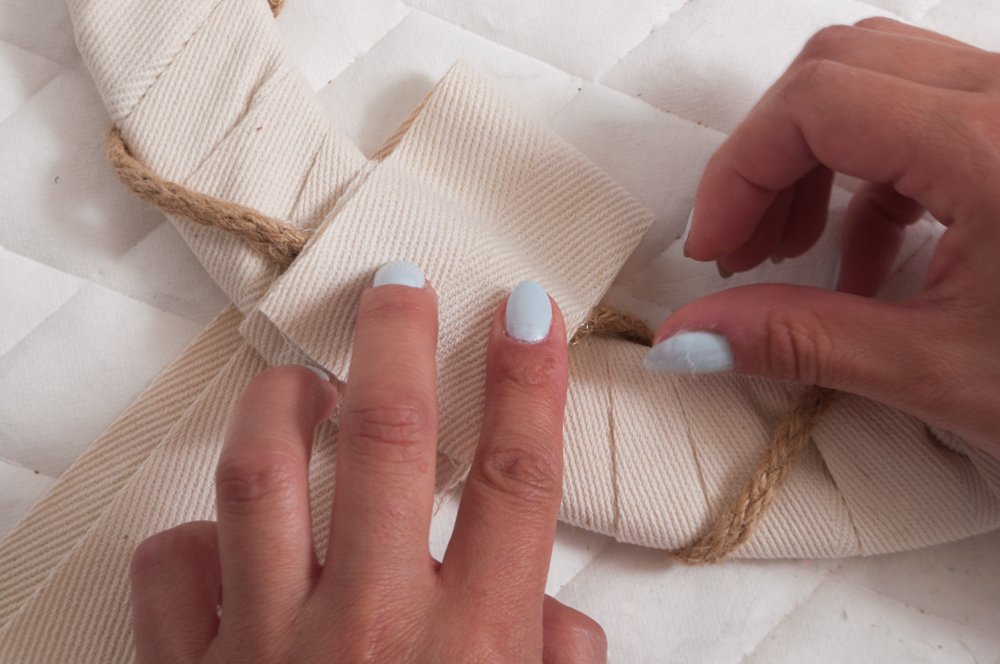
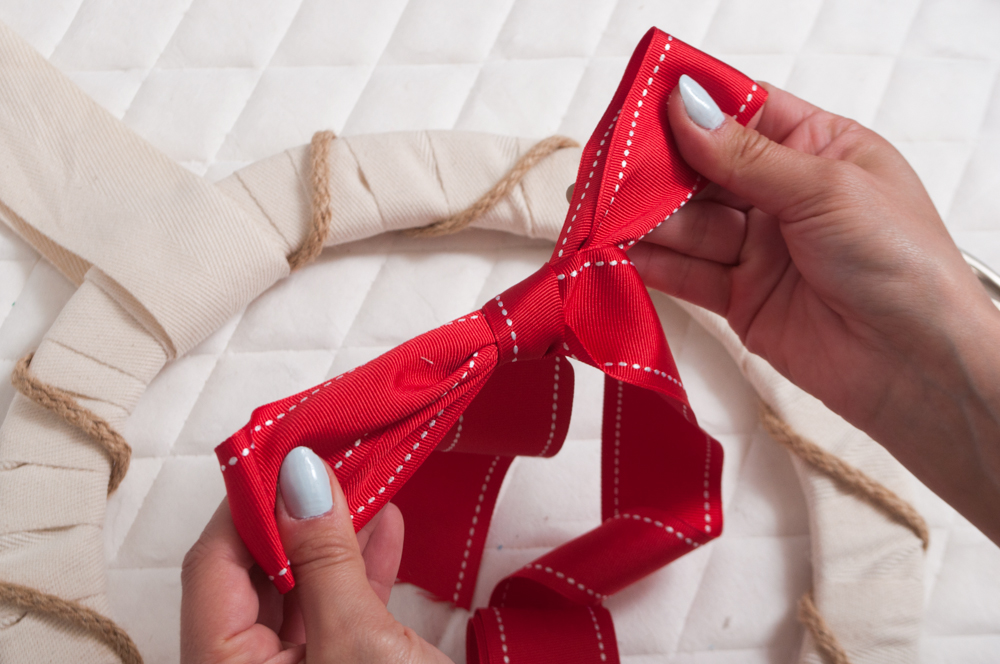
6. Create two bows with the red and navy ribbon. Glue red one down and then the smaller navy one on top.

 nautical-wreath

Ceramics as Centerpieces

We often hear the phrase, “it’s what’s on the inside that counts”, and while it’s true in most cases, today we’re making an exception. We’re looking at the inspiring vessels for flowers, foods and drink that are making a comeback in homes all around the world: ceramics. Unique ceramics are becoming statement and conversation pieces that can make their way into any room of the home. They’re also readily available for purchase from artists all corners of the earth and hit all price points, making this truly accessible art. The best part? There are so many styles from modern to rustic, that you’re sure to find the piece for you!
Ceramic-Hanging-Pot1


26984146_004_f


d6209eca12693abebda8f0153b51f759


Anticipation_780x1172


tumblr_lfdkddK01N1qecfdw

Mid-Century Modern Decor Inspiration

They say history repeats itself and, when it comes to mid-century design, we’re welcoming it back with open arms. The desire for this design, which reached peak popularity in the 1950s and 60s, has resurfaced partly because of shows like Mad Men which highlight and romanticize this period. This style is characterized by sleek and sophisticated shapes, clean lines, and multipurpose functionality. The colors can range from kitschy bright blues and oranges, to earthy olives. Like the look, but don’t know how to keep it fresh? Add mid-century elements while also infusing modern pieces and colors into the mix.
87bc01a1929f6b28af5b04f3a0d504ed

d389272a6a51fa49a7bd8f5a74a5bc56 (1)

6dca88adc8d142784e85b7ac2d714f9e

361c8164e9d8b37b33c086155f9b1211


Affordable-Midcentury-Decor

DIY: Embellished Pillow

Add a little ice to your home decor this season with an embellished pillow that is sure to sparkle! We used loch rosen rhinestones and flat metal sequins to add a multi-dimensional shimmer that’s not too over-the-top, but still has a high-end style. DSC_0150

What You’ll Need:

6mm Round Loch Rosen Rhinestones
8mm Round Metal Sequins*
Pillow
Needle and thread
Scissors

DSC_01601. Sew sequins and sew-on rhinestones into an abstract cluster shape.

DSC_01622. Repeat the pattern throughout the pillow, or embellish random sections for a more eclectic look!

DSC_0166

*This item is currently unavailable. Check out our full selection of sequins.