Category: Blogger of the Month

Our Favorite Blogger of the Month!

By Blerona

It’s that time again, when we pick our favorite blogger of the MONTH! Our pick for April is someone you know very well!

Nicole from Sketch42blog, yes the same blogger from our first ever M&J DIY Challenge! Well we invited her back her own post because we love her work so much. Nicole is the ultimate interior decorator! Don’t believe me well check out her blog, she decorated her entire apartment all on her own and added her own artwork to the walls. See her beautiful home in RUE Magazine. On her blog she shares her love for home decor, fashion and just about everything else. And we’re so happy to have her guest post for us again.

Here’s what we sent her for the Blogger of the Month Challenge…check back on Friday April 15th, 2011 to she what she made!


Brooklyn Limestone Blogger of the Month – March

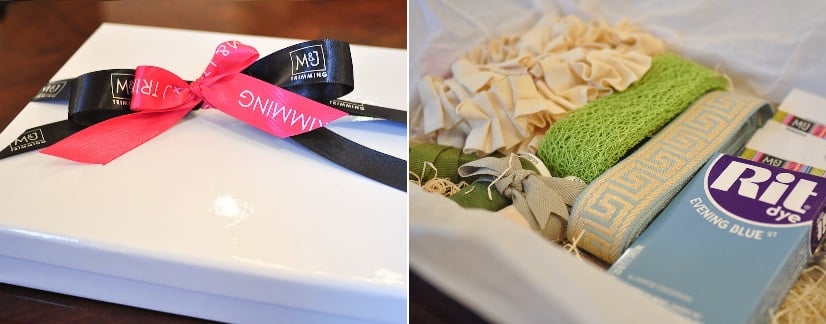
Hi everyone – Stefanie of Brooklyn Limestone here.  MJ Trim is one of my favorite NYC stores to get lost in so of course I jumped on the opportunity to work on a mystery box project with them.  As soon as the box arrived, I tore it open to find this lovely presentation.  So pretty!  

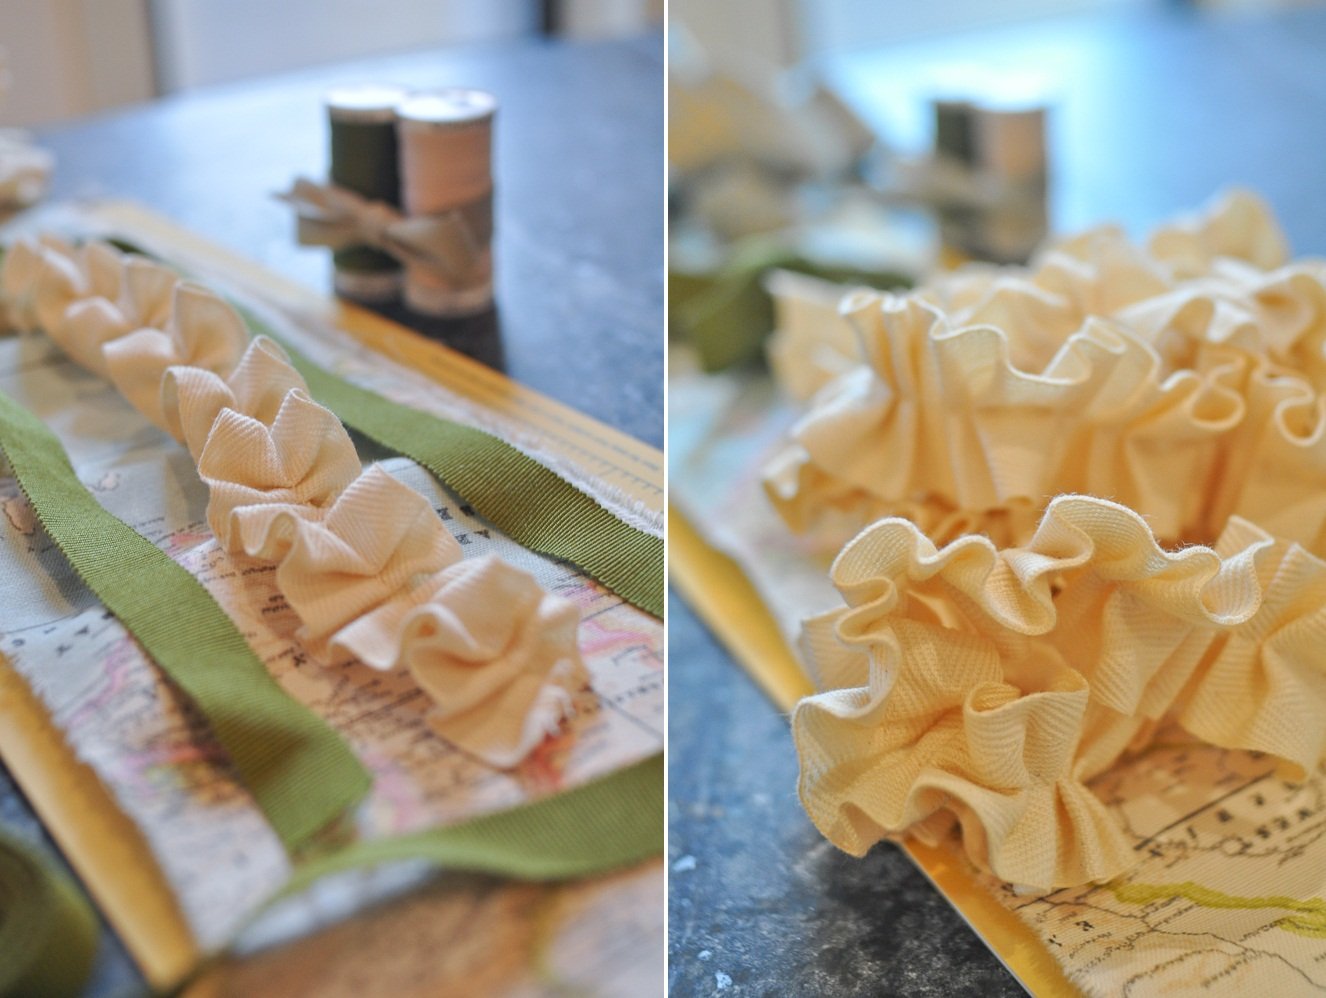
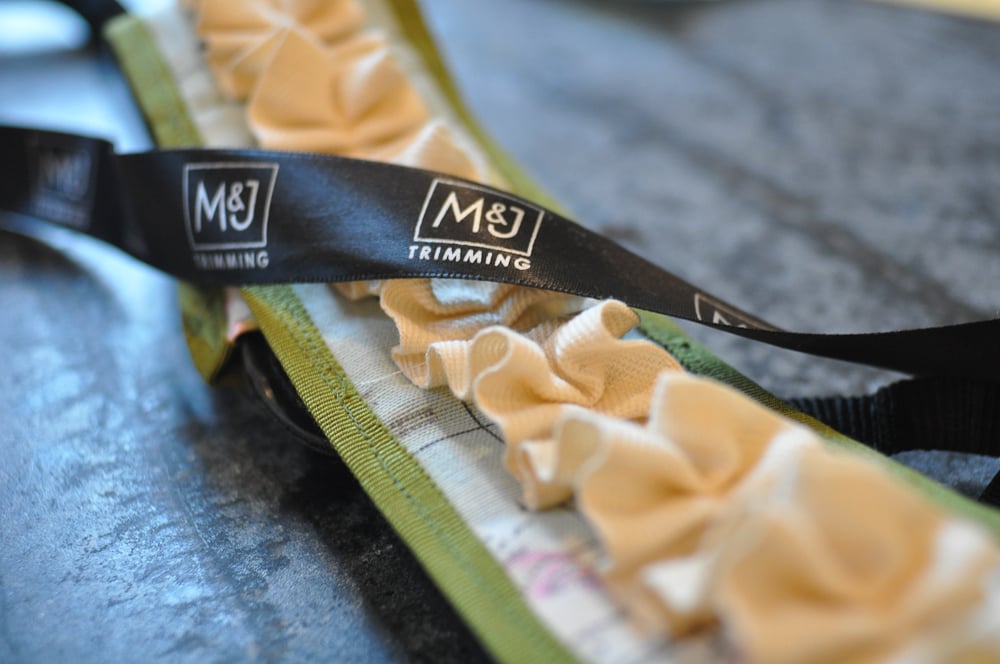
I knew I wanted to make a camera strap cover even before the box arrived.  I pulled out all the pretty ribbons until I decided on the pleated twill tape and the green grosgrain would be the perfect pairing with some map fabric I had set aside.

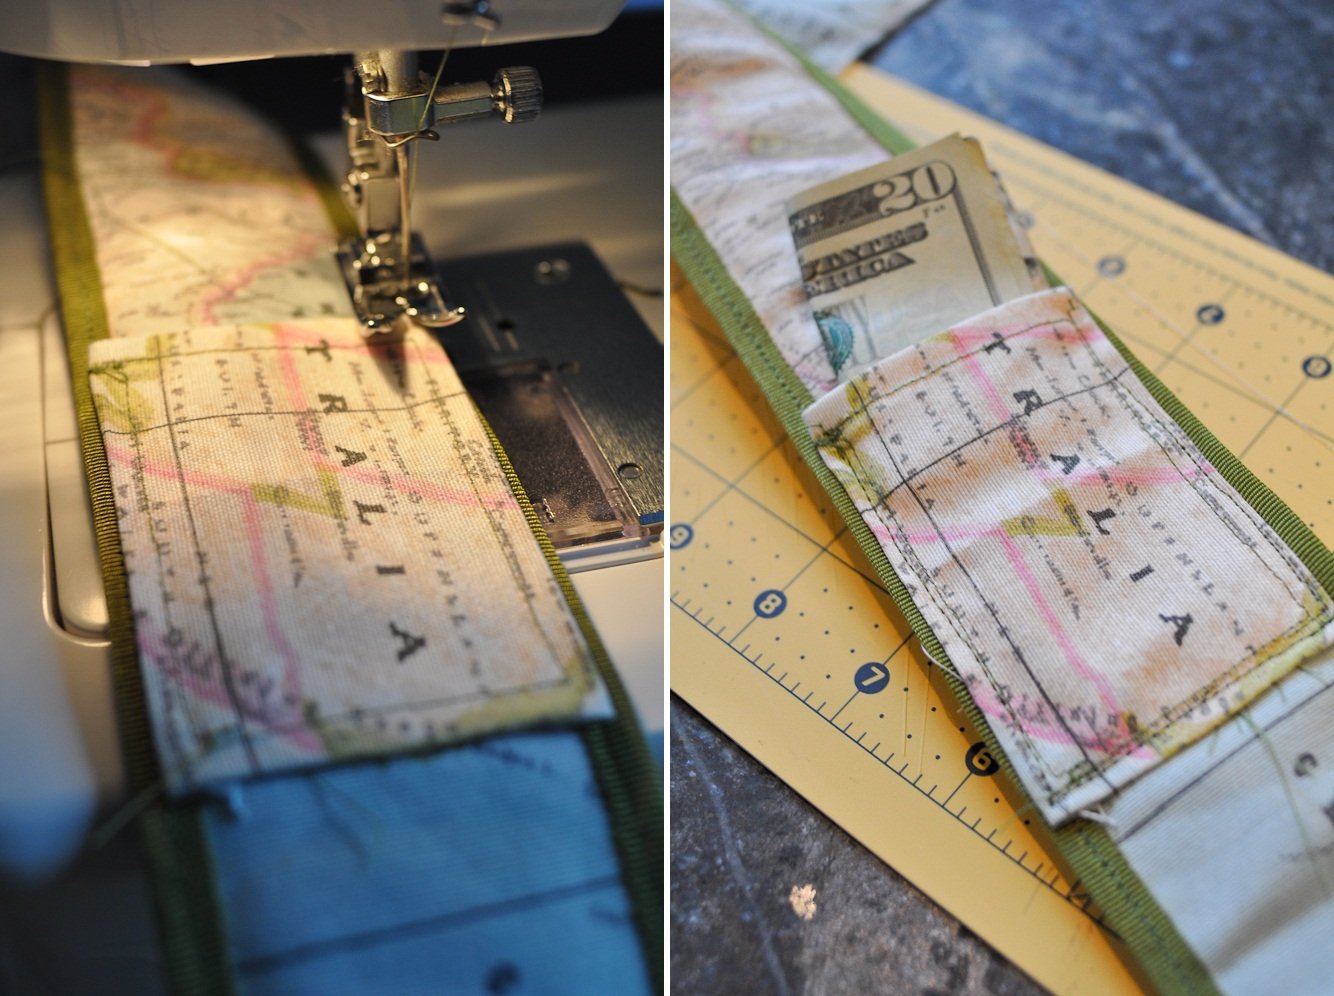
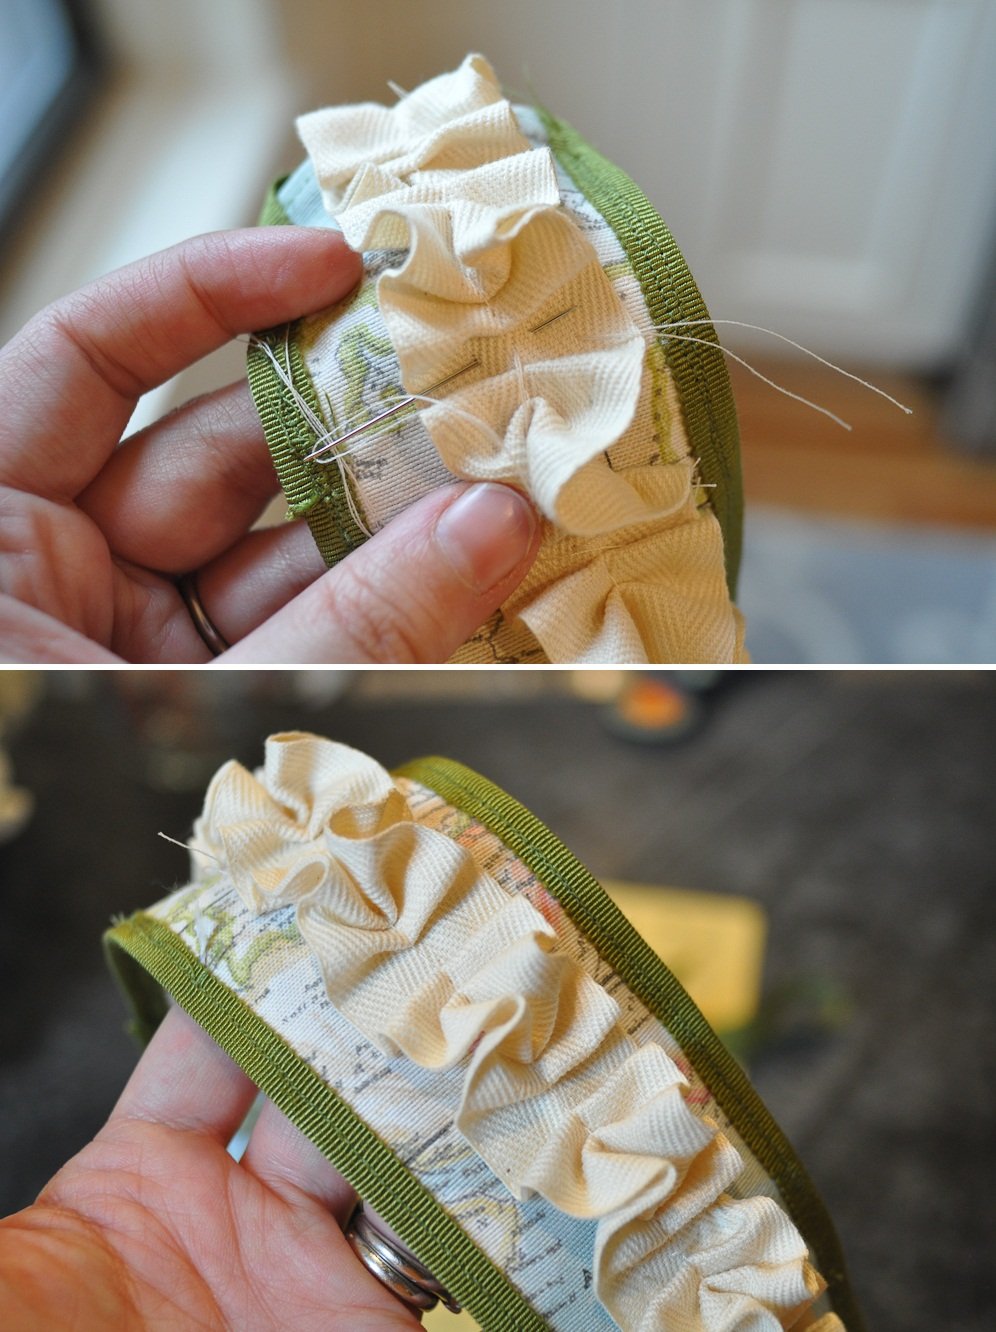
Camera strap covers are a very simple project – even for a very poor seamstress like me.  Essentially all you are creating is a very long, narrow pillow case with two open ends instead of one. I measured the length I’d need and cut out the fabric and ribbon to just larger than that. I sewed down the short edges to finish those before adding the grosgrain. Then I ironed the grosgrain in half to make a faux piping treatment along each edge, pinned place, turned down the edges into the sleeve and sewed it up on both edges. As an after thought, I made a quick rectangular pocket for the inside of the strap (the part that rests against my shoulder) to sock away a little cash for those times I’m not carrying a purse.  At this point the cover was pretty much functional but a little too plain.   Time for the cherry on top – the off white ruffle tape.  I just hand stitched it every few inches to the cover and voilà…a feminine and practical accessory for anyone like me who drags their camera everywhere made in no time at all.  

I just love it.  Thanks MJ!

M&J Materials Used:

Here are the steps – Click on Photos to enlarge


 Project 2

After the camera strap I had that lovely Greek Key ribbon staring back at me.  Oh what would I do with it?  A mini inspiration board was just the thing. 

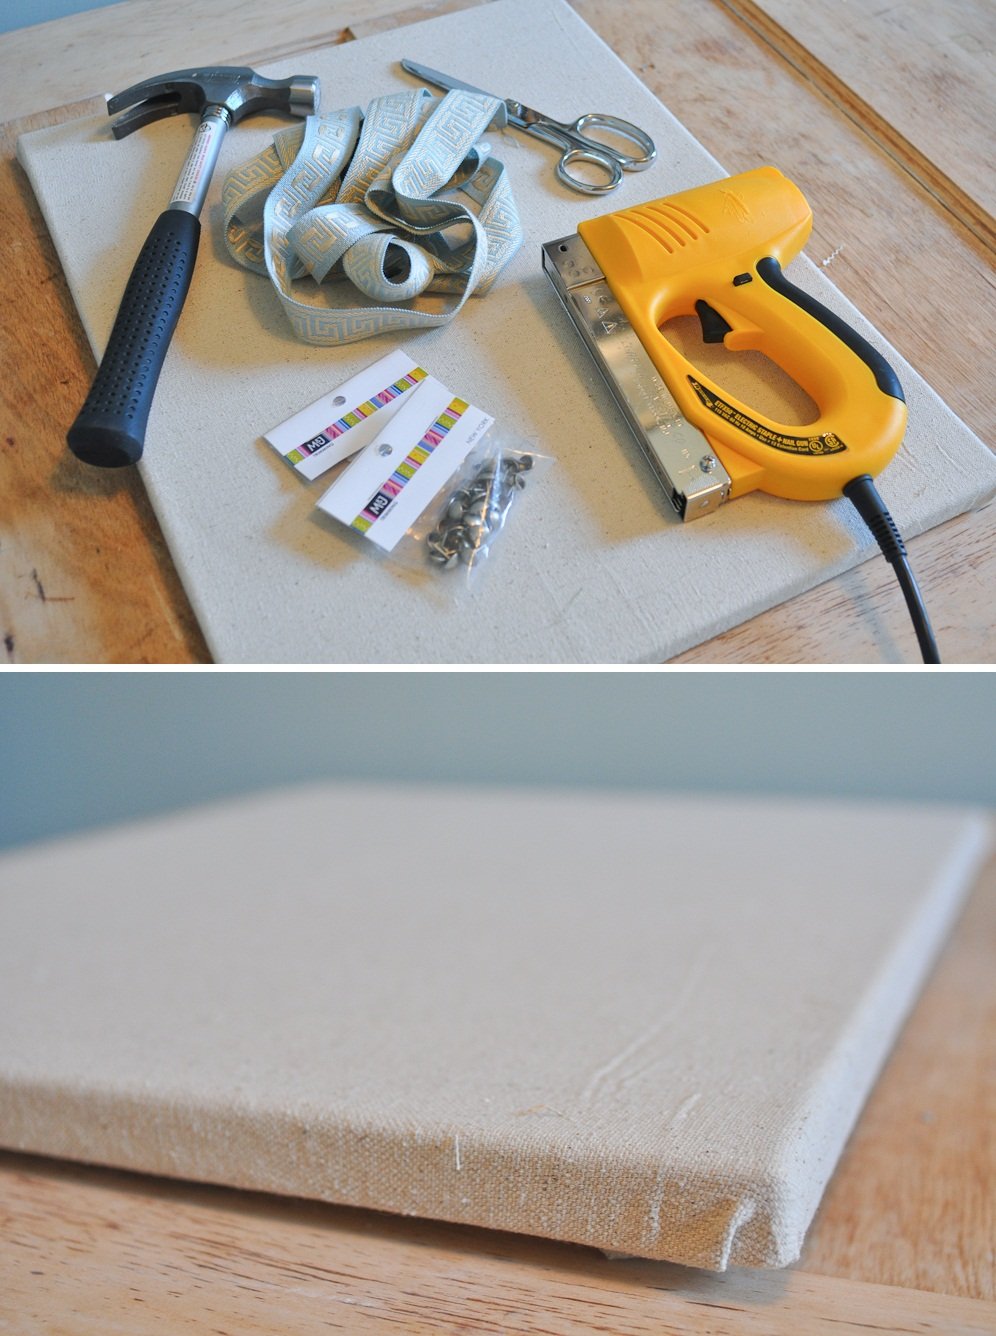
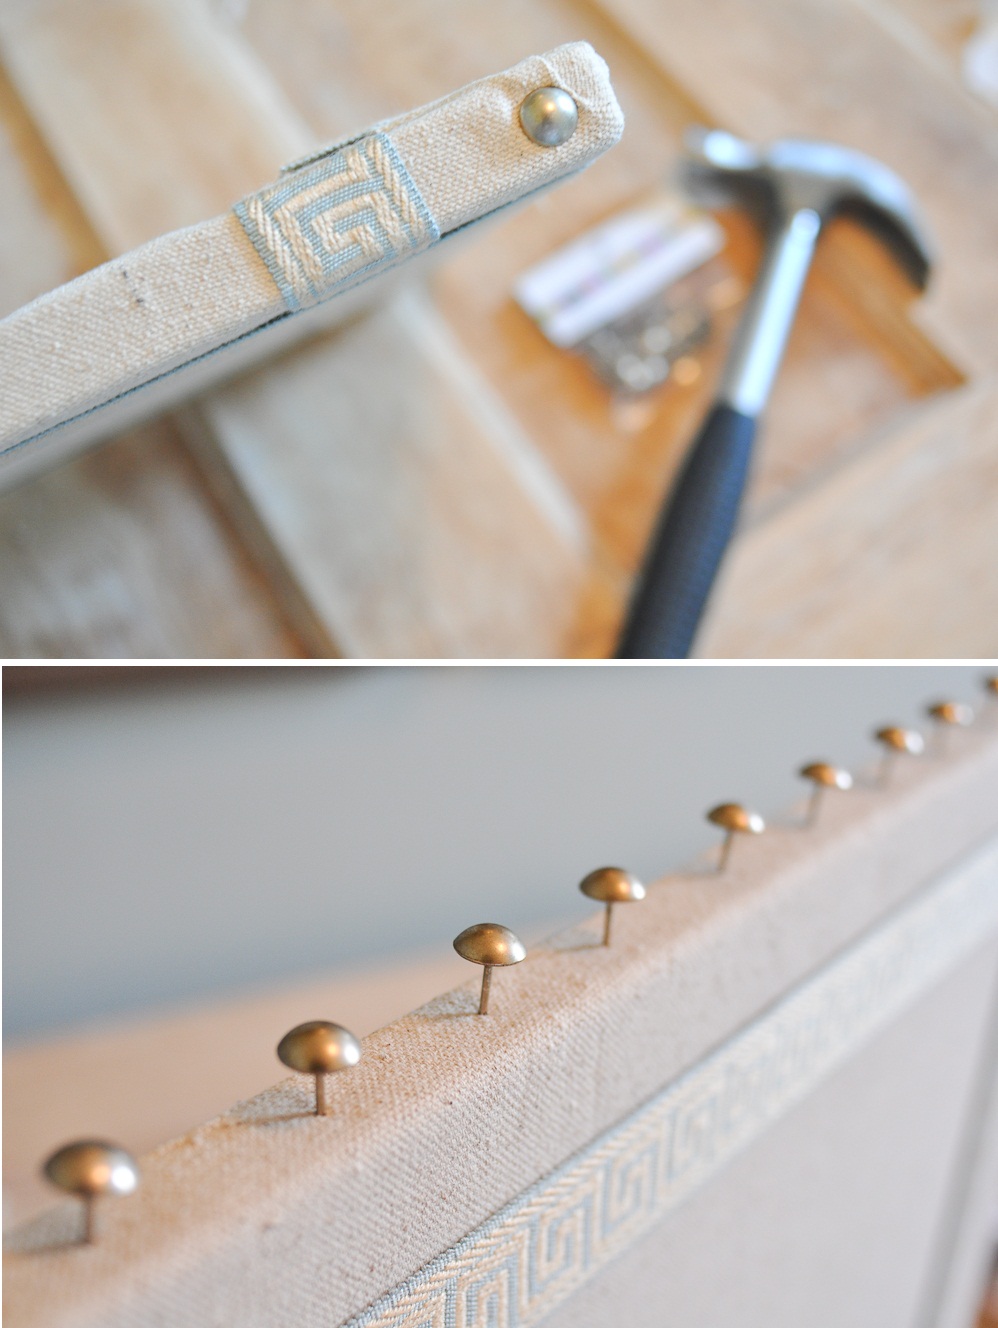
I started off with a stretched canvas I had laying around and covered it with a bit of drop cloth canvas fabric. Out came the tools: a staple gun, scissors, a hammer, the ribbon and the nailheads. I played with various layouts of the ribbon until I settled on a simple frame.  After cutting the ribbon to size, I pulled it taut and stapled it at the back. 

Finally it was time for a little bit of hardware.  The precise way to apply the nailheads would be to carefully measure out the spacing but I was looking for a quick alternative so I simply used two fingers as a guide.  I set the nail heads tentatively into the frame to make sure it looked good before hammering all the way in.In less than 30 minutes, I had a lovely little inspiration board perfect for a desktop.  You could easily do this on a much larger scale with just a little more time and materials invested.

Materials Used:

  • 33mm Greek Key Jacquard Item#41897  Pale Blue/Antique
  • 11.5mm Dome Furniture Nailhead Item#45321 in  Antique Brass  (1-800-9-MJTRIM)

Here are the steps – Click on Photos to enlarge  


Visit her blog Brooklyn Limestone to see some Stefanie’s other Amazing DIY’s

Our Favorite Blogger of the Month!!

By Blerona

It’s that time of the month again, when we pick our favorite blogger of the MONTH! Our Pick for March is coming from NYC!

Meet Stefanie Schiada, design and lifestyle blogger better known to her readers from Brooklyn Limestone simply as Mrs. Limestone.  Whether working on a DIY home decor project, traveling to all corners of the world in the pursuit of a full passport or prepping for a costume party, she documents it all on her blog. Stefanie is a lifelong New Yorker and self confessed trash tv addict. Check out more of design, decor and travel at Brooklyn Limestone. And that’s why we love her, her home renovation just blew us away and so did all her other creative projects!

Heres what we sent her for the Blogger of the Month Challenge…now let’s see what she can make! Check back on Thursday March 17, 2011.

Phosphene Blogger of the Month – Febraury!

M&J’s First Blogger of the Month!!! *February

Pretty Little Things

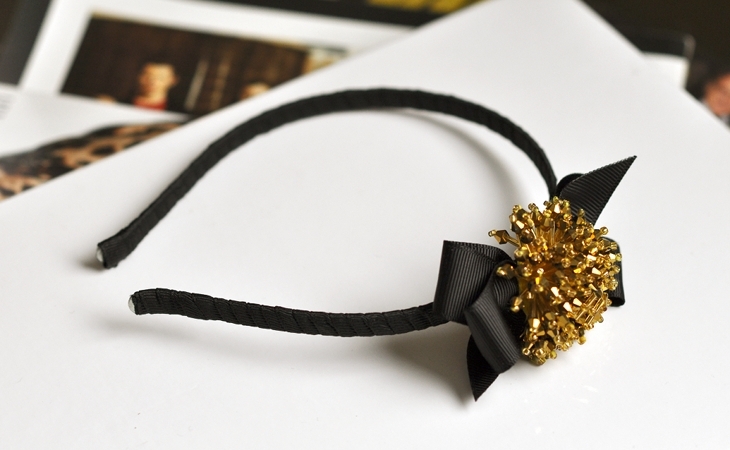
A grosgrain ribbon here and a handful of appliqués there is all it takes to add a few pretty accents to your wardrobe. Using some bows, iron-ons, and tulle trim, this is how I revamped an old shirt, made a brooch perfect for pinning onto bags and jackets, and whipped up a hairband.

Dotted Collar Blouse

 What you’ll need:

Directions

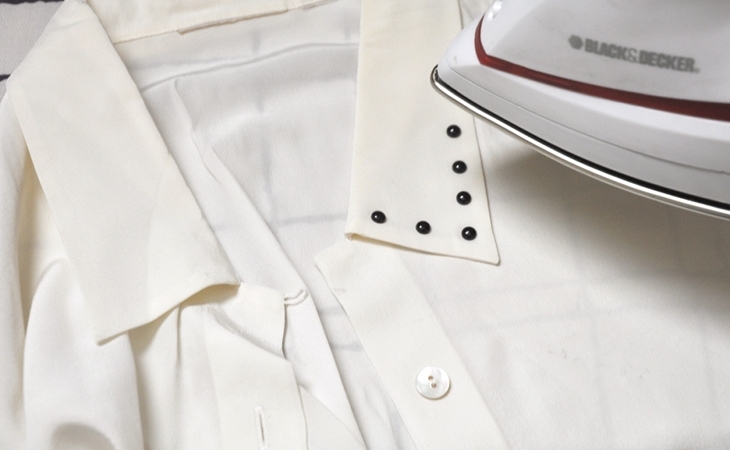
  1. Before any ironing, experiment with how you’d like to place the iron-on nailheads. I decided on outlining each collar and then filling them in with rows.
  2.  Iron the sequins one at a time. Place one onto the fabric and press down firmly for about 10 seconds. I recommend placing a thin piece of fabric between the iron and the surface of the iron-on nailhead so as to not damage them with direct heat.
  3. Make sure each iron-on nailhead is in place and can’t be flicked off easily. After all of them are in place, iron all of them one last time.
  4. Add a large black ribbon around the collar for a girly touch.

 _________________________________

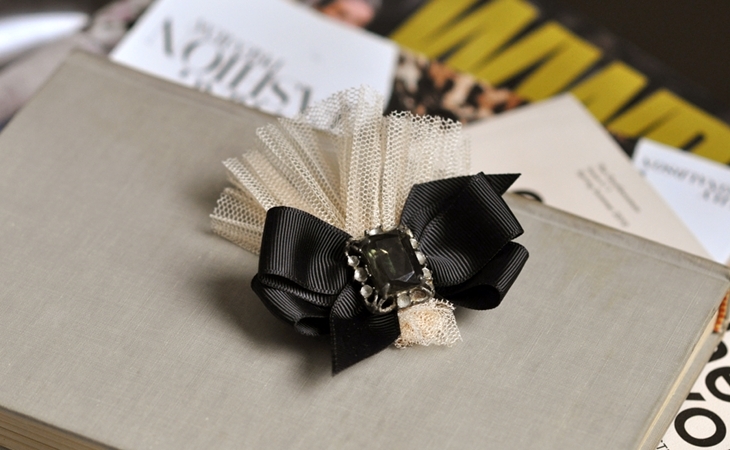
The Super Easy Brooch

What you’ll need:

Directions

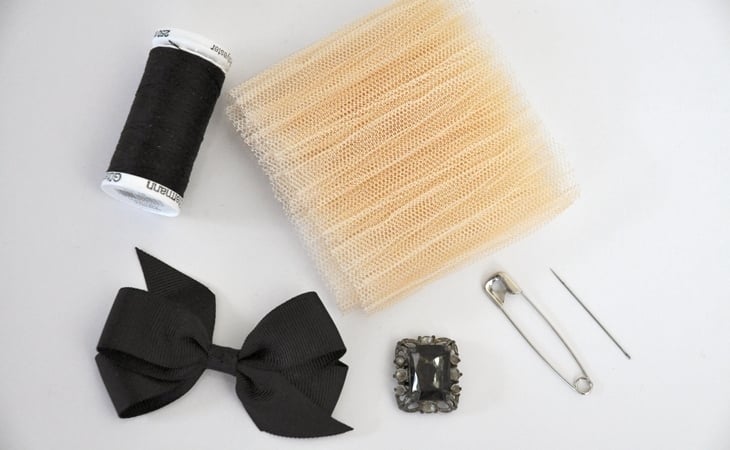
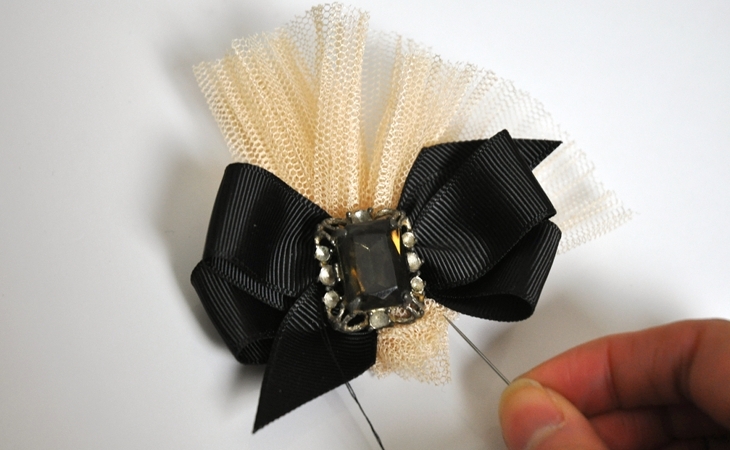
  1. Sew the rhinestone to the center of the grosgrain bow.
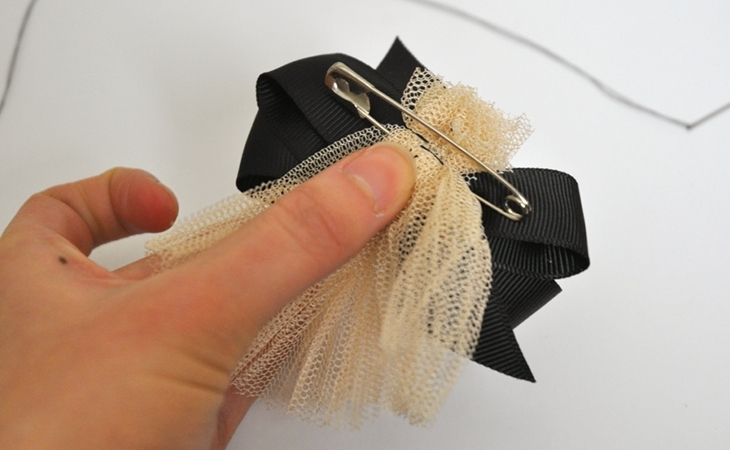
  2. Fold the tulle ribbon like a fan. Gather on the bottom and sew into place to the back of the bow.
  3. If you don’t have a pin back sitting around, a safety pin is a possible substitute. Just stick one in the back of the bow.
  4. Affix the brooch to lapels and collars, canvas bags, and more.

_________________________________

Gold Pompom Hairband

What you’ll need:

 Directions 

1. Sew appliqué into middle of the bow.

2. Sew both onto the side of the hairband. If the box can’t be sewn onto the hairband, for instance if you chose a metal or plastic hairband, you can use hot glue instead.