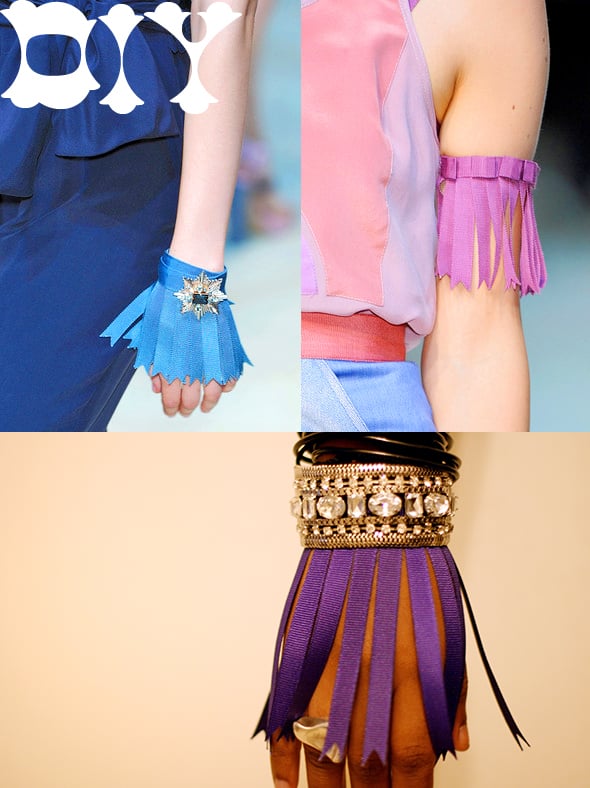
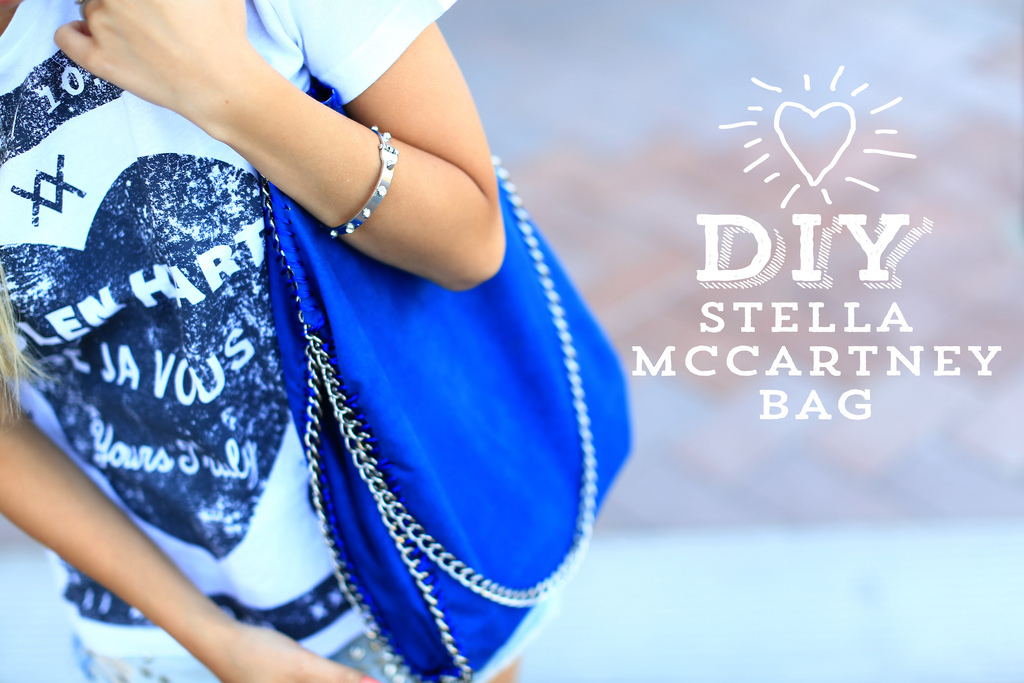
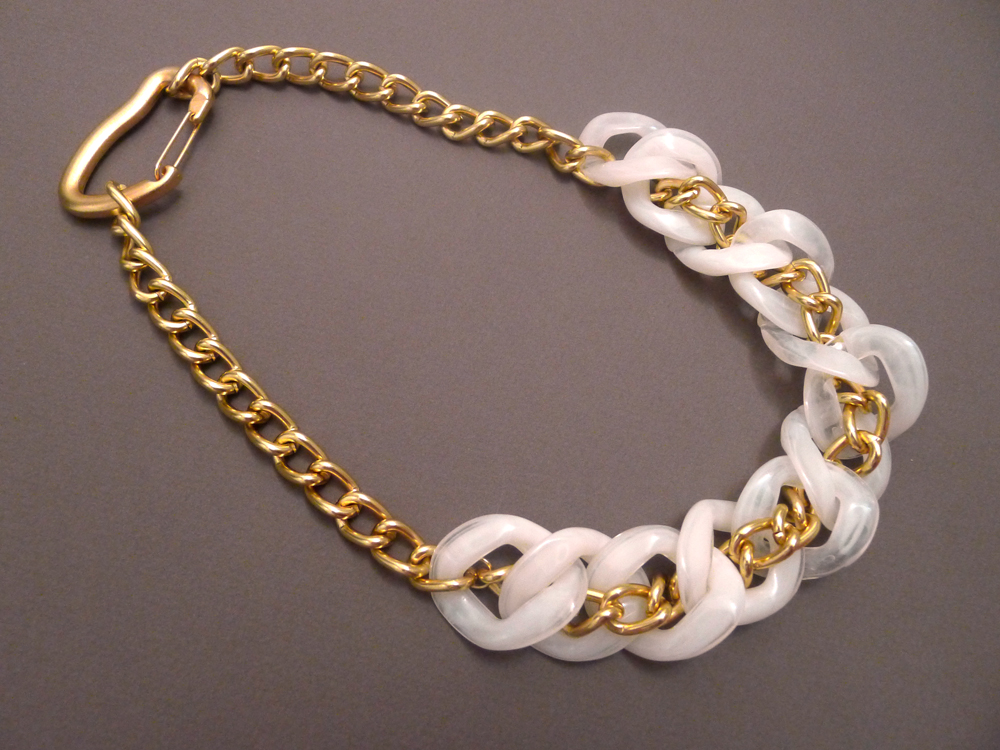
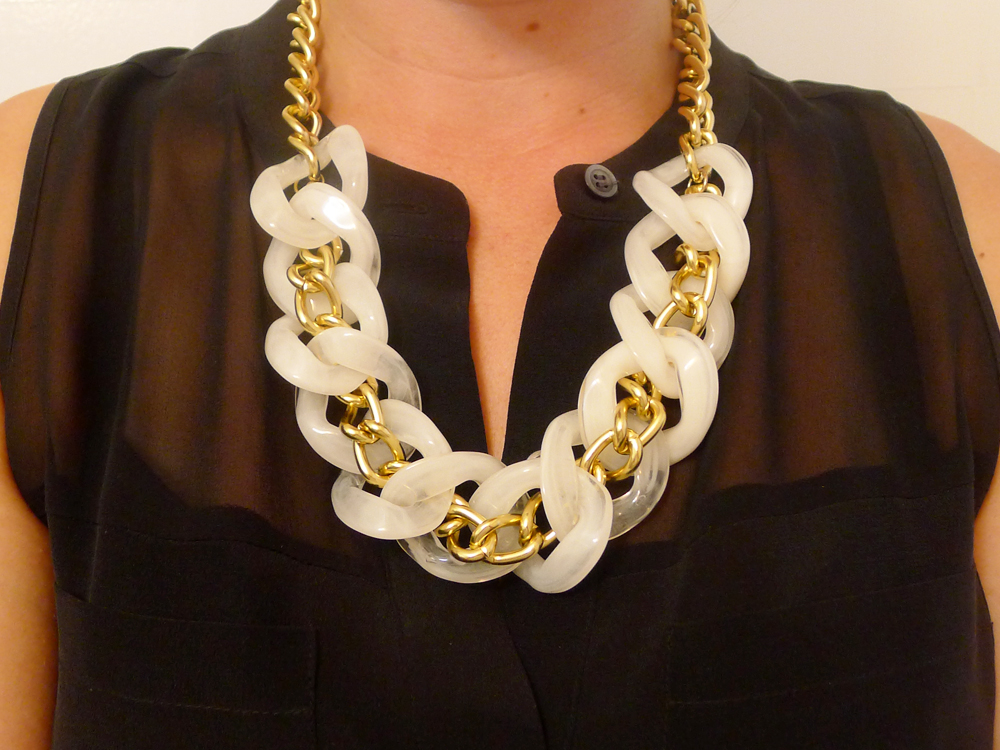
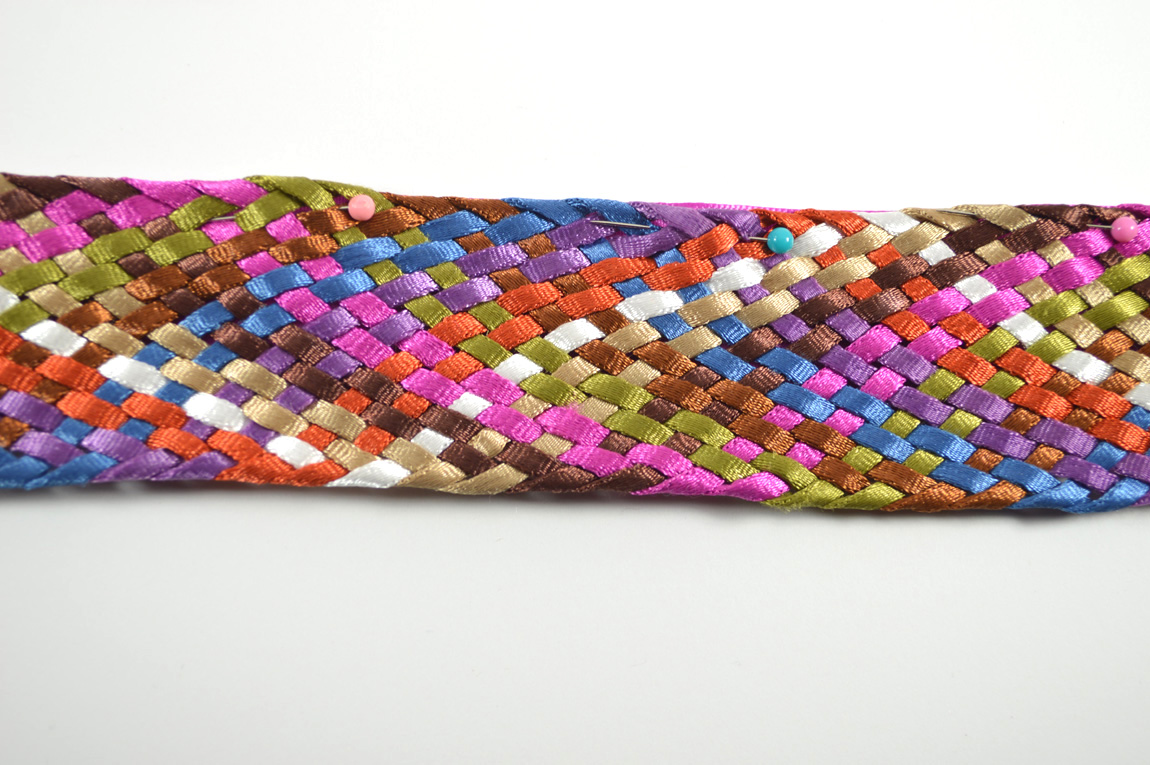
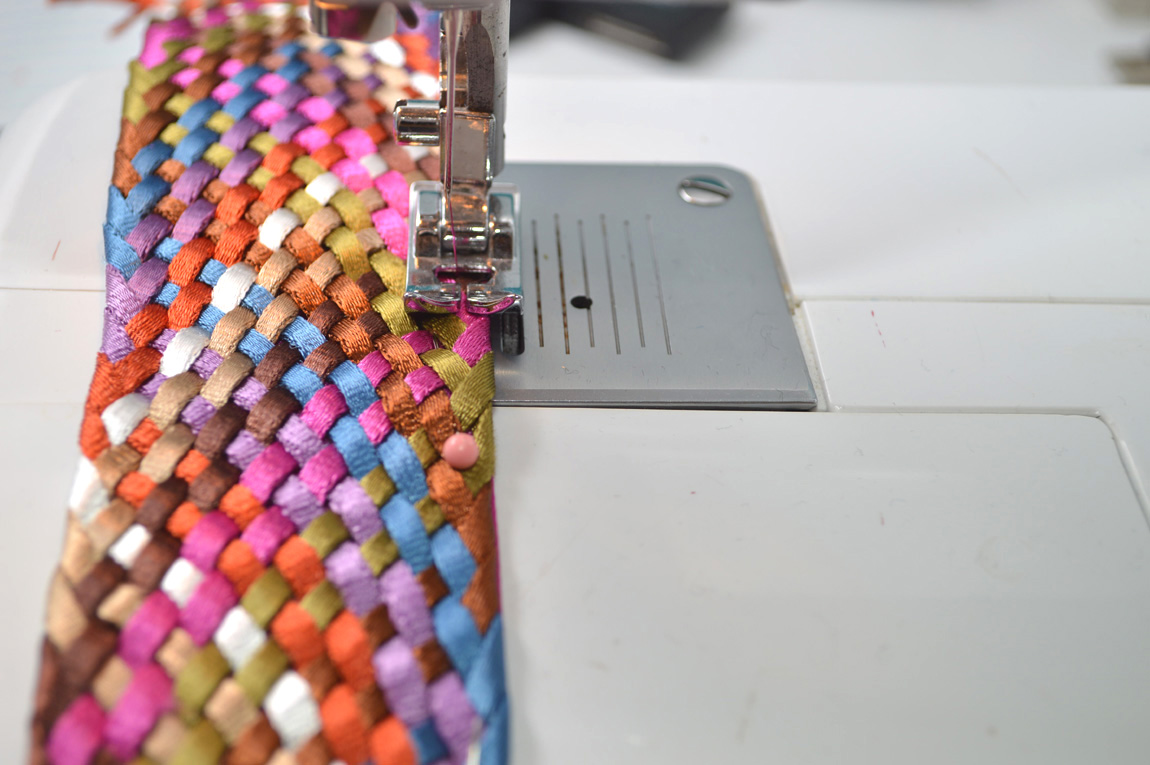
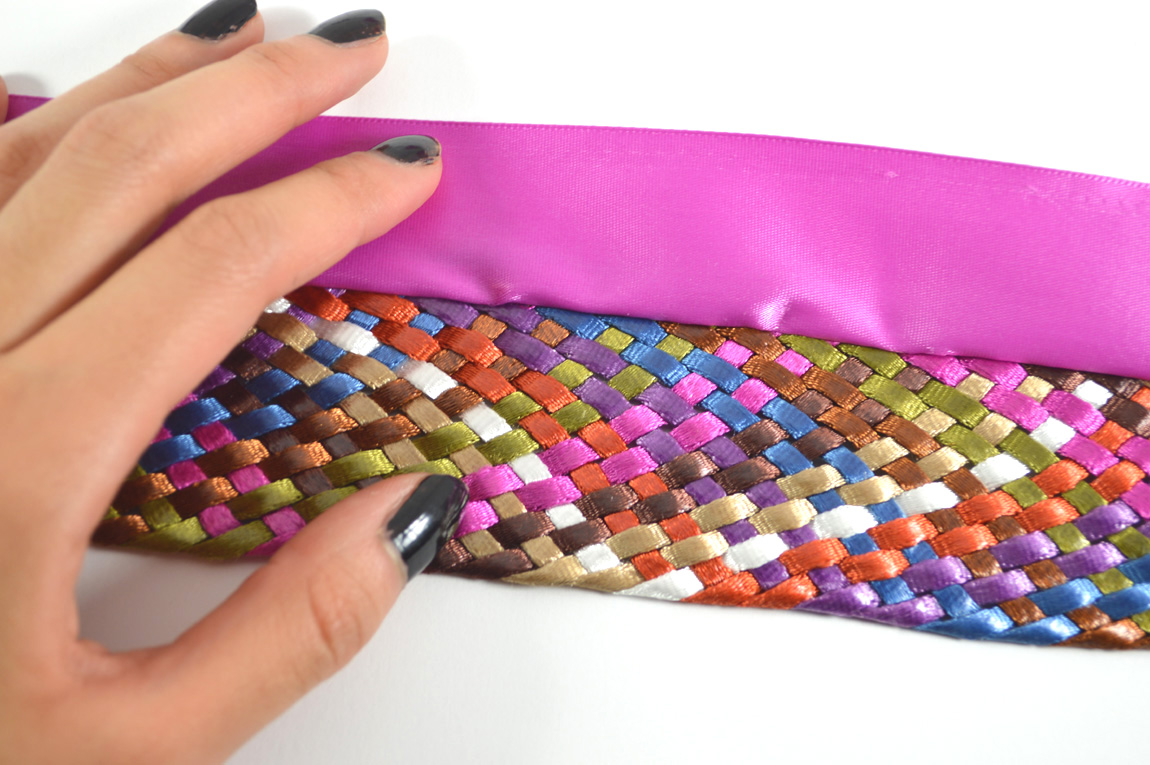
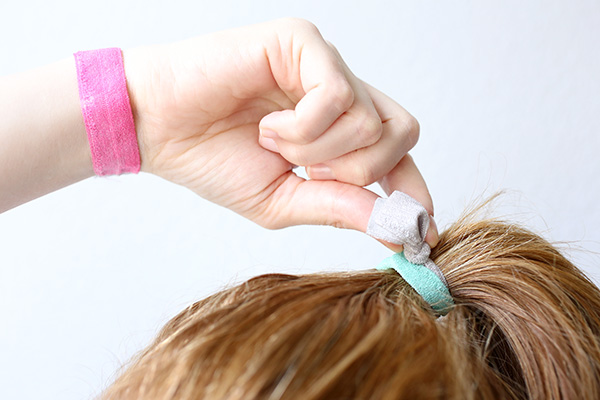
We’ve been following Evelinas Fashion Cafe for quite some time and can’t get enough of her fashion forward and not to mention easy to follow projects. We adore her Emilio Pucci Clutch Tutorial along with her Stella McCartney bag DIY. Since Fashion Week is rapidly approaching, we felt it was the perfect time to whip up these amazing designer inspired DIY projects. 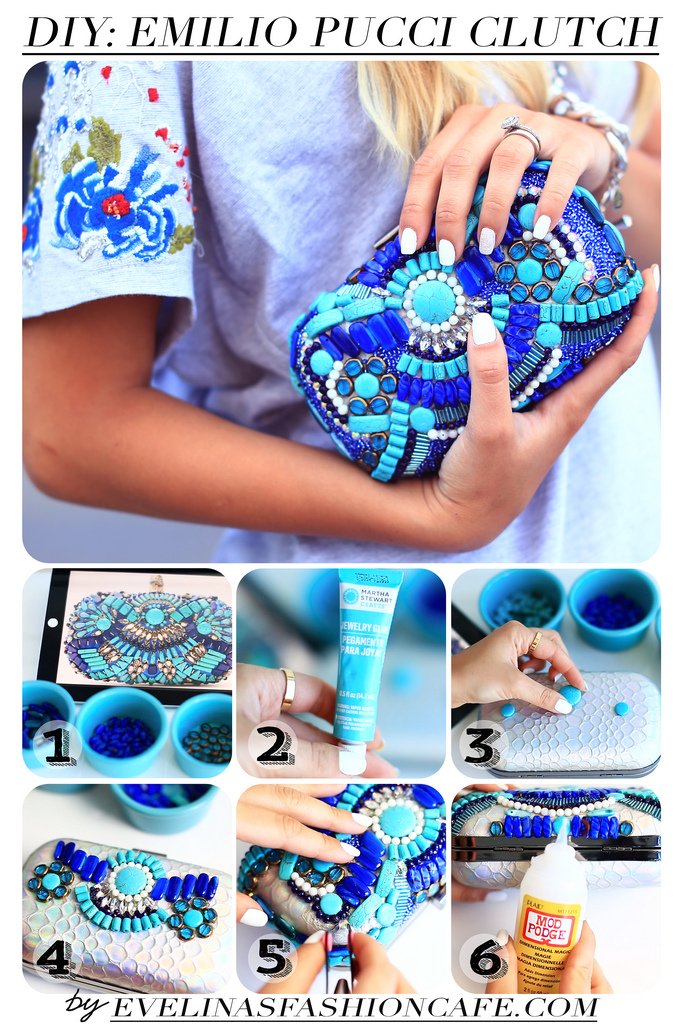
[youtube=http://www.youtube.com/watch?feature=player_embedded&v=0DQOoHSI9BU]


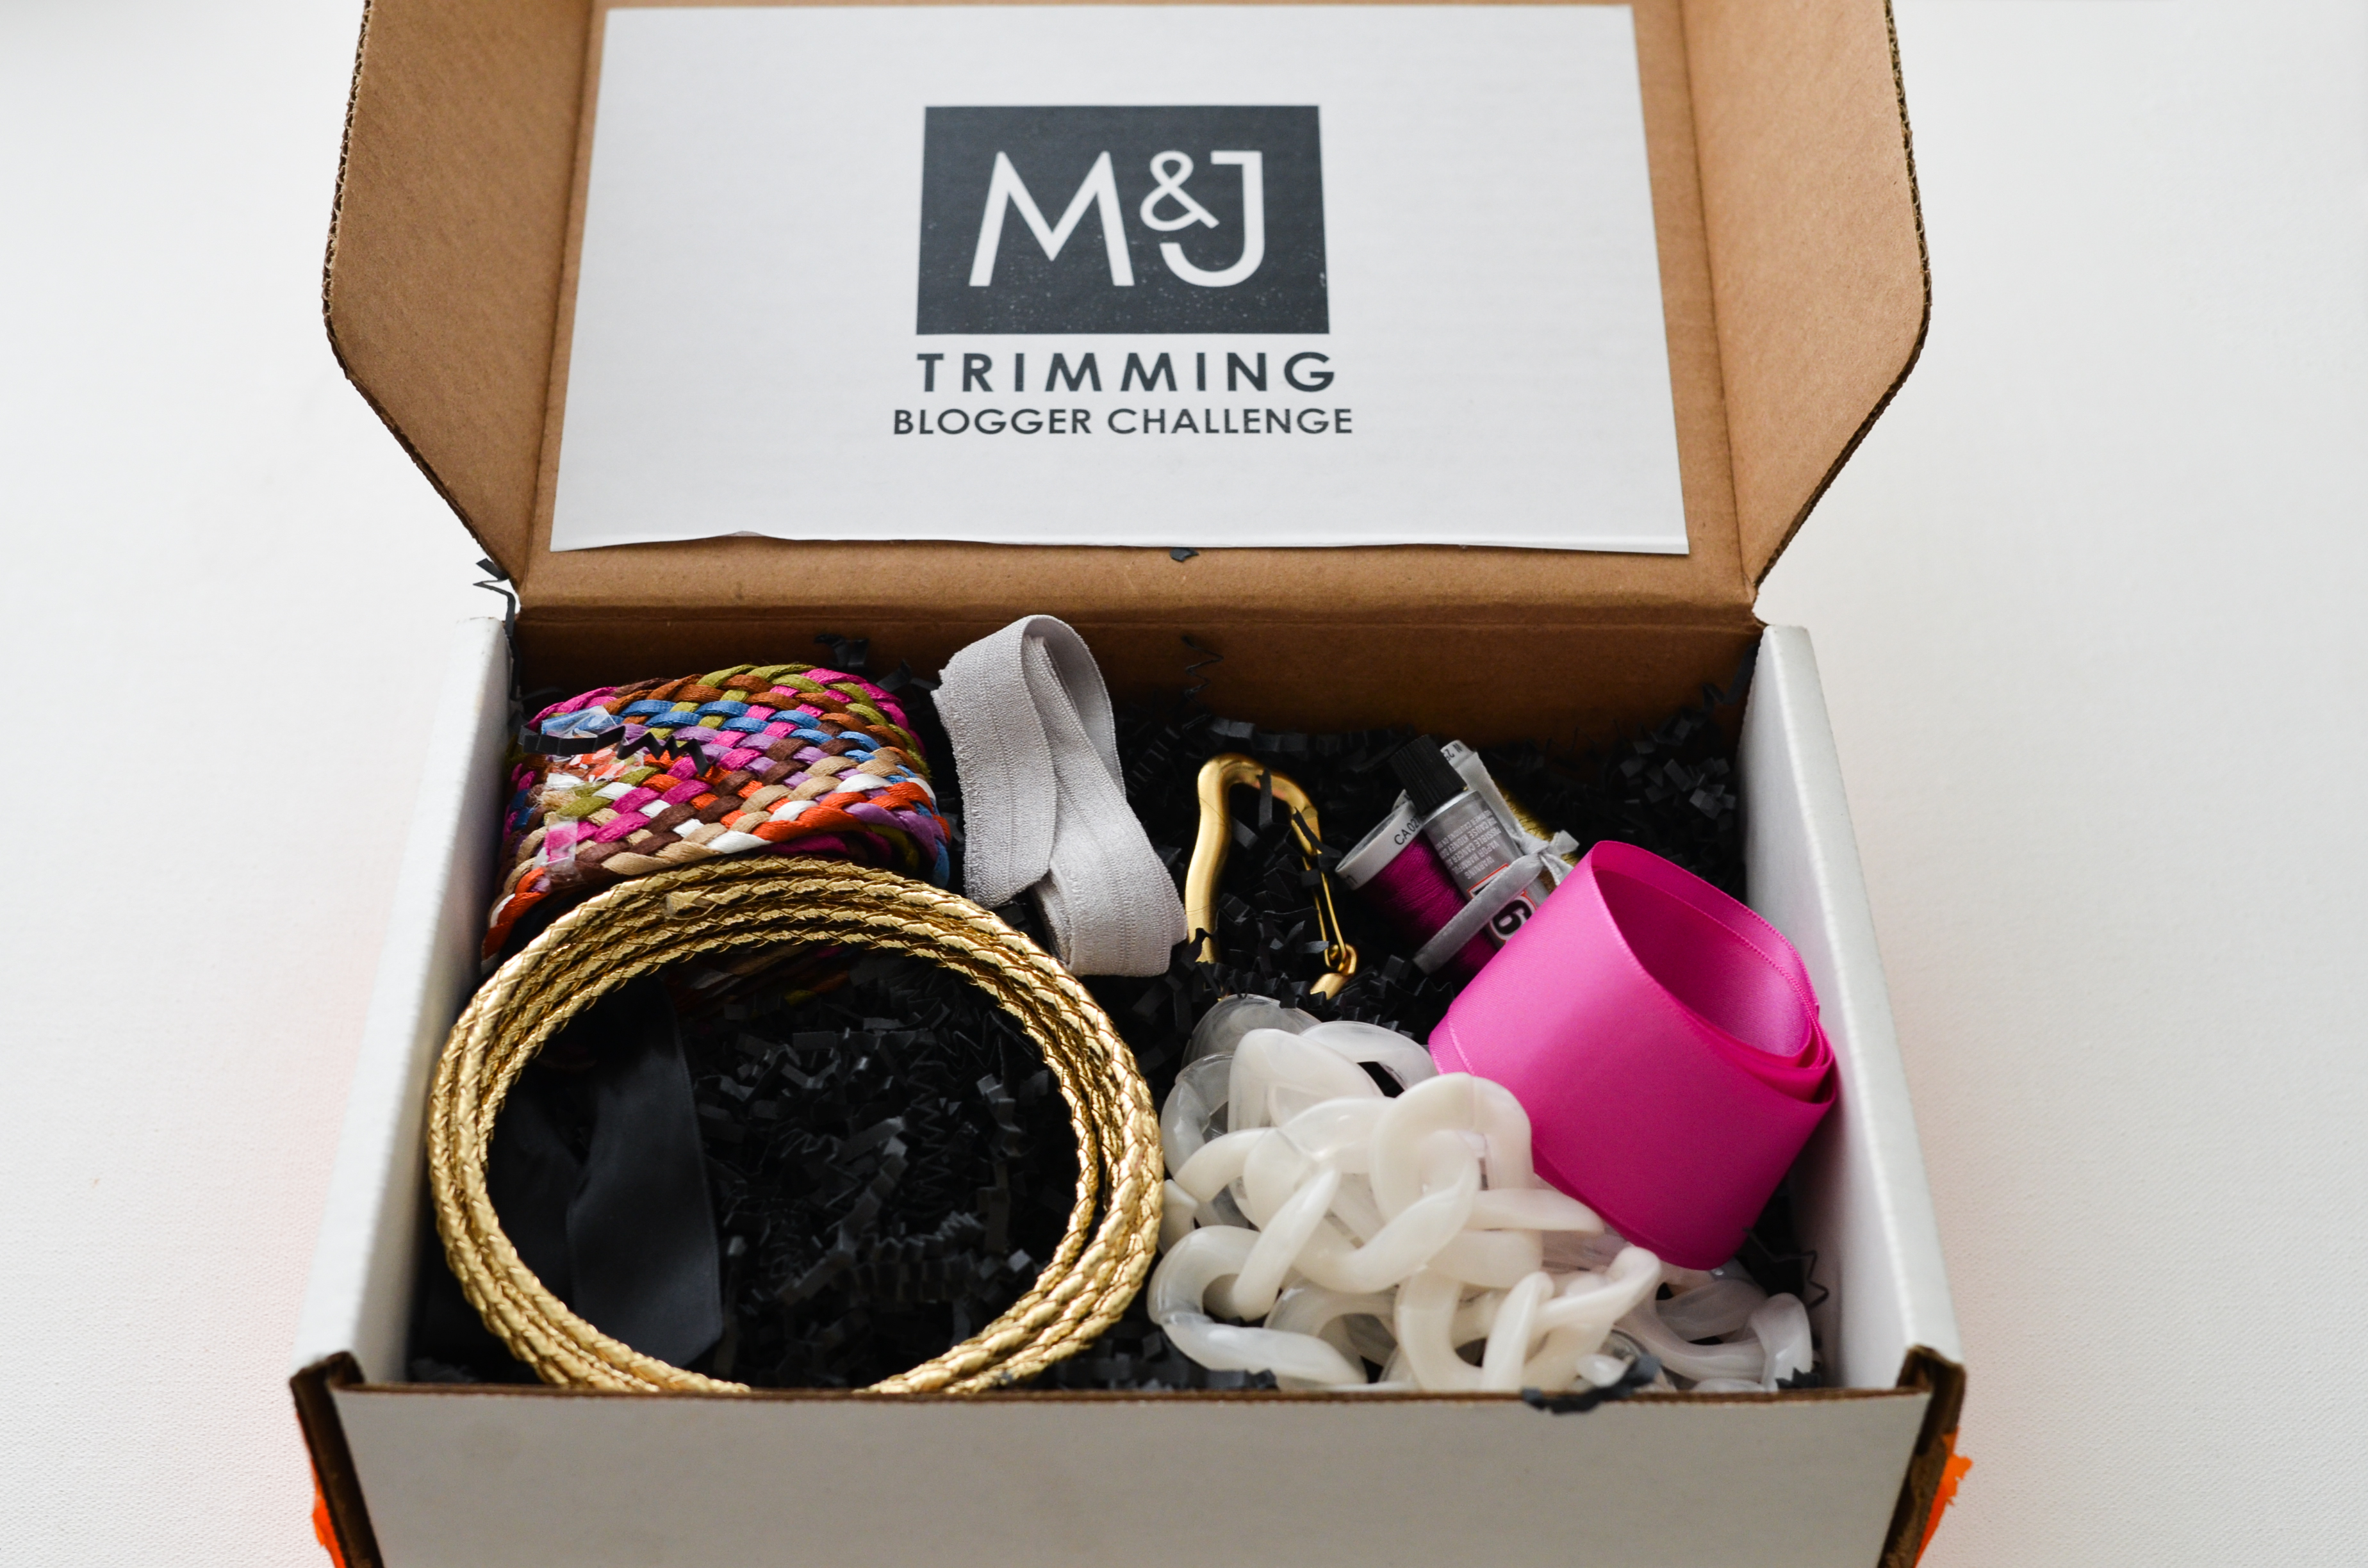


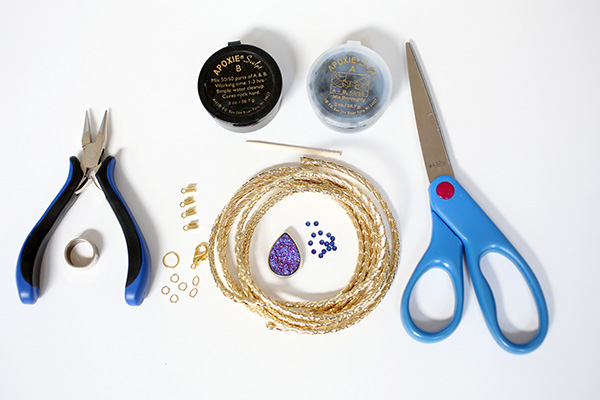
 Studs and Pearls is a DIY fashion blog owned by Kirsten Nunez. As a New Yorker and longtime lover of crafting, she’s inspired by everything from music to food to nature. She is currently working on publishing her first DIY fashion book.


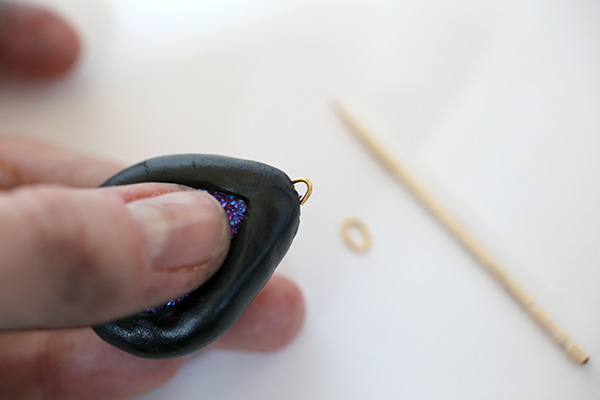 3. Form into a long snake.
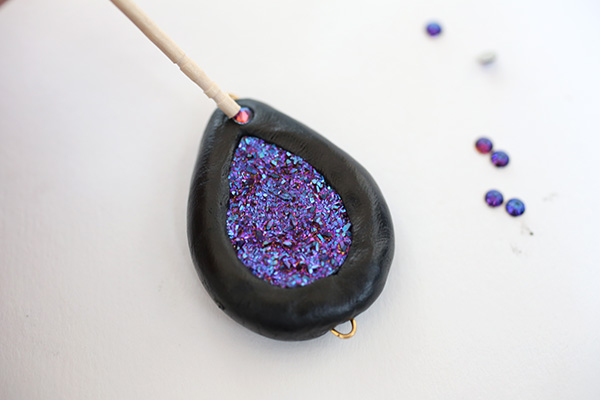 4. Wrap around the edge of your druzy focal.
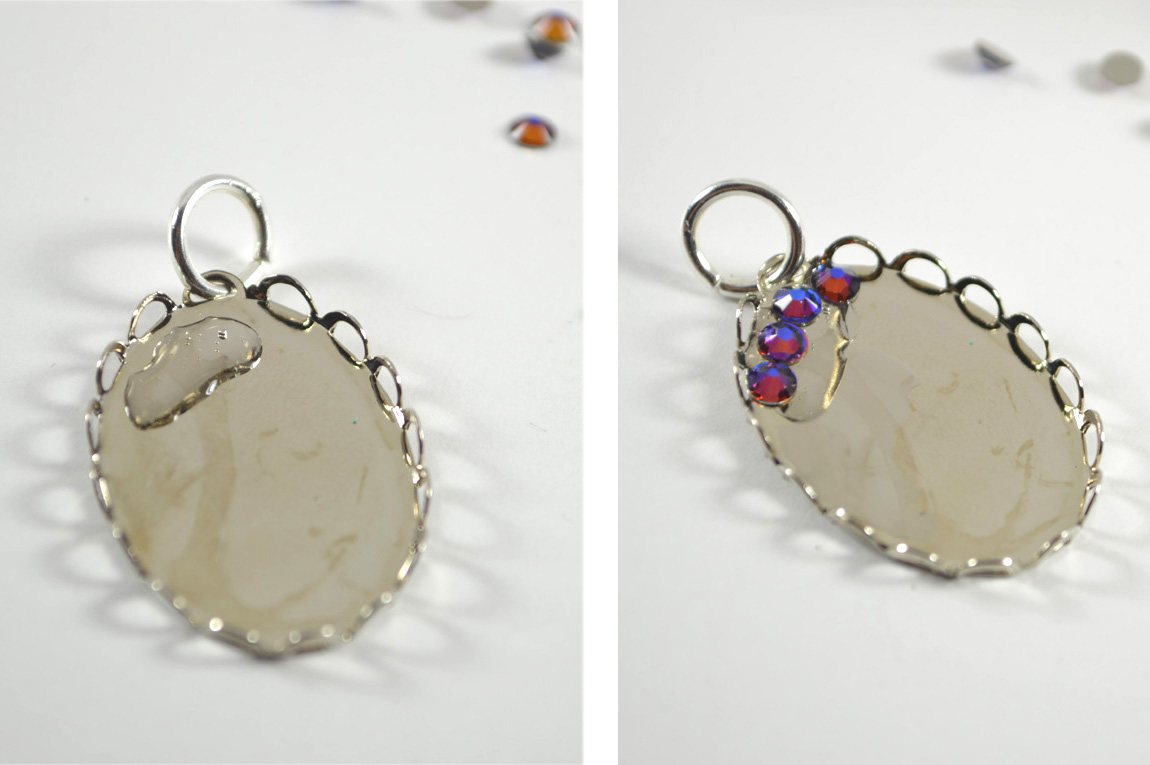
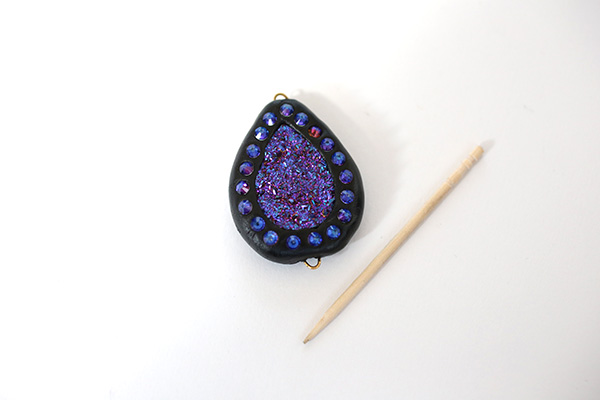 5. Smooth the Apoxie clay with your finger to fix any cracks or bumps.
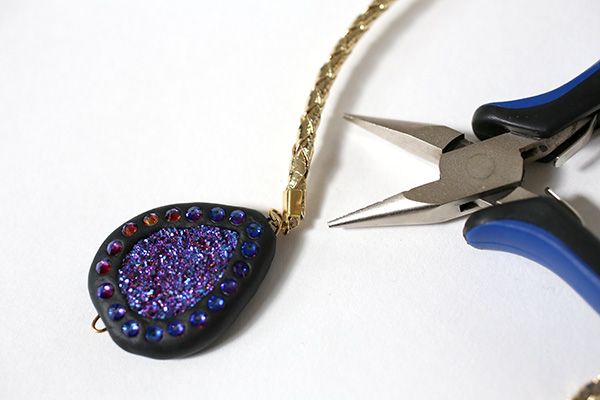
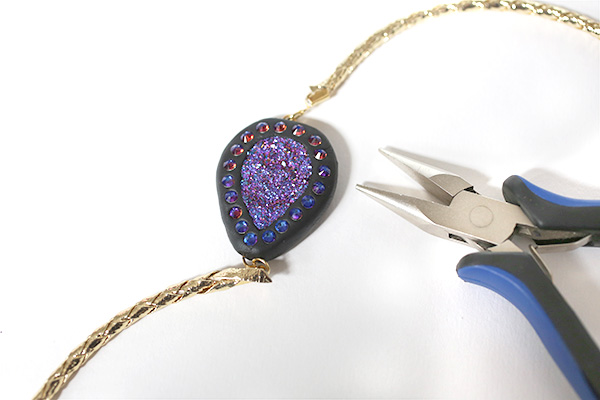
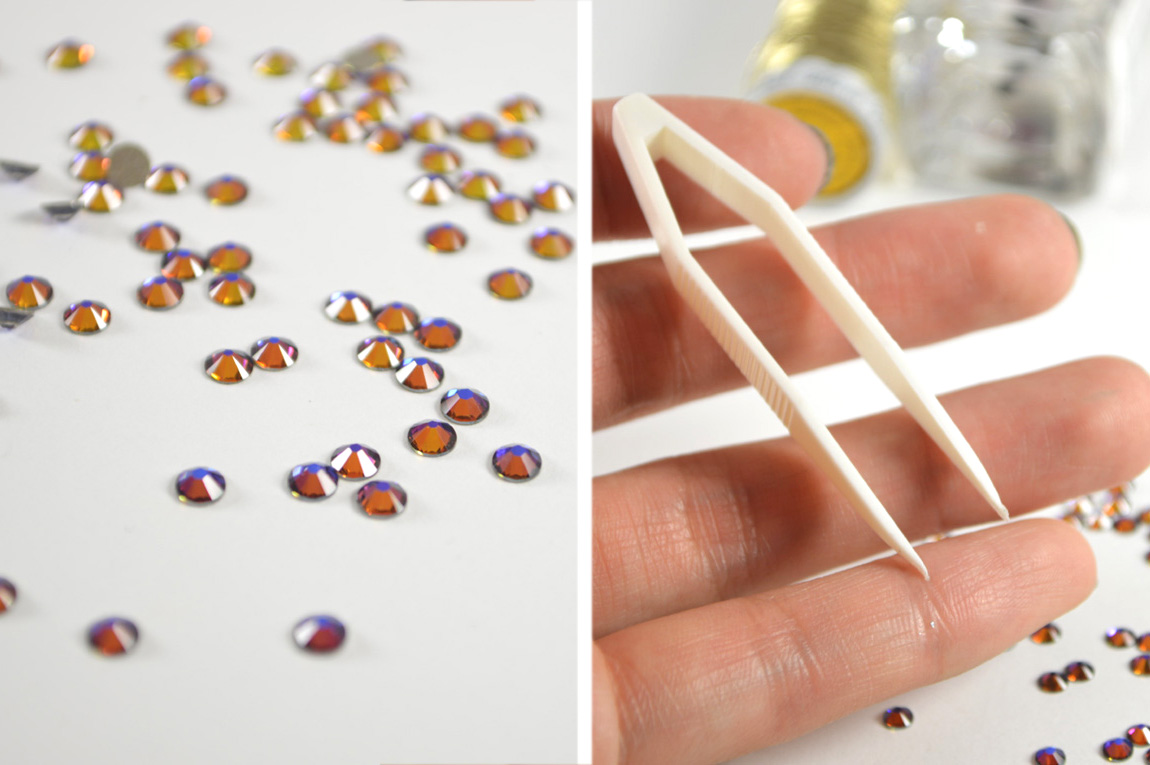
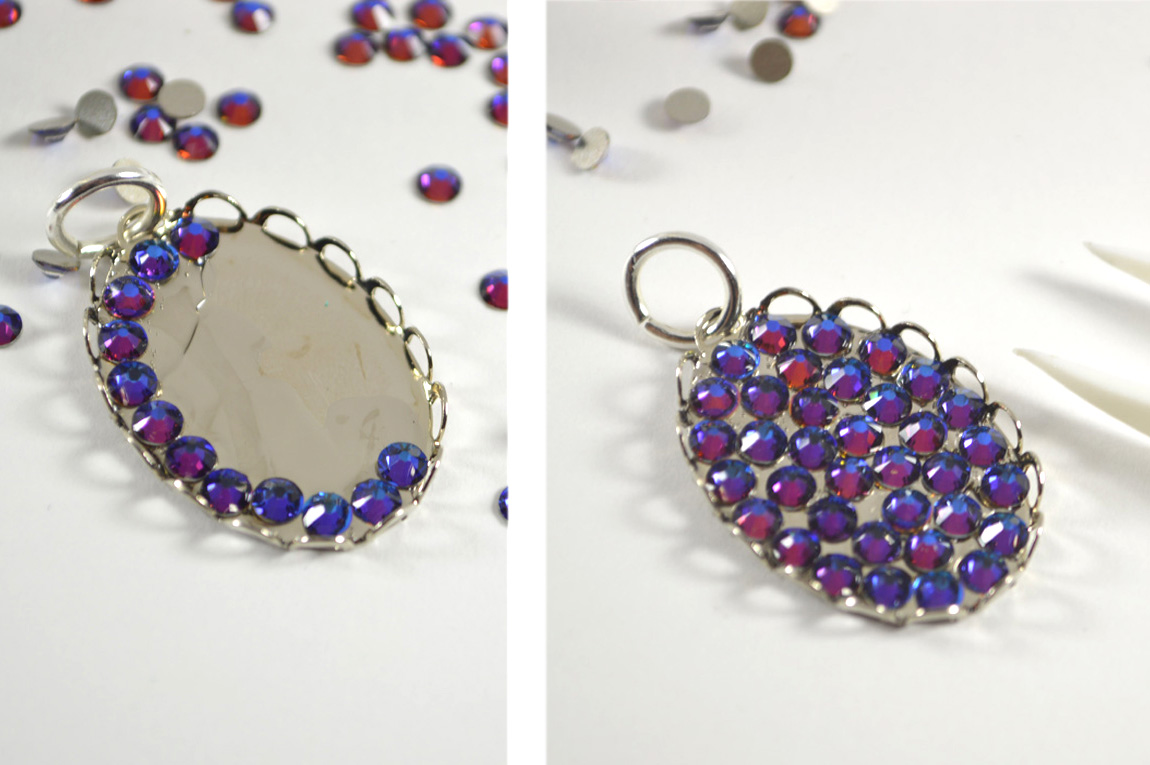
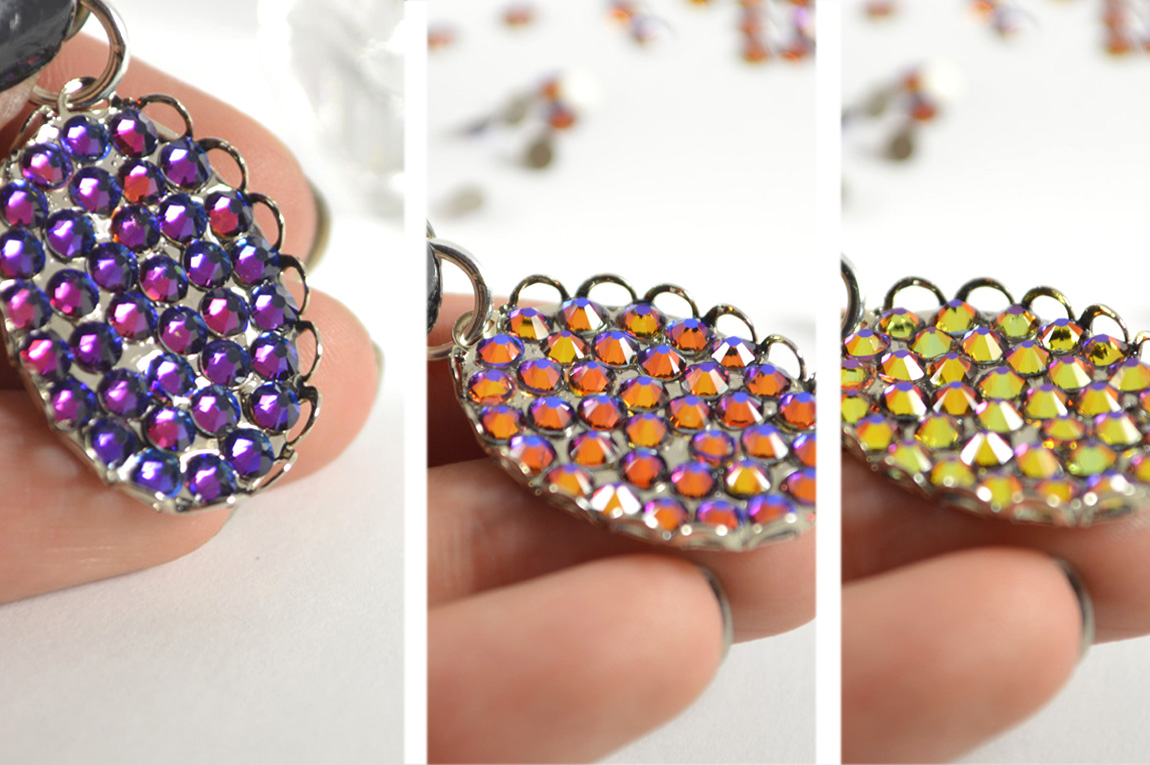
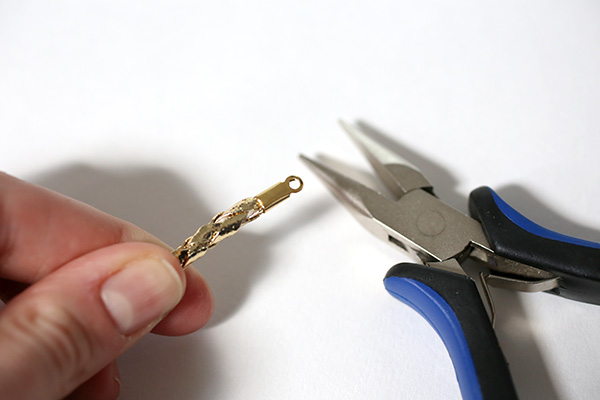 7. Use a toothpick to press the rhinestones into the clay around the edge of your focal, making sure to sink them in slightly so the clay “grips” them.
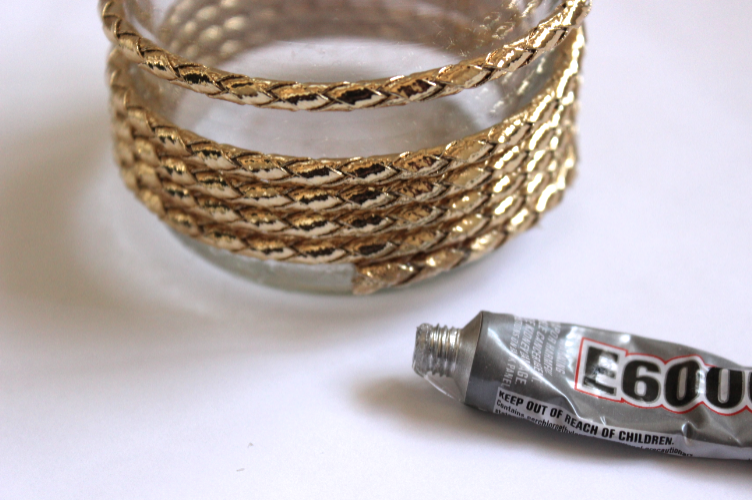