

Love is in the air! Valentine’s Day is a time to express to the ones you love how special they truly are. What is more special then making your own Valentine’s Day card! We’ve made it super simple with these fun DIY ideas! Moonlight as Cupid by following these easy steps:
HEART VALENTINE’S DAY CARD

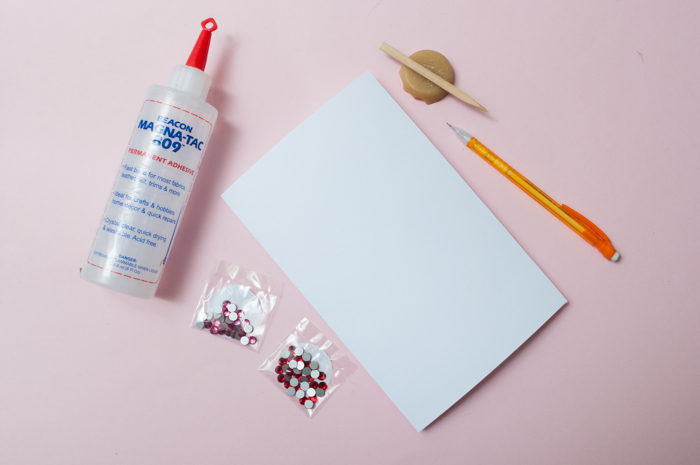
What you’ll need:
Cardstock
Pencil

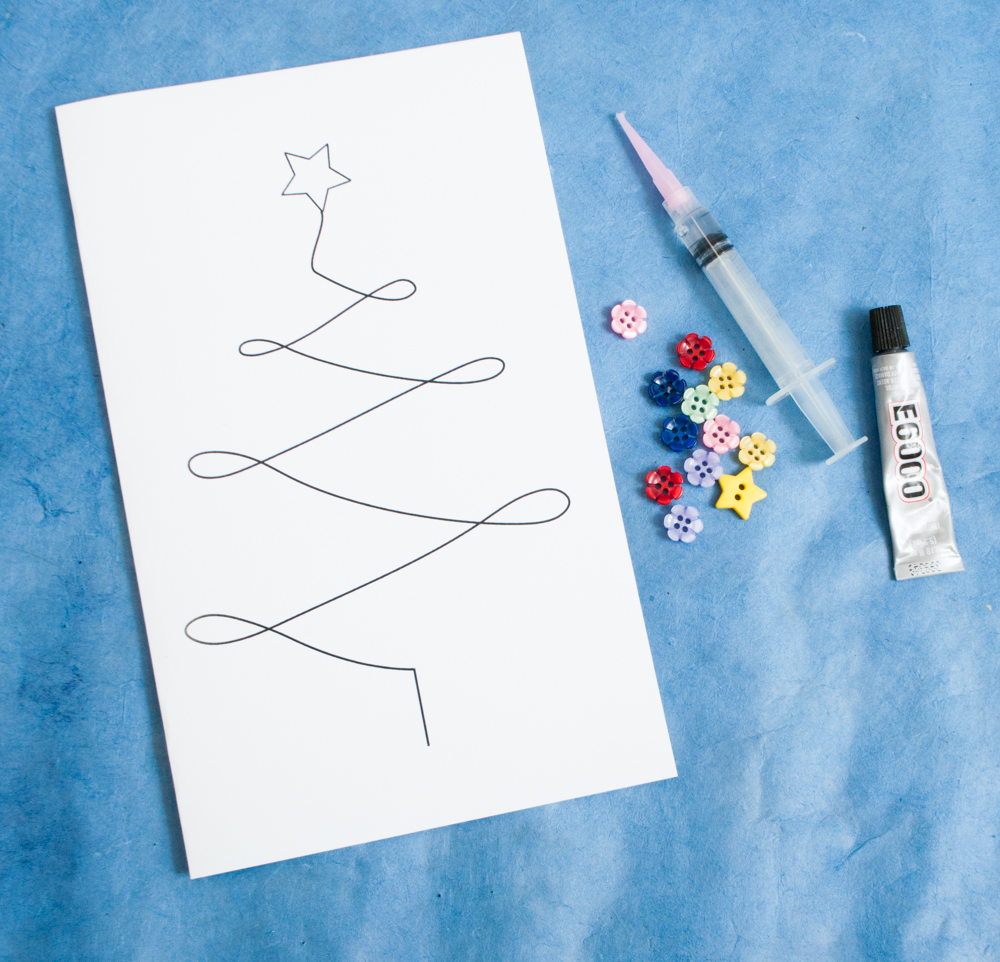
Step 1: Download the templates for the outside and inside (links provided) and print it on cardstock paper.
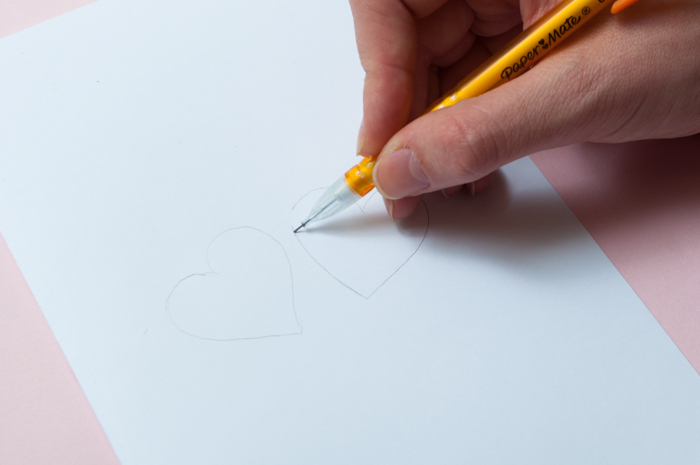
Step 2: With a pencil, draw a faint heart shape on the paper.
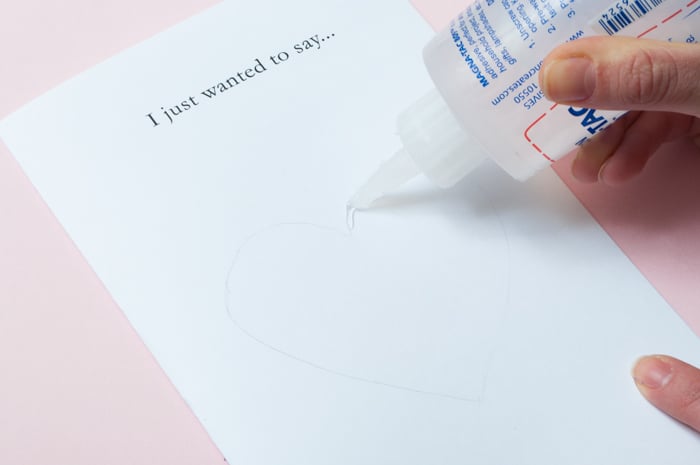
Step 3: Apply a thin layer of glue along the line of the traced heart.

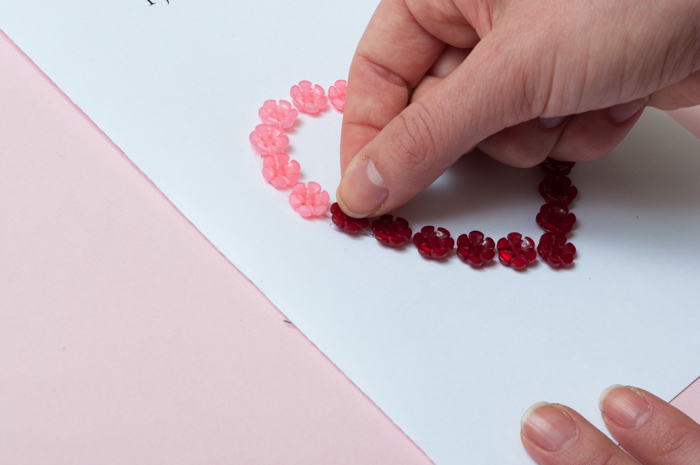 Step 4: Apply the buttons onto the glue and wait for it to dry!

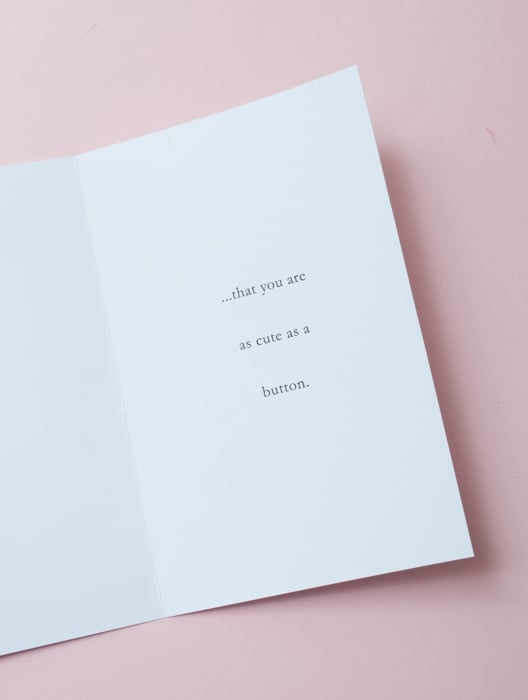
Look’s like someones been struck by Cupid!
TWO HEART VALENTINE’S DAY CARD
What you’ll need:
Cardstock
Pencil
Step 1: Download the template provided and print it on cardstock paper
Step 2: With a pencil, trace 2 small hearts side by side.

Step 3: Apply a thin layer of glue in the heart.

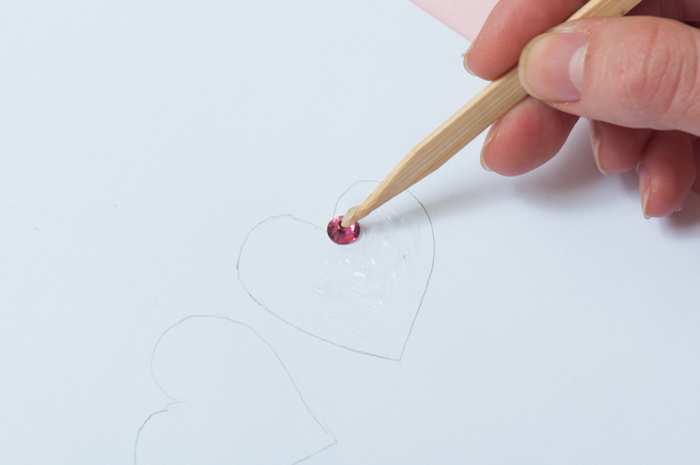

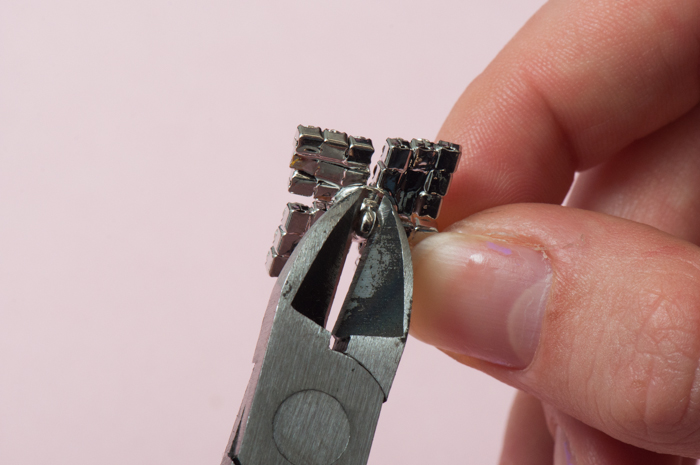
Step 4: With a small amount of Beeswax on the Wooden Applicator, pick up each rhinestone and place within the outline of the heart until filled.

Step 5: Repeat Step 4 with other color.


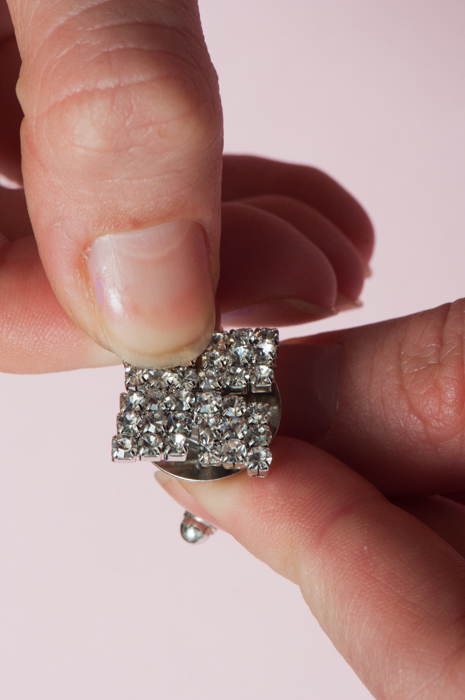
Wearing your heart on your sleeve never looked so pretty!


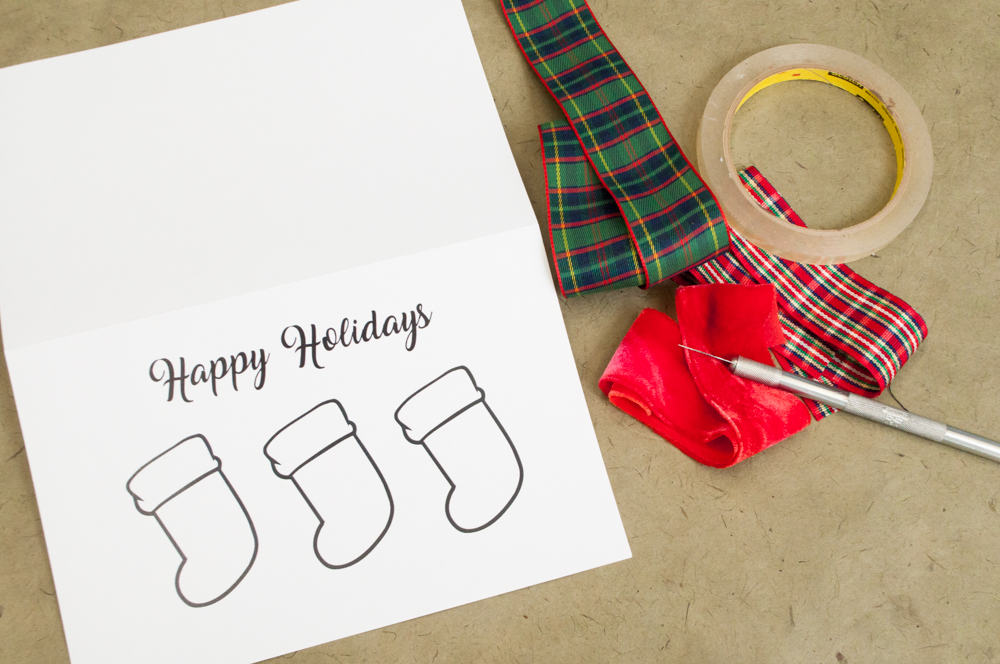
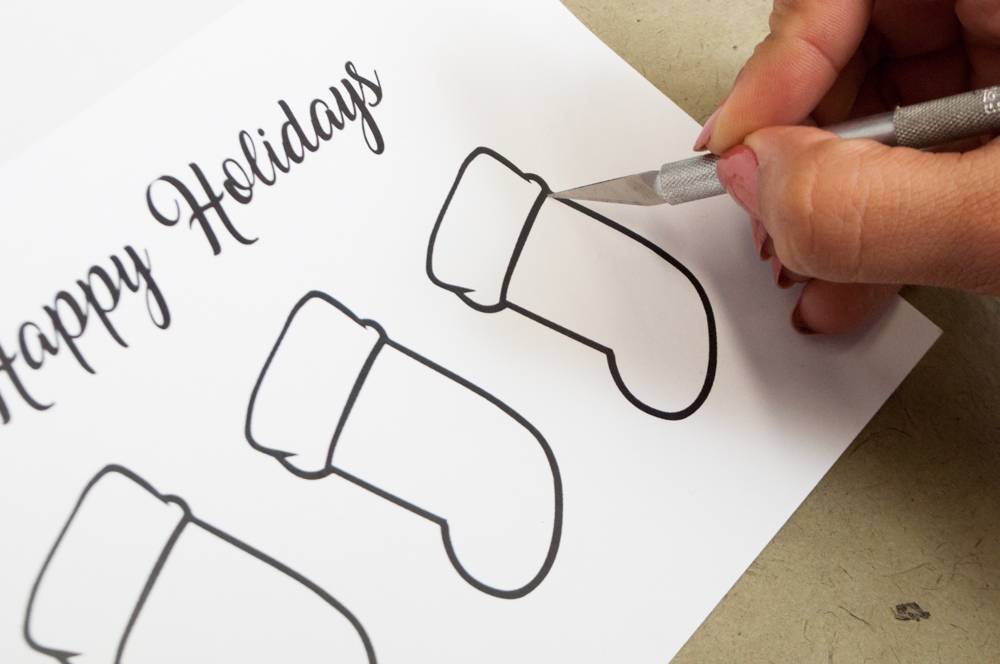


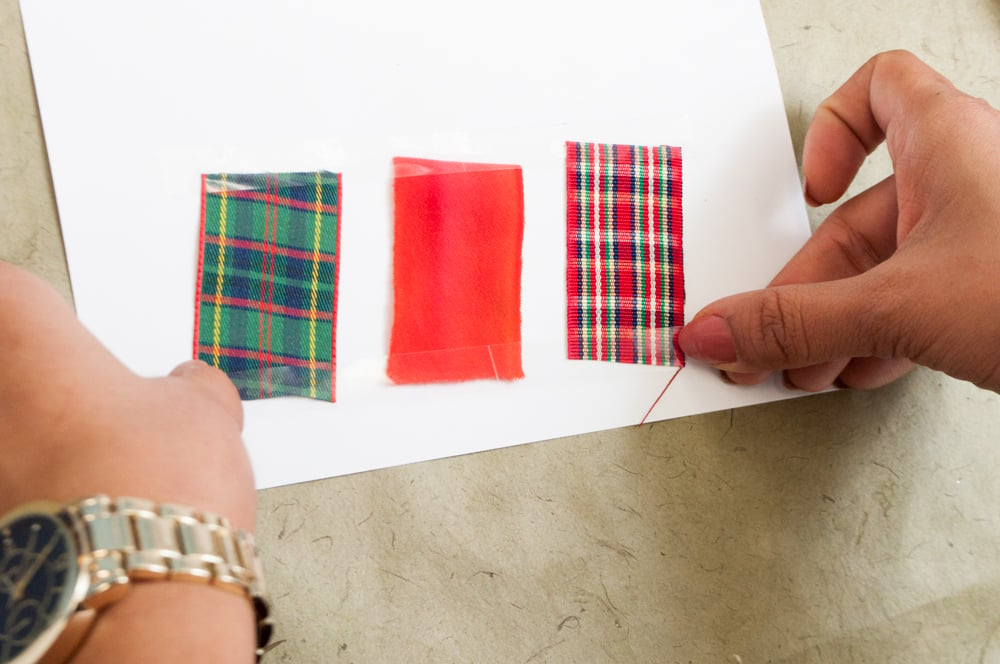 3. Tape the three pieces behind each cut-out in the card, making sure it’s fully covered.
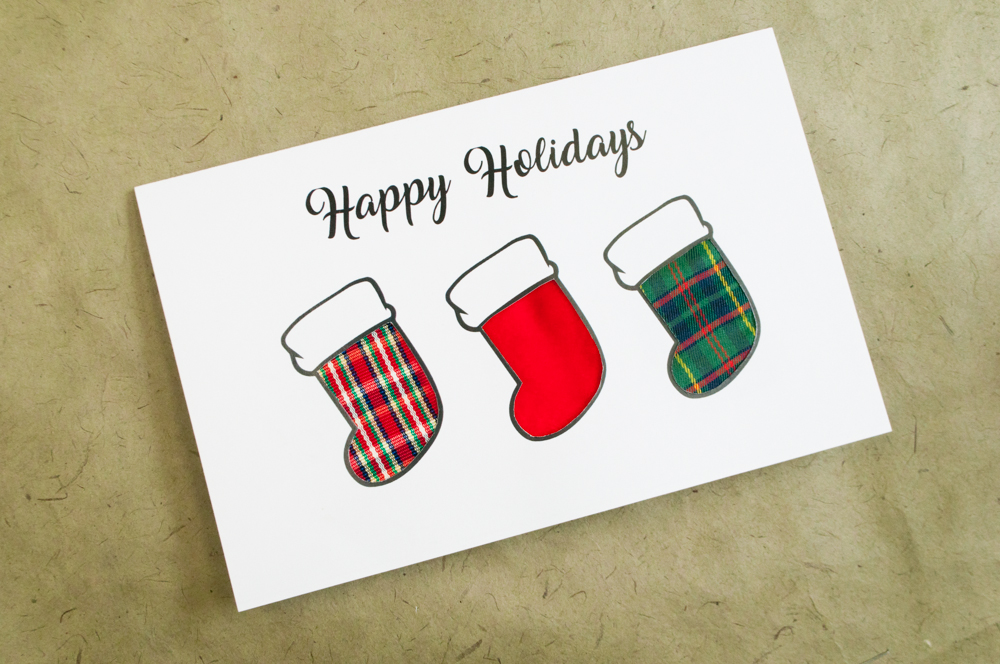
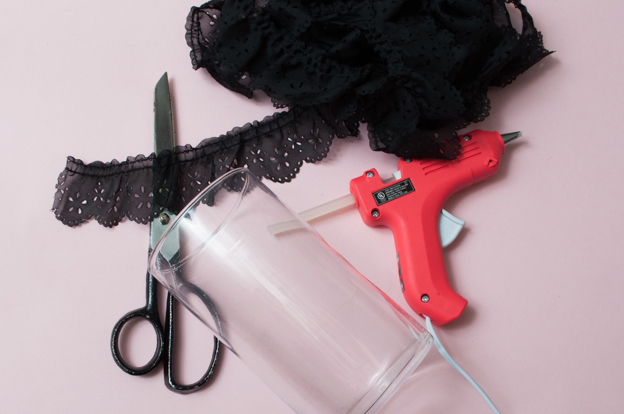
 What you’ll need:
 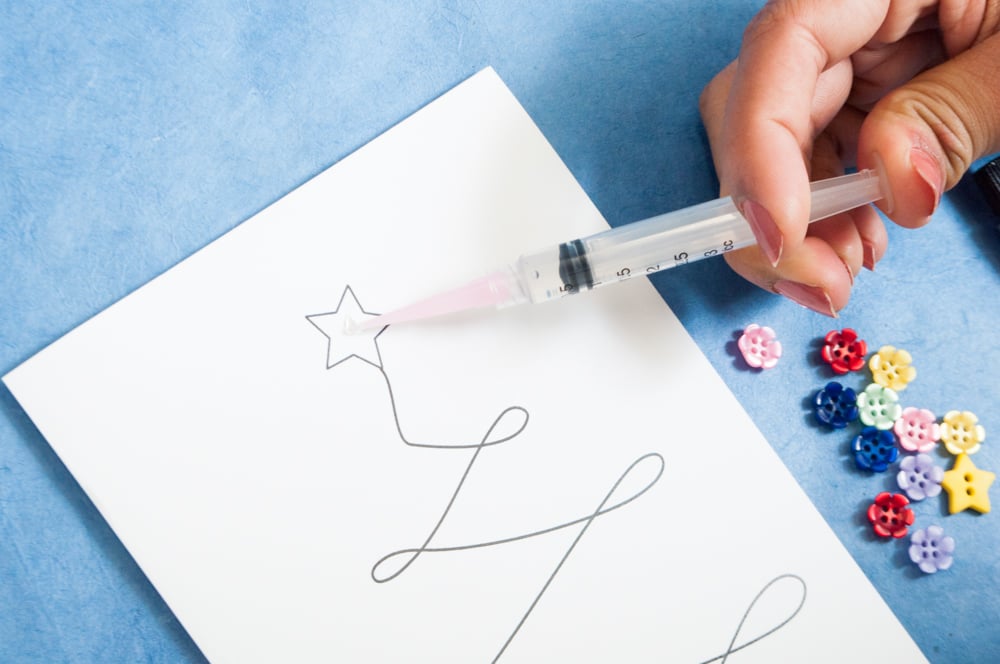 1. Print provided artwork on cardstock. Apply glue and start glueing your ornaments (buttons).
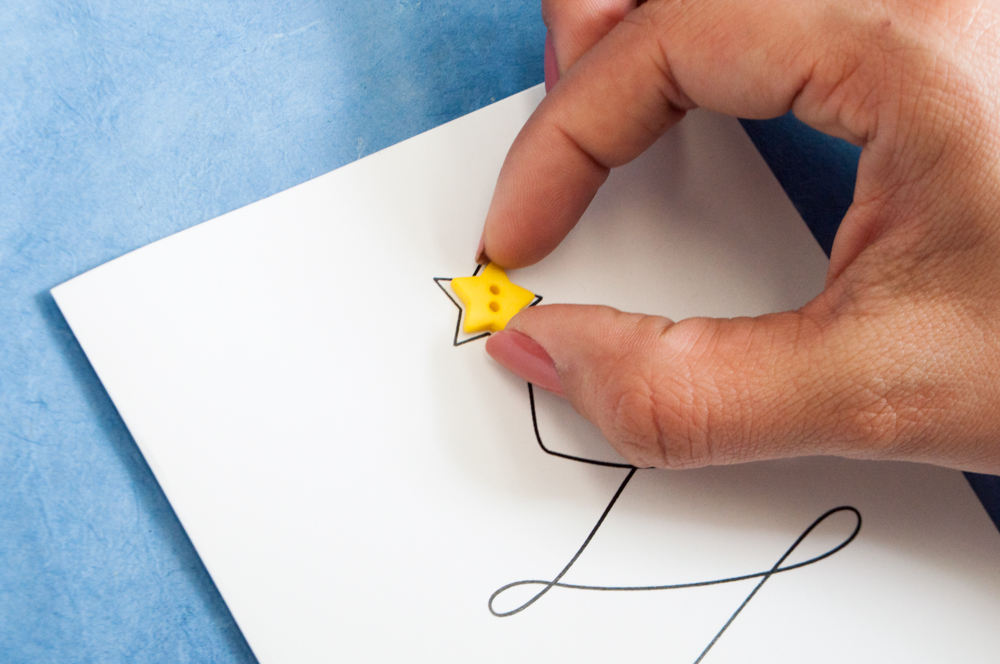

 And you’re done! Simple right?
 What you’ll need:
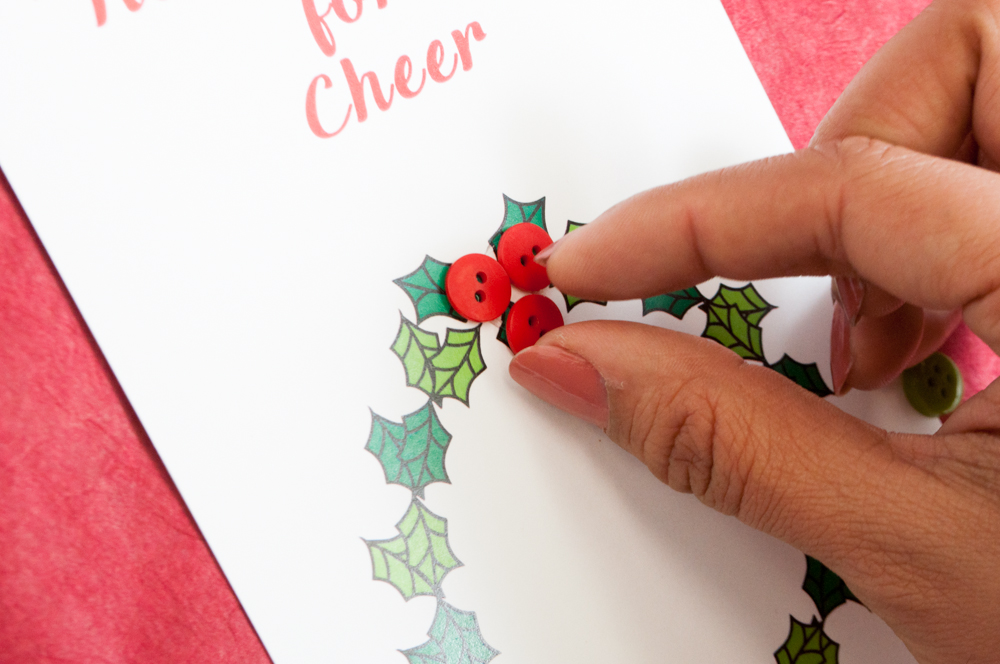 1. Print provided artwork on card stock. Apply glue to the top of the wreath and place three red buttons for the berries.
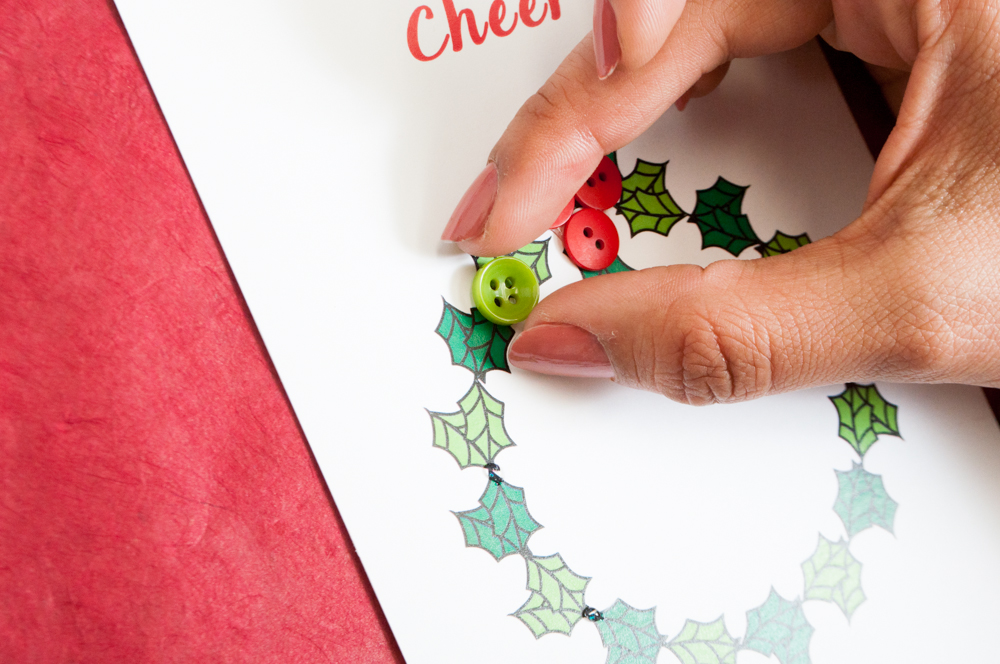 2. Glue green buttons around the wreath.
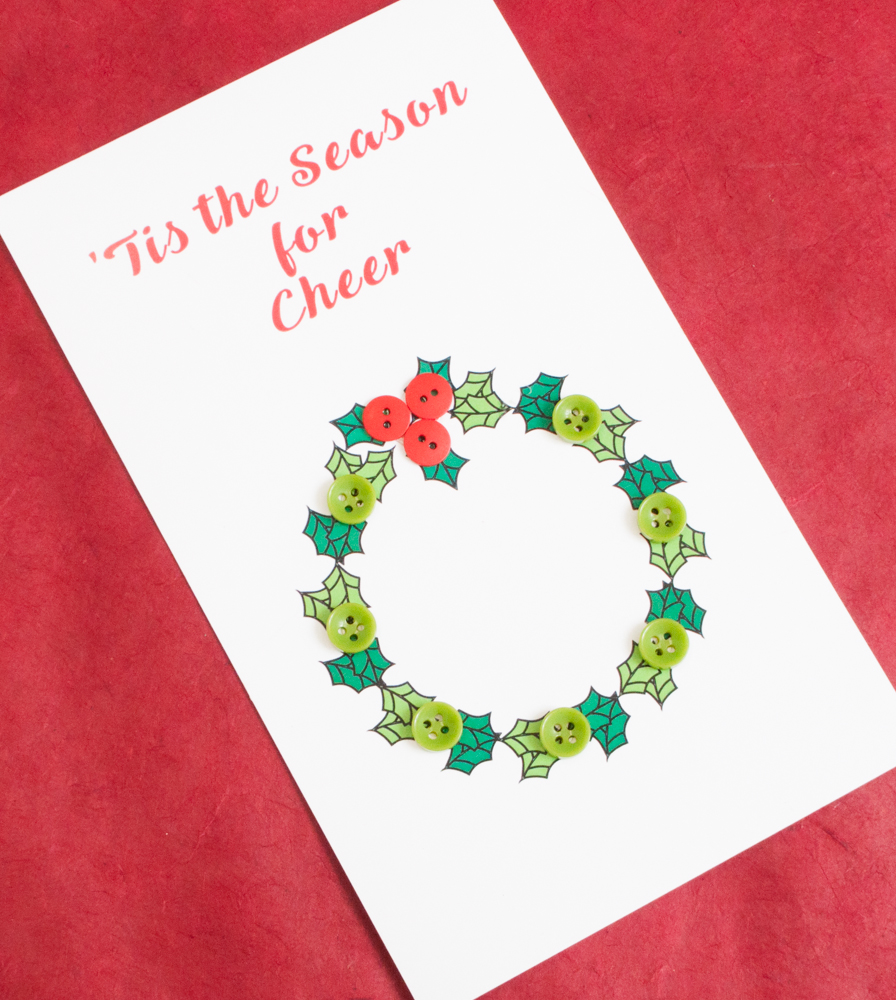 Voila! Happy Holidays!!!

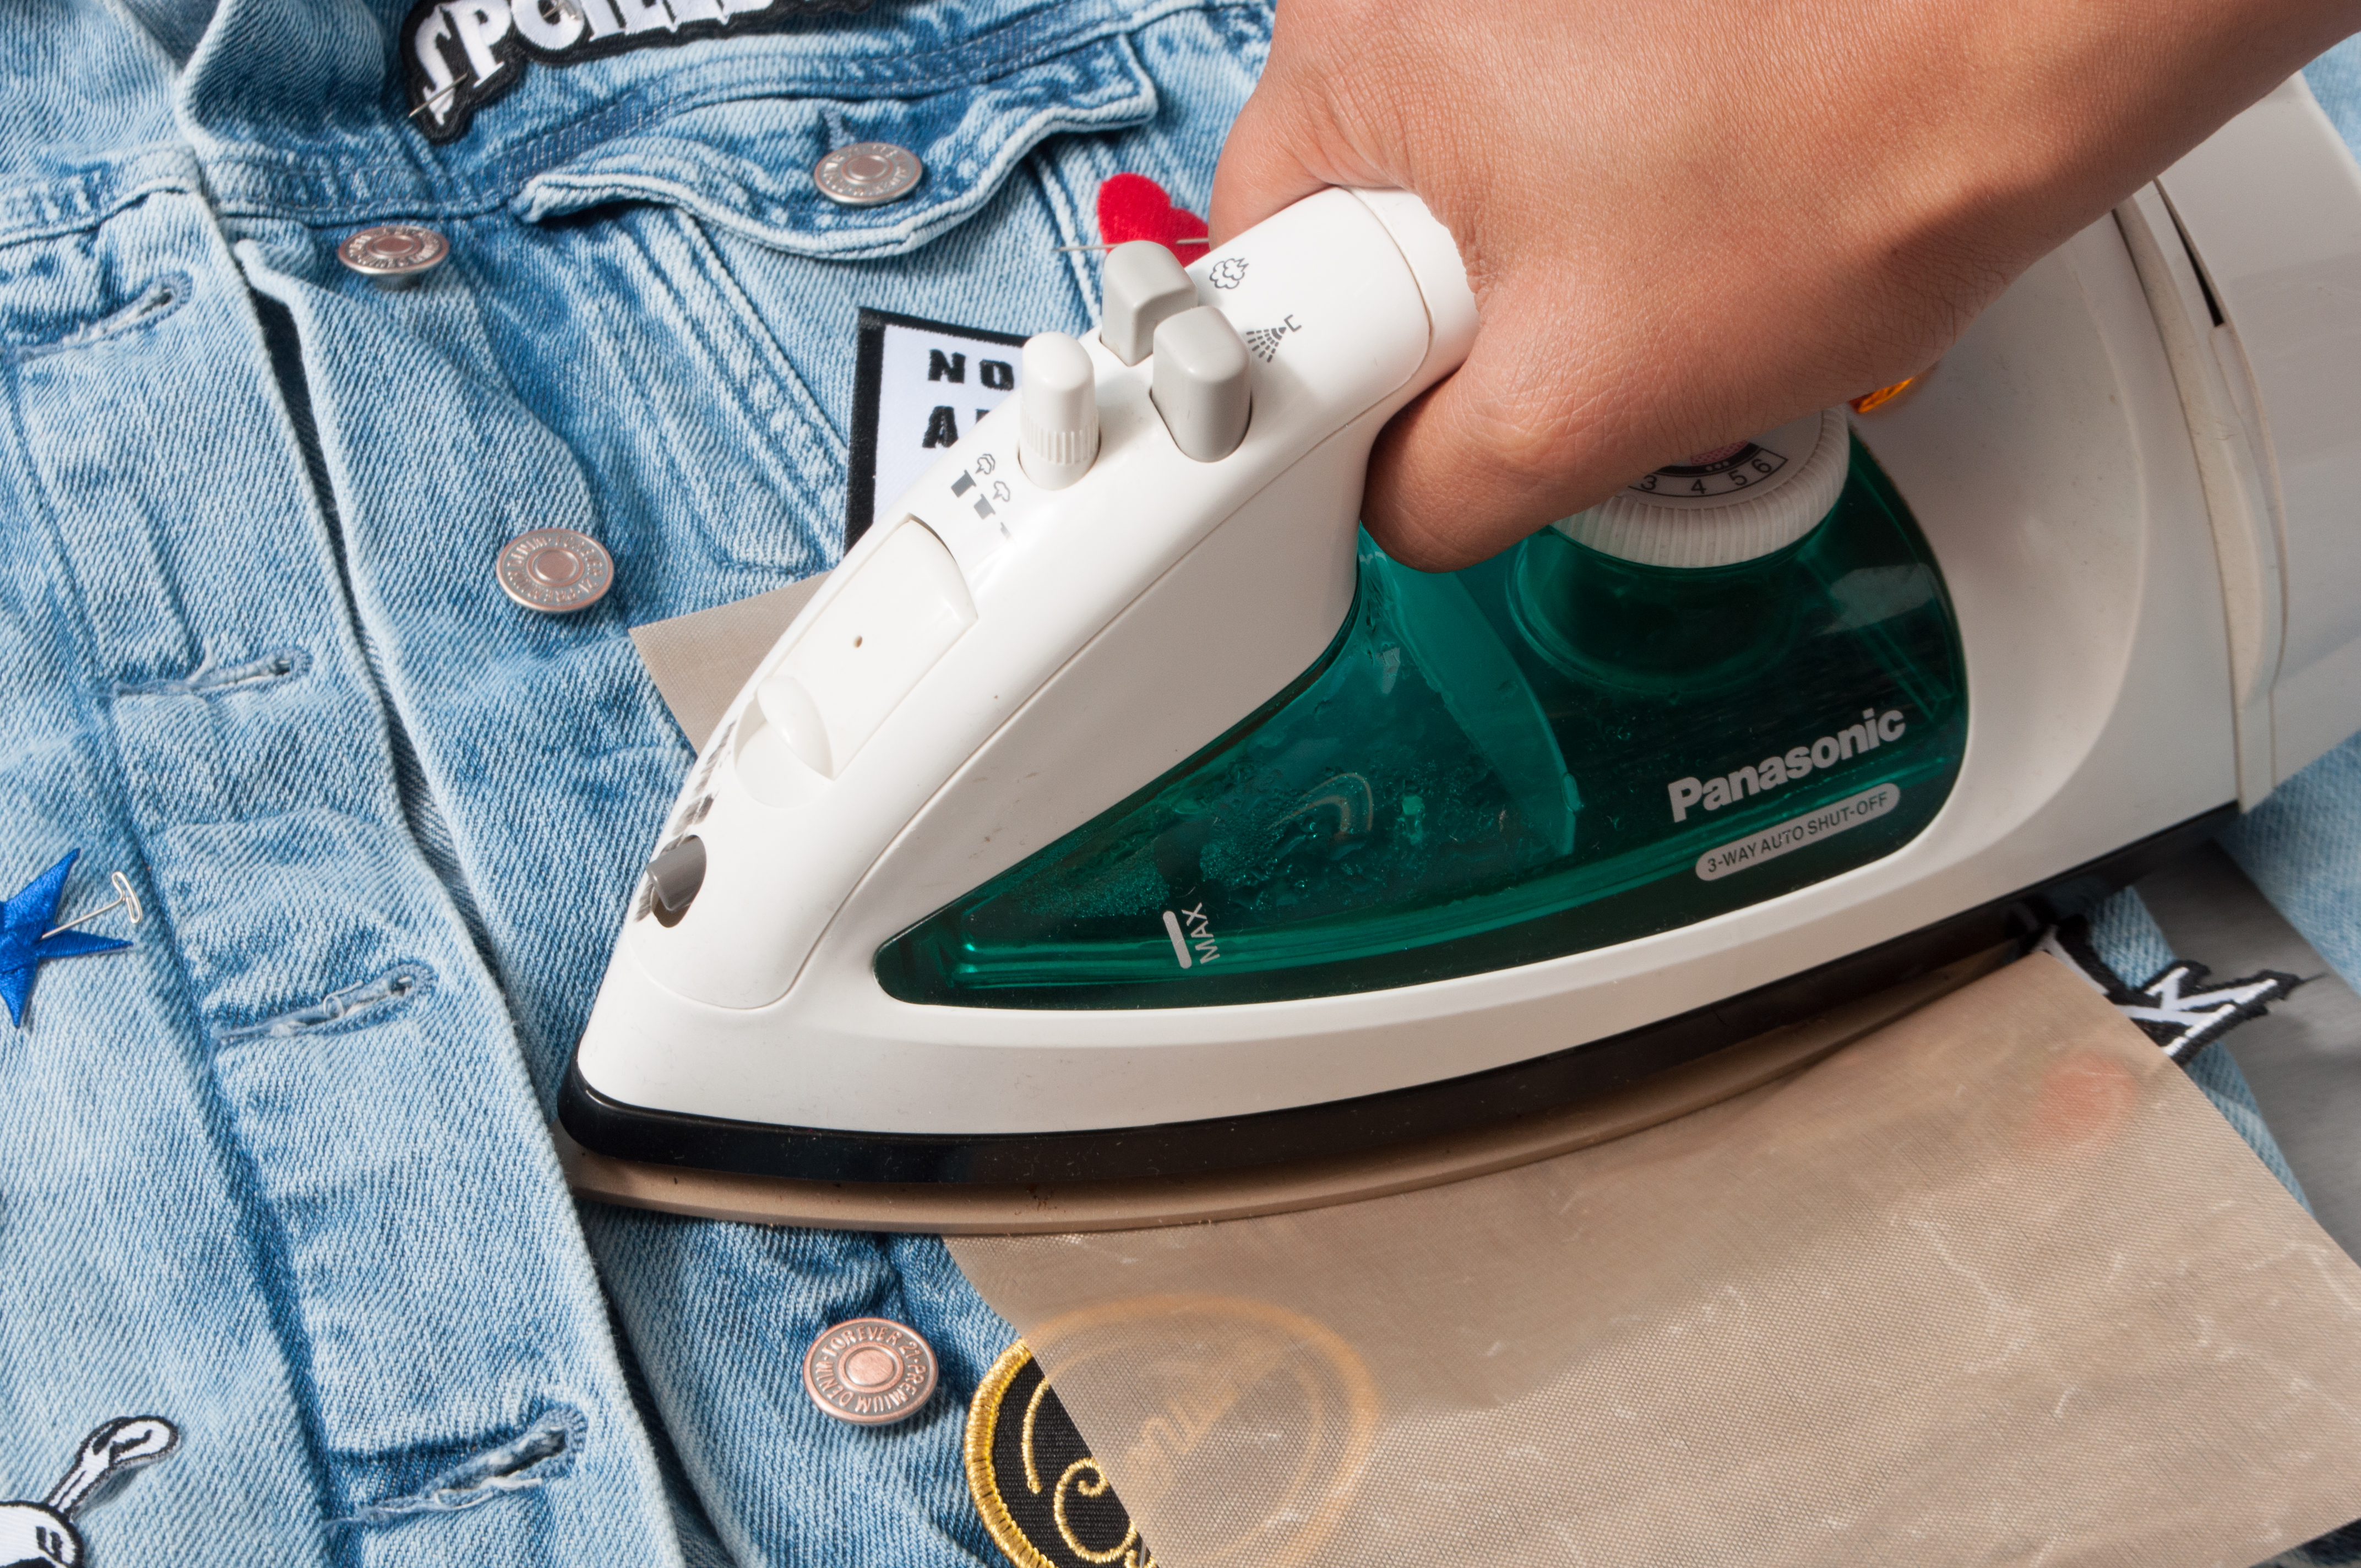
 1. Place the patches where want them on the jacket. Pin them to keep them in place.


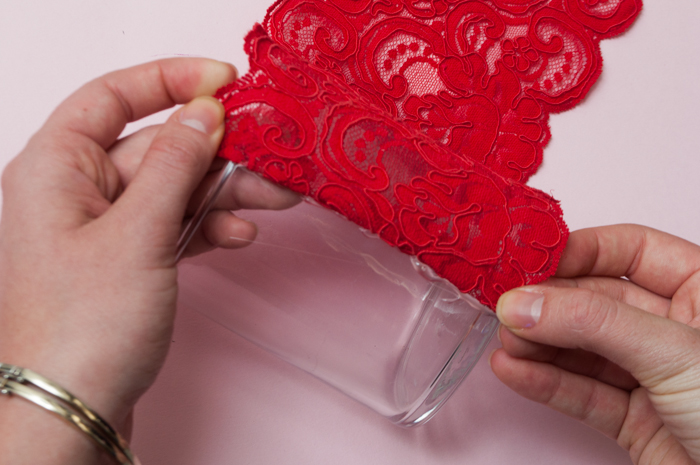
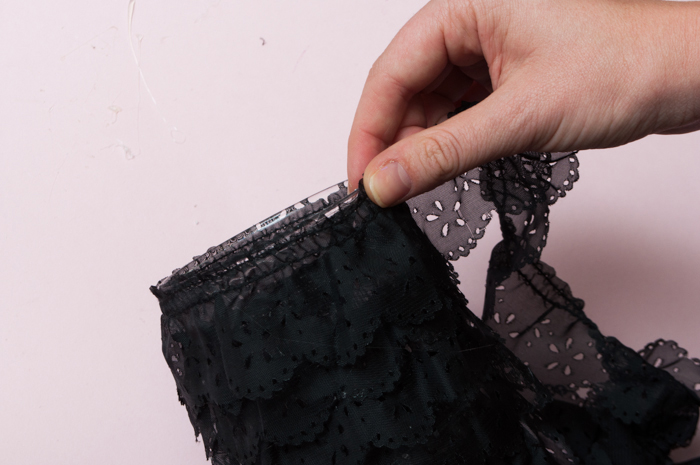
 1. Position your trim in the arrangement you like. We used a mix of ribbon and jacquard, and placed them on the clutch horizontally.
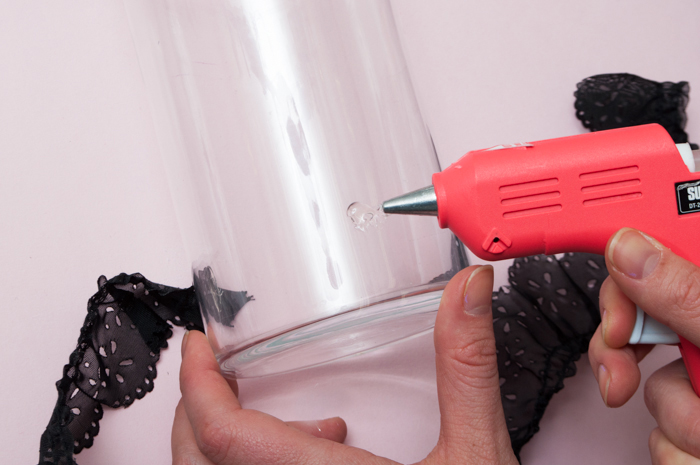
 2. Begin gluing your trim down. Start in the center and work outward.
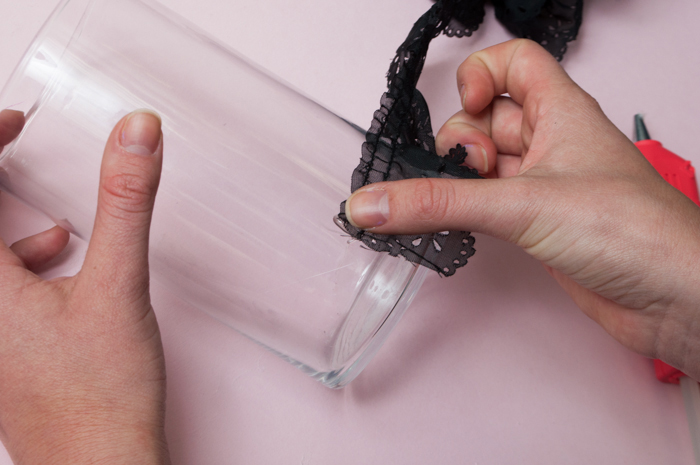
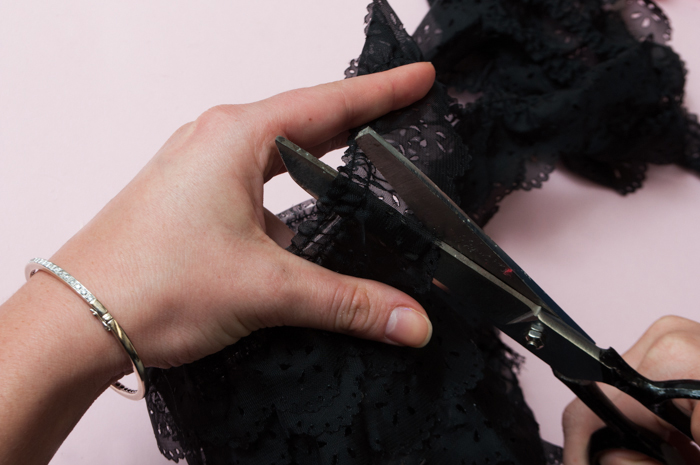
 3. Cut off any excess trim so that it does not hang over the edge of the clutch.
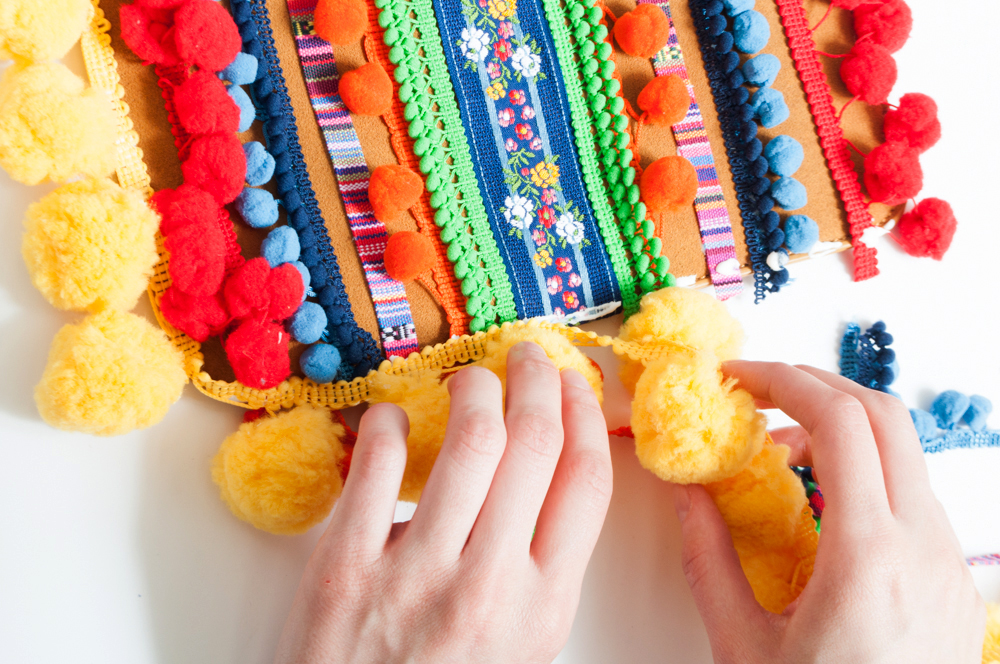 4. Glue the jumbo pompom trim around the perimeter of the clutch.
 5. Add a tassel and pendant to the zipper. Use a jump ring to connect the tooth pendant if you cannot fit it through the zipper pull.
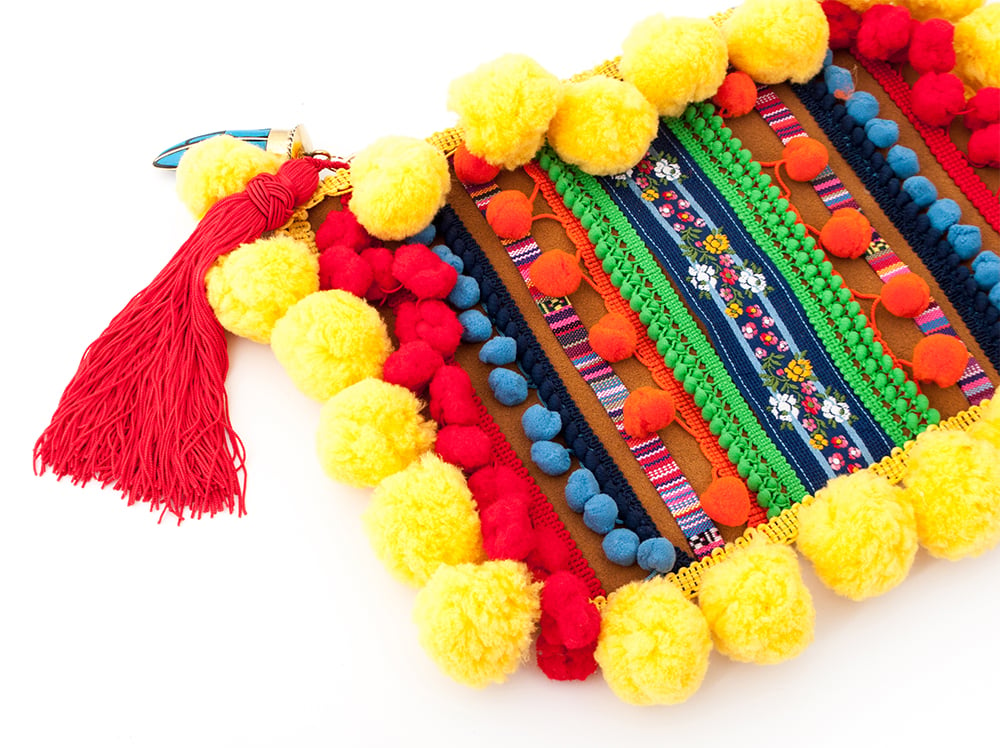


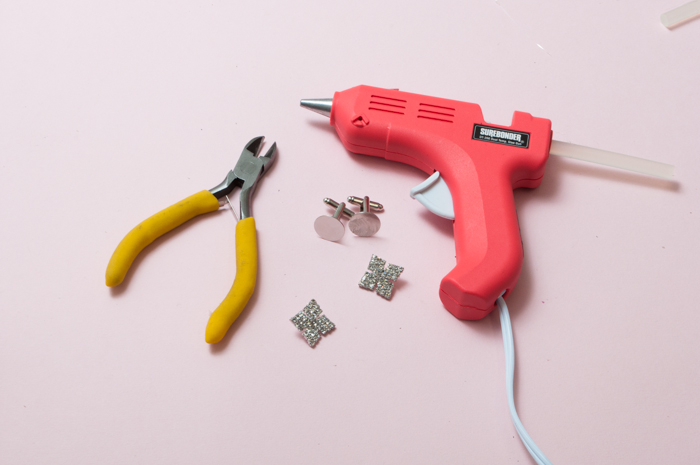
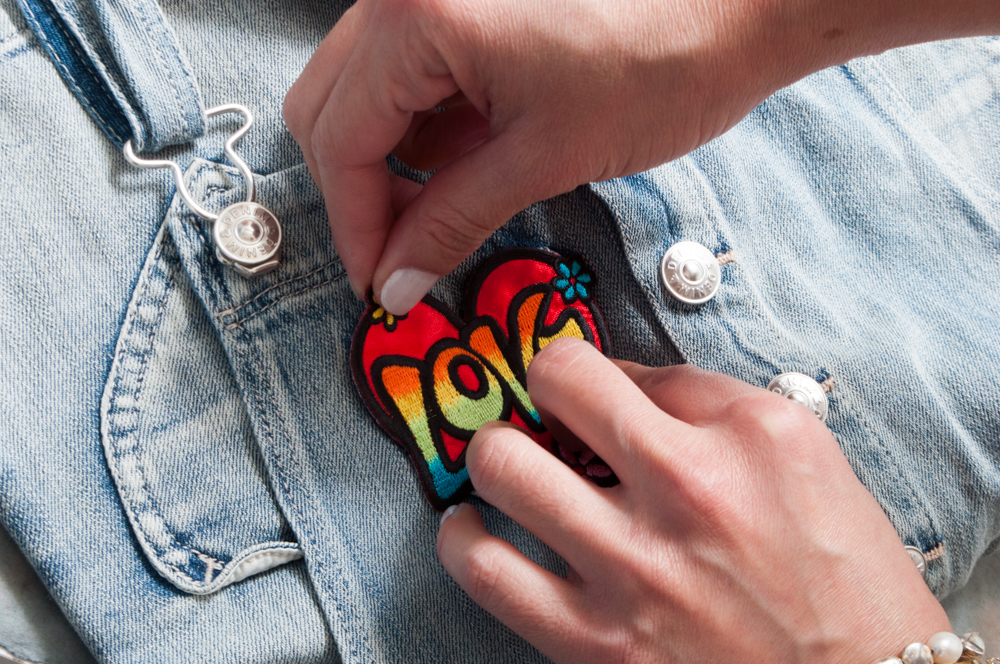 1. Play with the arrangement of patches until you land on a layout you love.
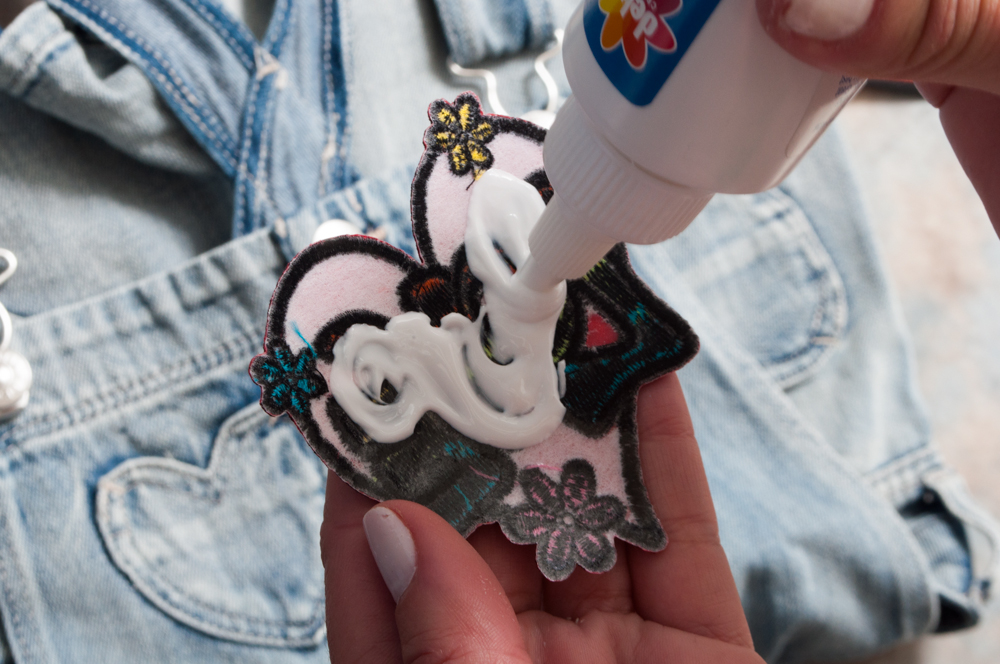 2. Either use glue or
  3. Continue this process until all of the patches are attached, and then let dry 24 hours before wearing.
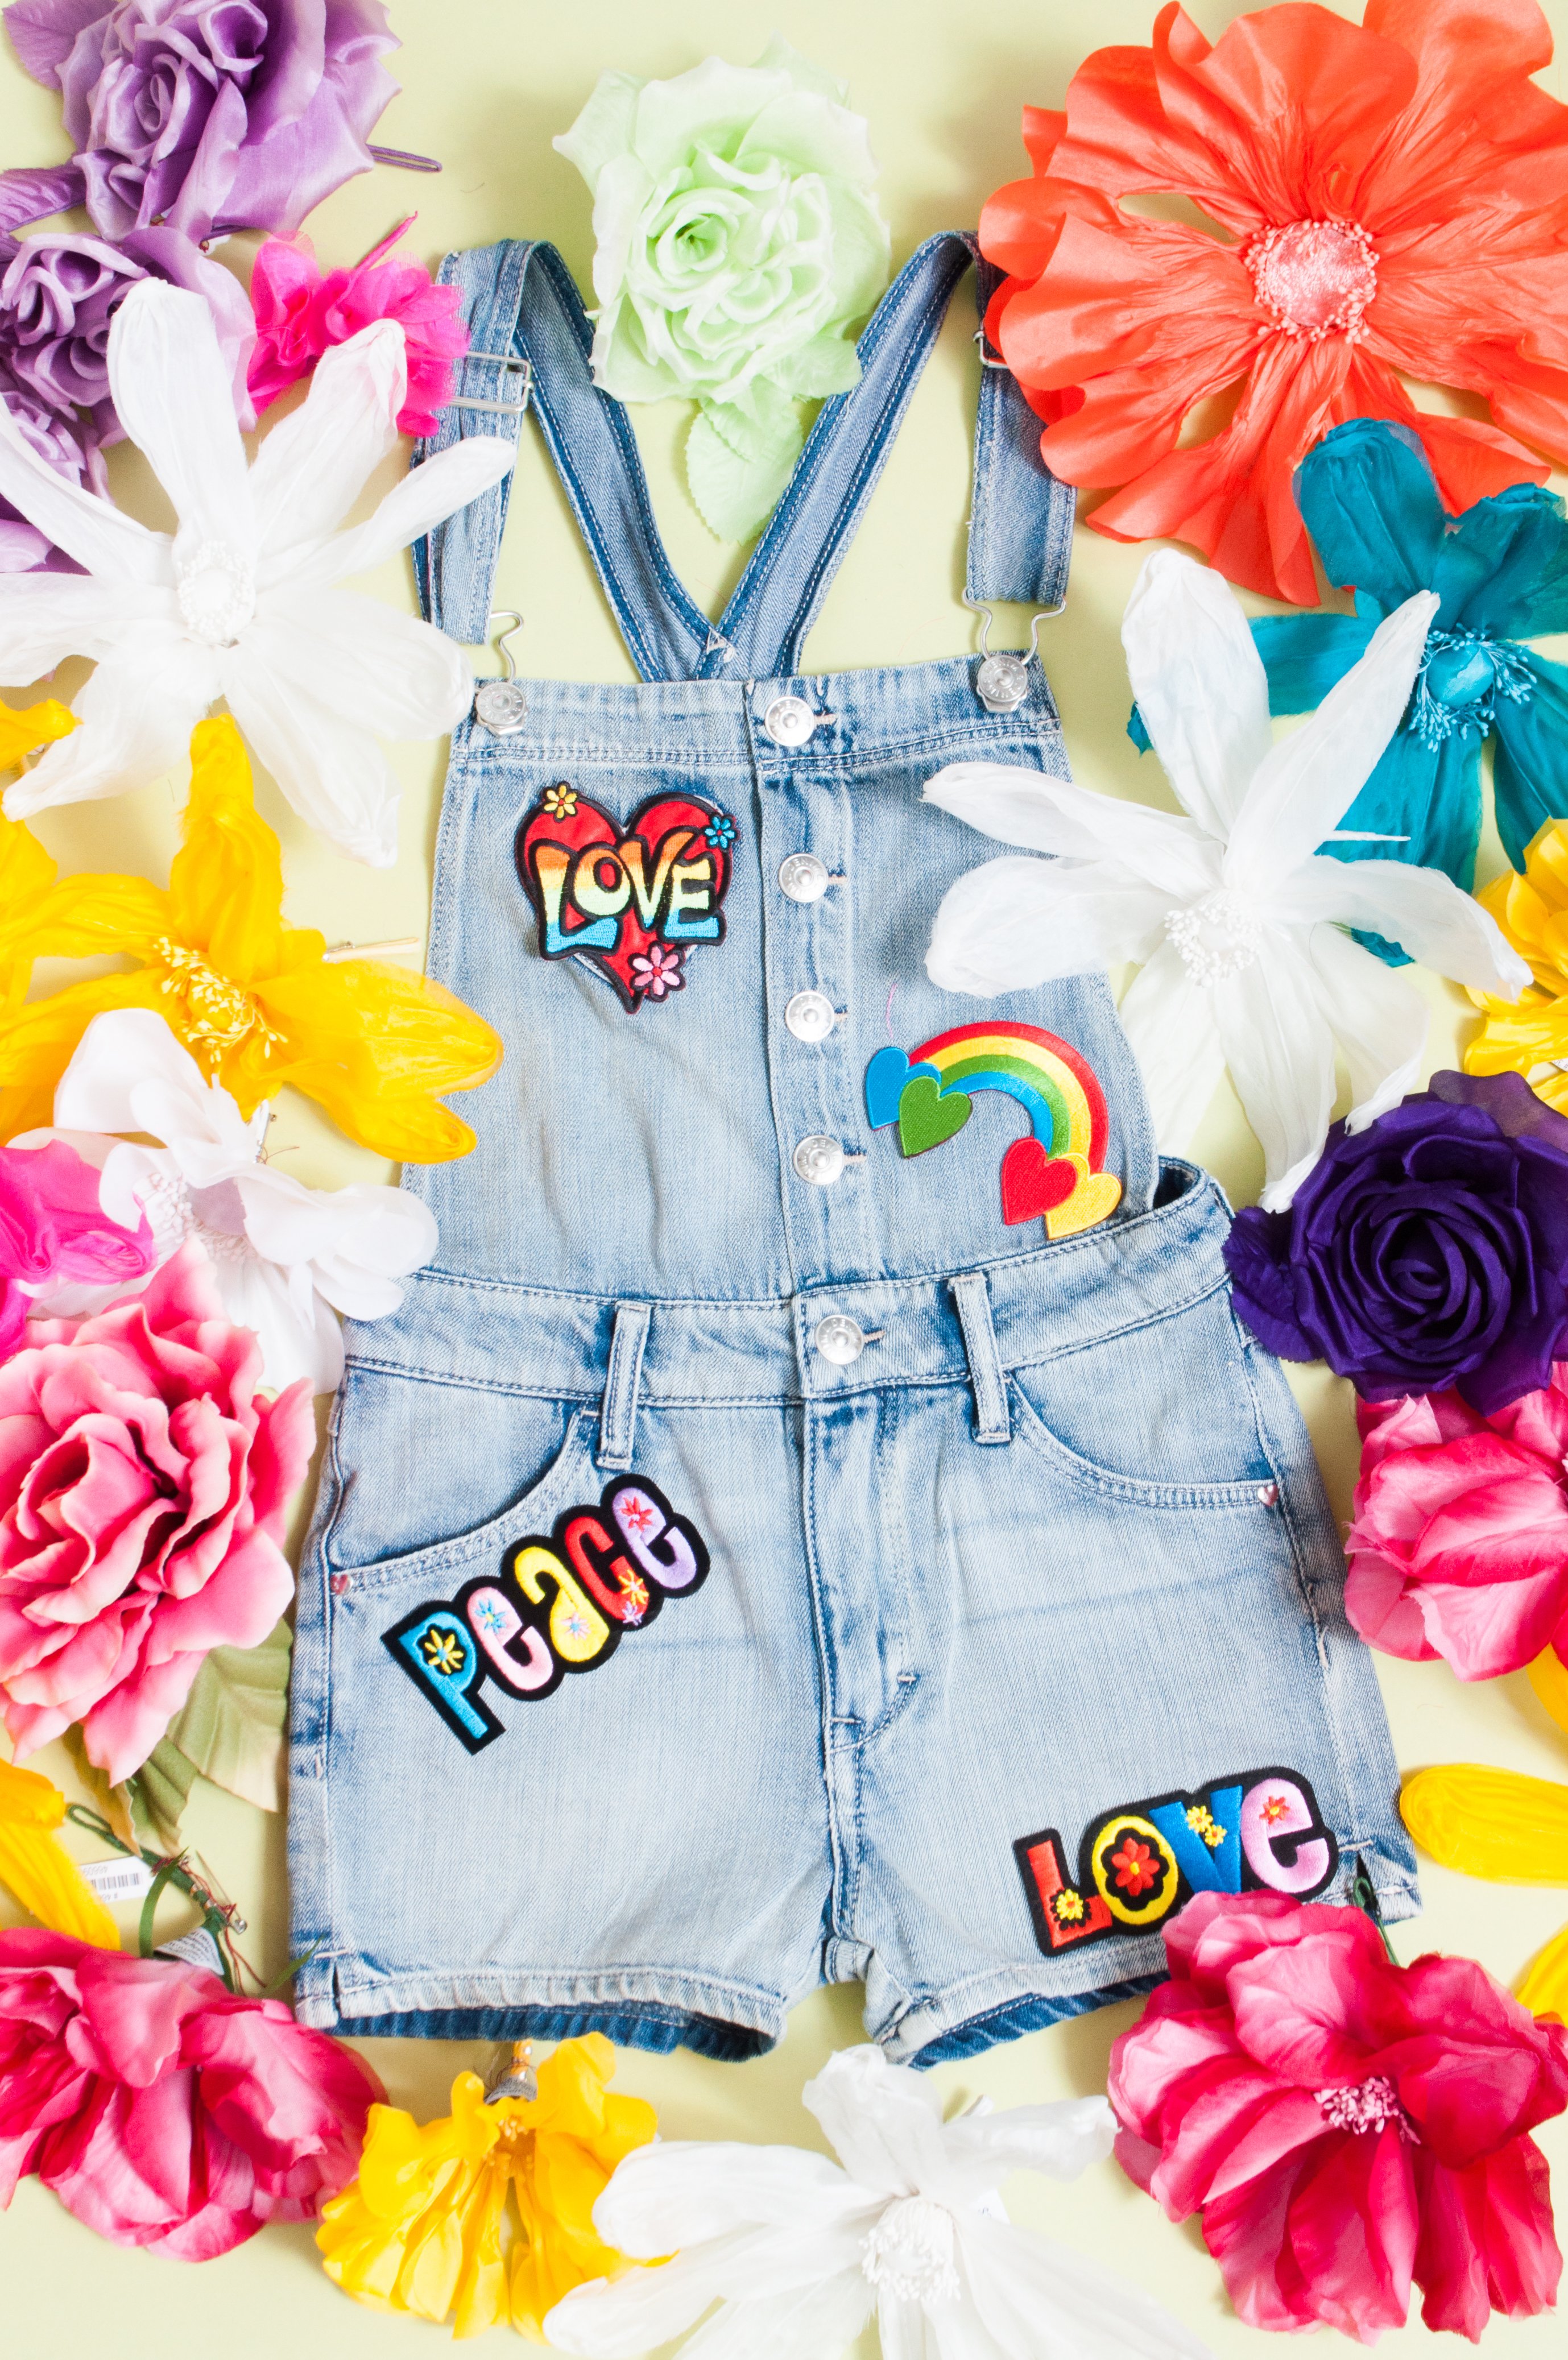


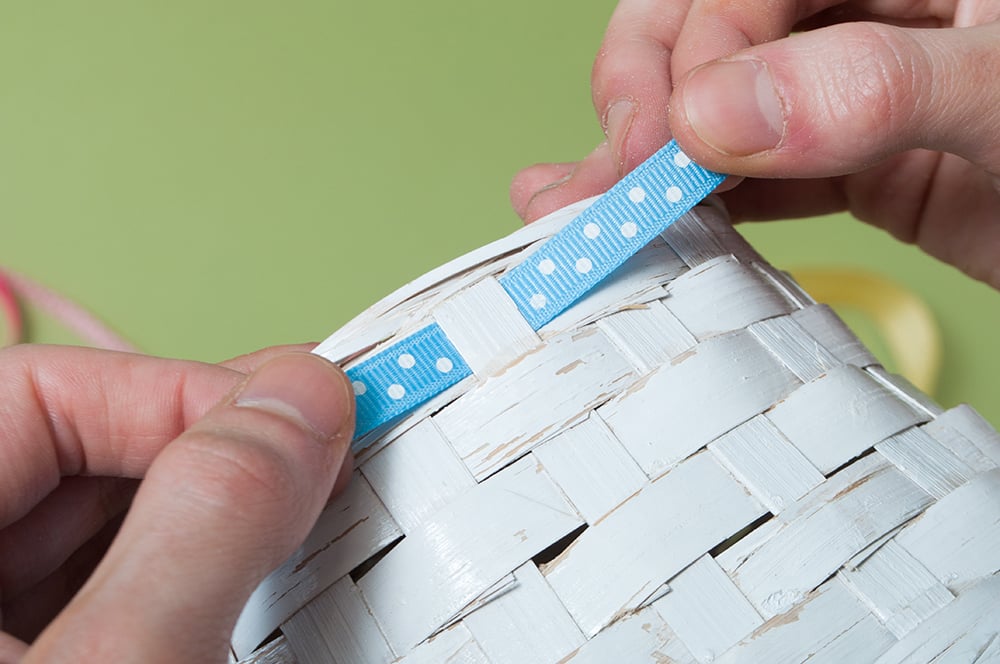 1. Follow the horizontal weave of the basket with your grosgrain ribbon.
 2. Switch between the polka dot and solid grosgrain.
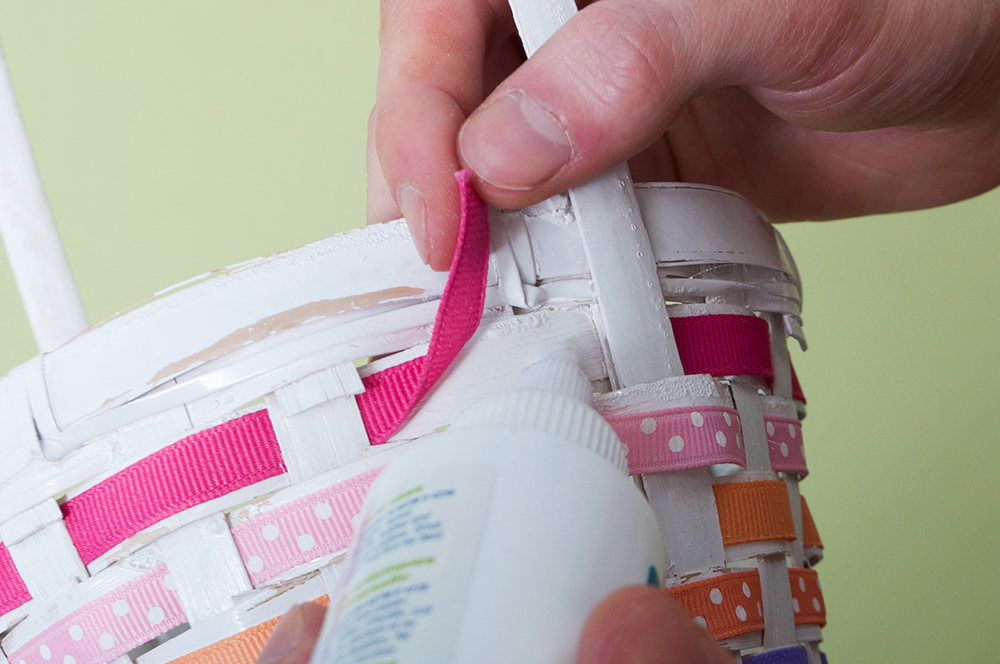 3. Cut and glue the ends of the ribbon down once you’ve wrapped the basket once around.
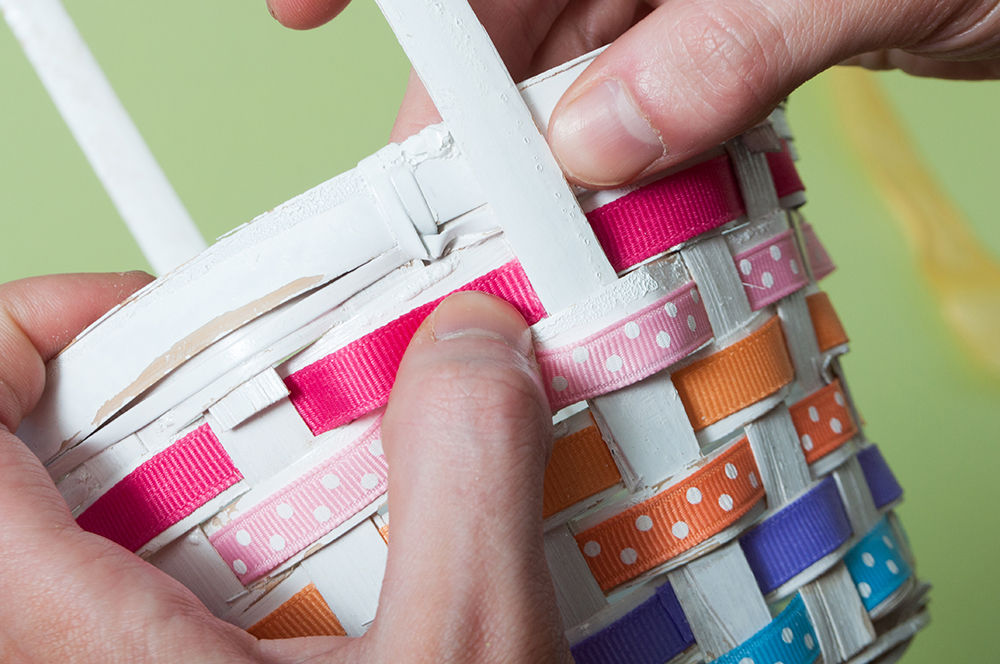 4. Try to place the end of the ribbon underneath an opposing basket groove to hide edges.
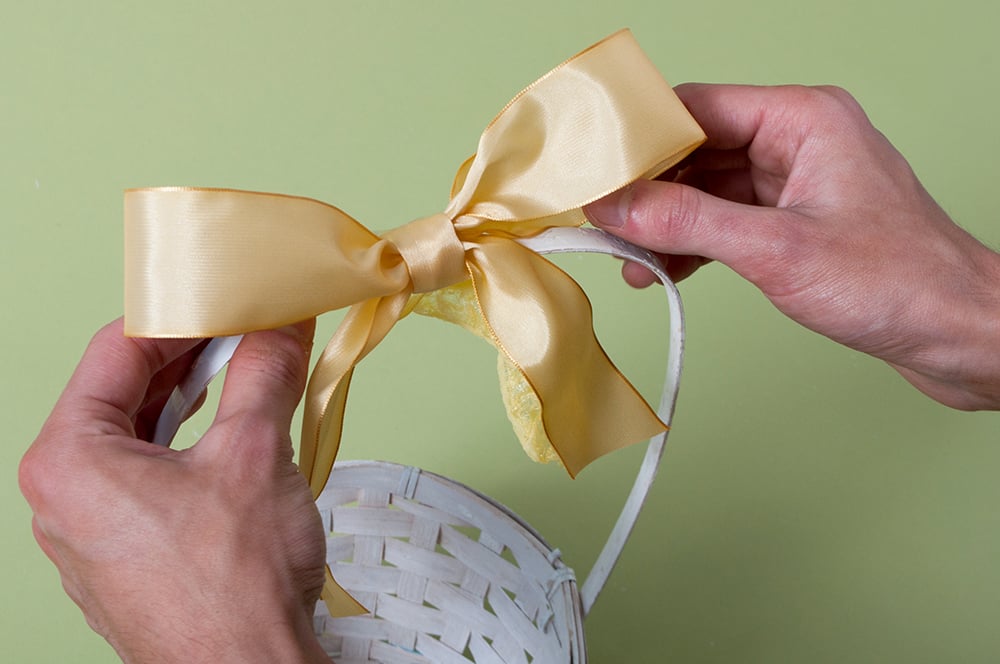 5. Top it off with a big bow! We recommend using