There’s no way you haven’t seen these off-the-shoulder tops in every store and every fashion pin in 2017. They’re so cute and summery and actually really easy to make. You don’t even need a sewing machine. Wait, what?!

Totally crushing on this top from the Alexis 2017 Resort Collection
All you need is:

An oversized T-Shirt
Iron
Safety Pin
Also, keep a measuring tape handy.

1
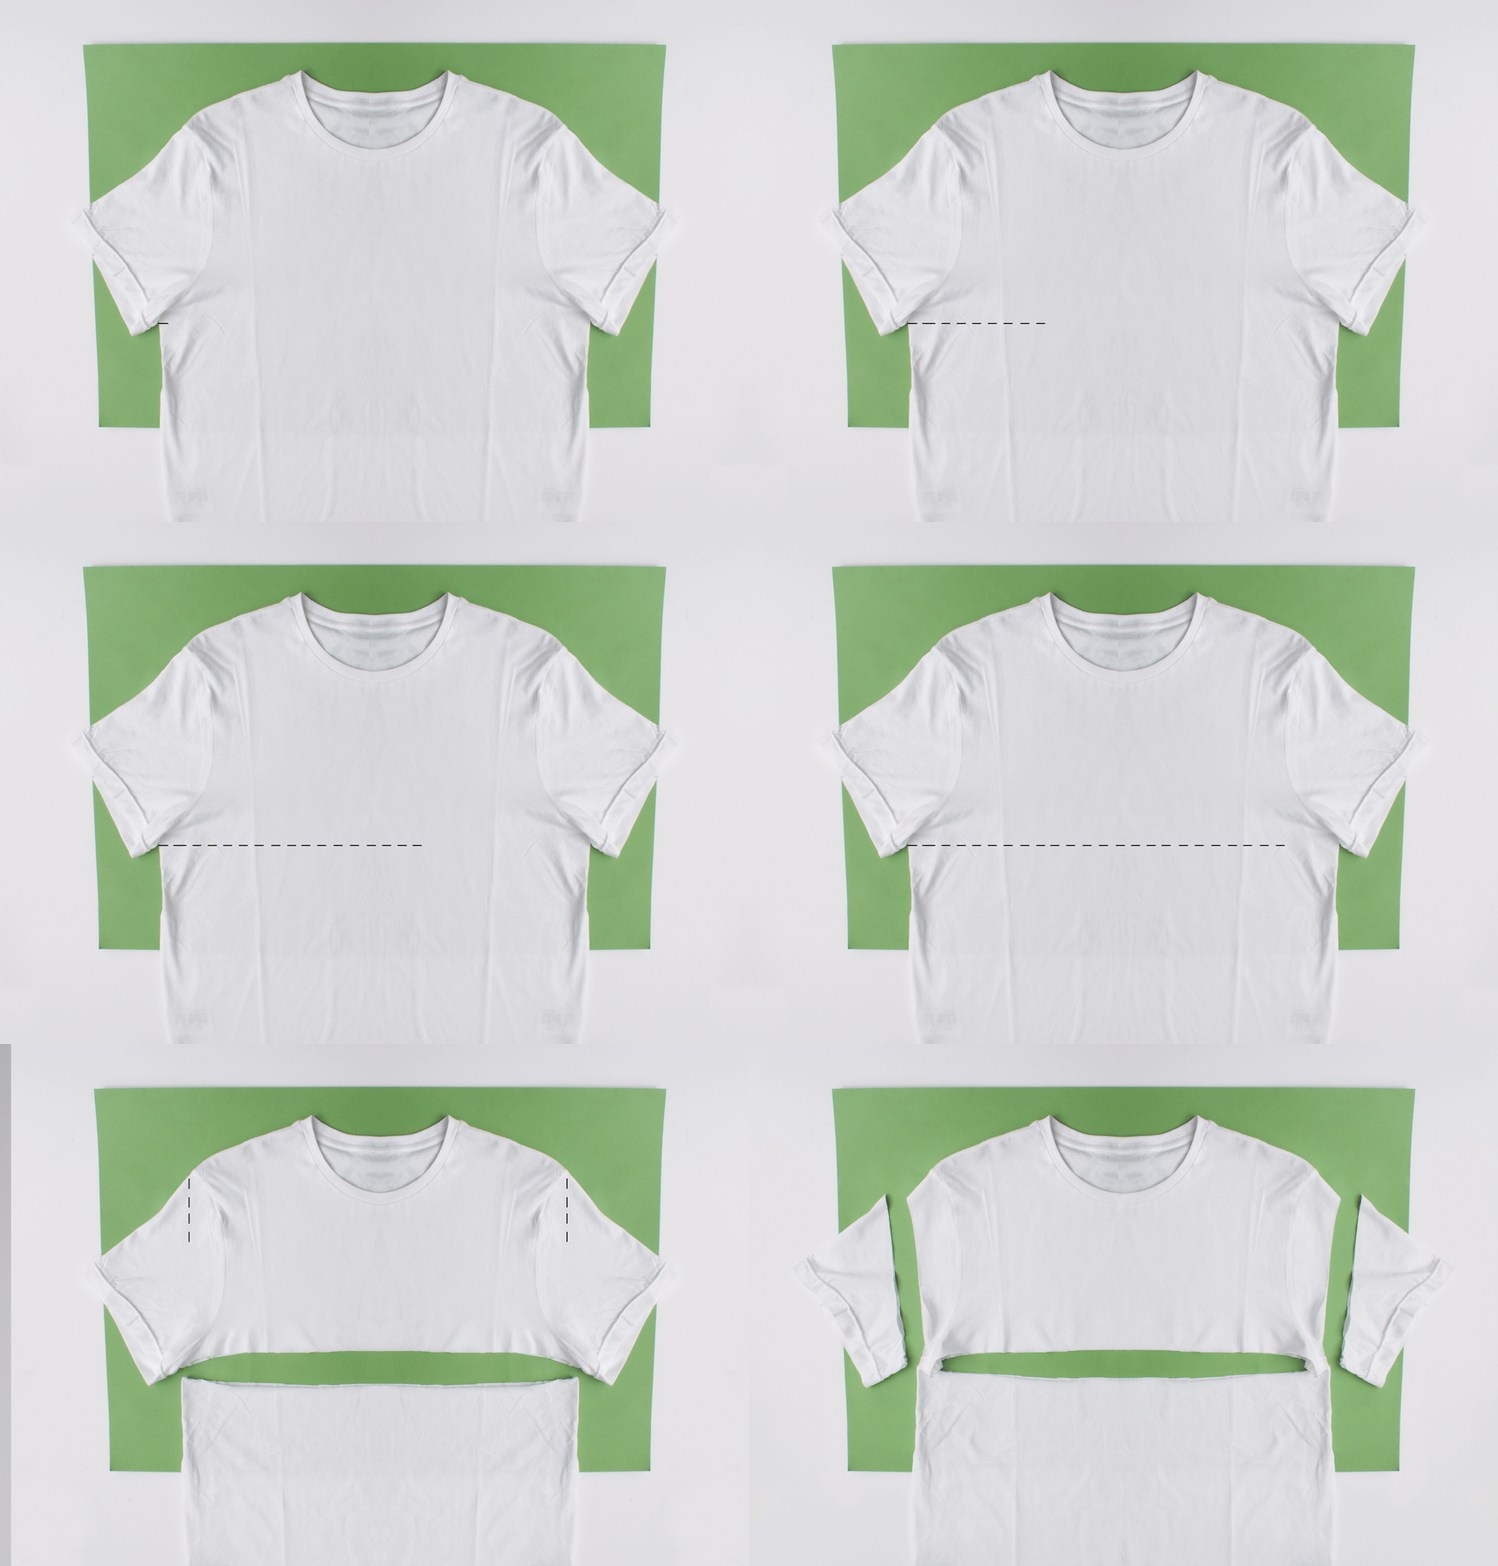
Cut the T-shirt right under where the sleeves begin, in a straight line. You’ll be using the bottom half. Then, cut the sleeve in a straight line an inch or so from the armhole. Using the cut piece as a reference, use it to cut the second sleeve.


2
Now, place the embroidered patches where you want them on the piece you cut and iron it on. I did one big piece near the hem and cut the second patch into smaller flowers for the sleeves. Use a thin cotton cloth to cover the patches while you iron and hold down the iron for 20 seconds at a time. Repeat as necessary. Do not use steam.

3
Using a measuring tape, measure across around the upper chest. Then, measure your bicep. That’s the fullest part of your arm. Cut 1 piece of elastic a couple of inches smaller than your upper chest measurement and 2 pieces an inch smaller than your bicep measurement. For example, I had 30″ as my upper chest measurement and 10″ as the bicep measurement. I cut my elastic to 1 x 28″ piece and 2 x 9″ pieces respectively.


4
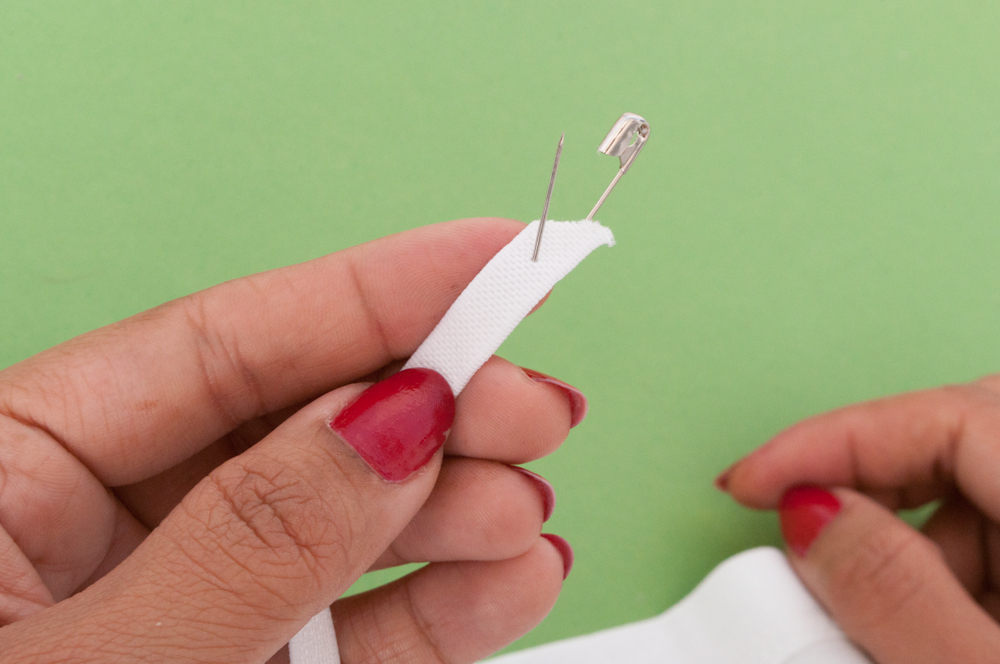
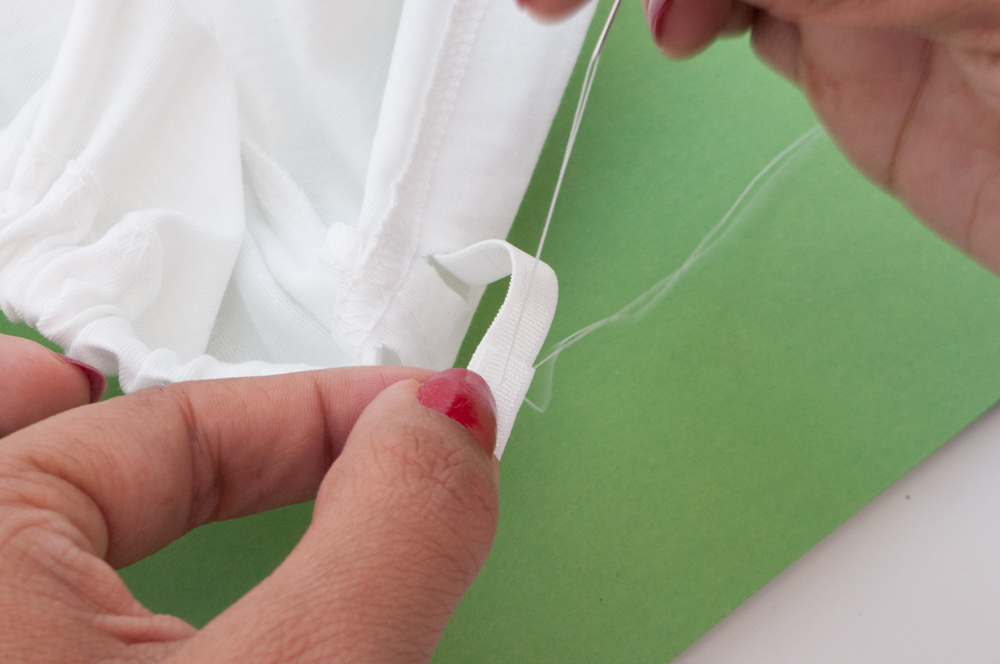
Taking a pair of scissors, snip two small holes (big enough for the elastic to go through) near the seam of the hem. That’s the pre-stitched part of the piece you cut. Then, attach the safety pin to one end of the longer elastic and use it to pull it through the hem. Make sure you secure the loose end so it doesn’t get pulled in. Scrunch as you go along as there will be more fabric than elastic. Repeat this step with both sleeves. Once you’ve threaded the elastic and come out through the second hole, secure it by stitching it to the fabric.

5
The final step is attaching the sleeves to the body. Match the seams of the sleeve and the body and sew on either side at about 1/2″.

Pair it with some denim cut-offs and show off your new embroidered off-the-shoulder top!


Very cute project. Is the bottom of the finished top not hemmed?
What a great idea! I’ll have to give this a try soon 🙂