
One of the most versatile things you can find is a frame. You probably already have plenty lying around or you can get them for a couple of bucks at ikea or if you’re adventurous you can find them at yard sales or thrift stores. I put together 3 ways you can use a frame in your dorm decor but this is just a starting point for you guys to come up with your own unique ideas.
LACE DRY ERASE BOARD
This one is super simple and quite useful. You can hang it on your wall and write yourself a note or on the outside of your dorm door for people to leave you messages when you’re out.
Here’s what you need:
A frame with glass
Cardstock (thick paper) in a light color
Wide lace like this one


1
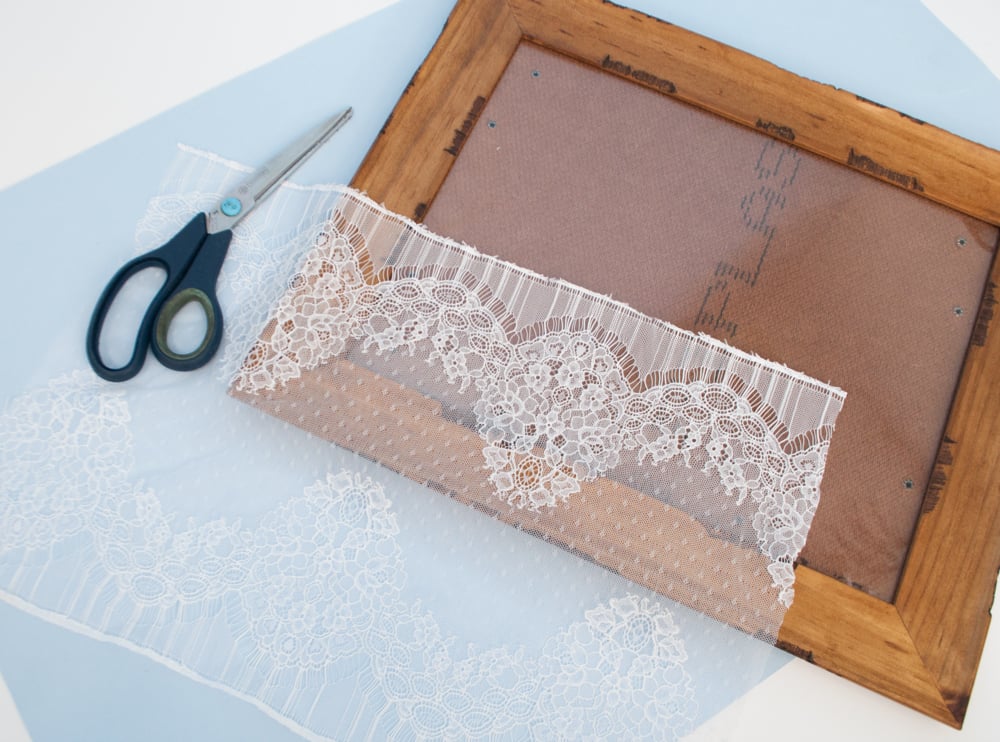
Take the backing out of the frame and lay it on the cardstock. I used a corner so I would only have to cut two sides.

2
Using a pencil trace around the board and cut out the resulting rectangle.


3
I used this Chantilly lace which was wide enough for a 11 x 14 frame with some extra. With the glass in the frame (facing down), place the lace and then the cardstock on top. Then carefully insert the backing to hold everything in place.


And that’s it. Now get your self some dry erase markers and make a to do list.
TRIMMED POLAROID HANGER
With Instax and other companies making affordable polaroid cameras, polaroids are a nice way to collect memories and document your travels. What you need is a cute frame where you can hang up your awesome polaroids.
Here’s what you need:

A frame
Braided trims in 2 colors (more or less, depending on the size of your frame.
This Rococo trim
Clips to hang your polaroids


1
Measure the trim to fit from side to side of the frame and cut all of them equally.


2
Apply a small amount of glue to the right side of the trim and attach to one side. Let it dry for a minute. Then, pulling it tight, add glue the other end to the other side. Be careful with the hot glue though!

3
Repeat with the other two trims and you’re done.
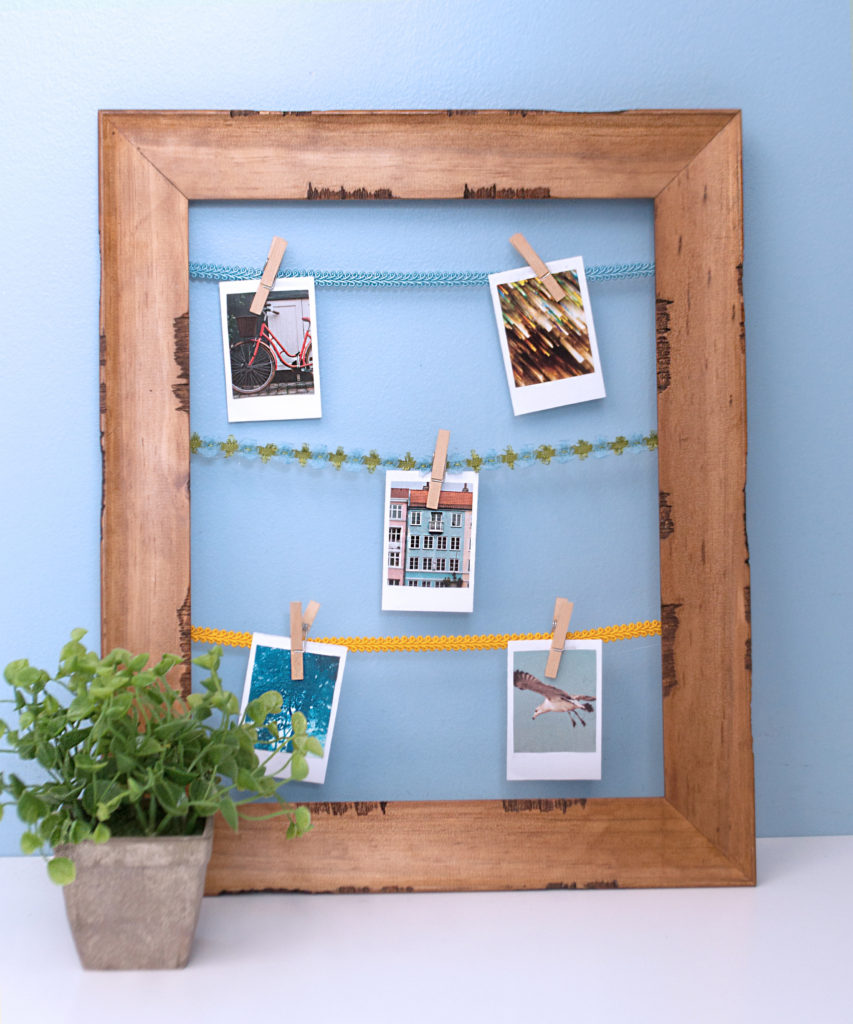
Hang up your polaroids and show them off!
Velvet Ribbon Art
Want a sophisticated and tactile piece of art for your dorm room that’s not going to break the bank? I have just the idea for you. All you need to do is figure out your color scheme and then just play with the different velvet trims in different widths till you like the layout. You can see the one I made for some inspiration:

What you’ll need:
A frame
Velvet ribbon in various colors
This adorable velvet daisy trim
Tape

1
I used half a yard for each of the strips for a 14″ tall frame. Measure the inside area of the frame and add 4 inches to that measurement to know how much you’ll need for each strip.


2
Starting with one side start taping the ribbon taut onto the backing of the frame. I did it directly on the backing because it’s sturdy and won’t bend when I pull it tight.

3
Keep going, experimenting with different widths that you can change by overlaying the ribbon differently.Add the daisy trim in between for some dimension. The back is going to look messy with all the tape so if you want a cleaner more permanent solution use a glue gun and glue all the ribbon evenly.

And that’s it. Pop the backing back into the frame and hang your art up.
Love, love, love the lace dry erase board!!! Adorable!!!!