
If you’re looking for an easy DIY that will instantly make your doorstep more festive for your favorite frightening holiday, Halloween, this is it! Instead of going the traditional carving route, we decided to make use of our leather cord to create a unique embroidered effect. We also used a craft foam pumpkin for this DIY so that it can last multiple seasons, but you can swap it out for the real thing too!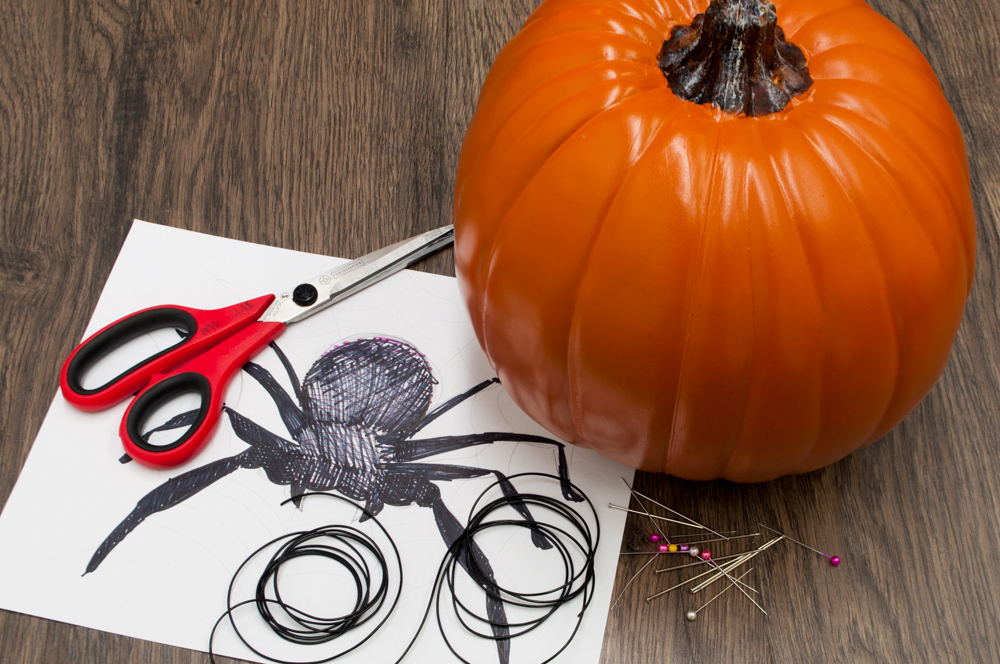
What You’ll Need:
Spooky Image of Your Choice
Pumpkin
 1. Cut out your image.
 2. Pin paper cut-out to pumpkin.
 3. Cut out top of pumpkin. If you’re using a real pumpkin you’ll want to clean out the insides.
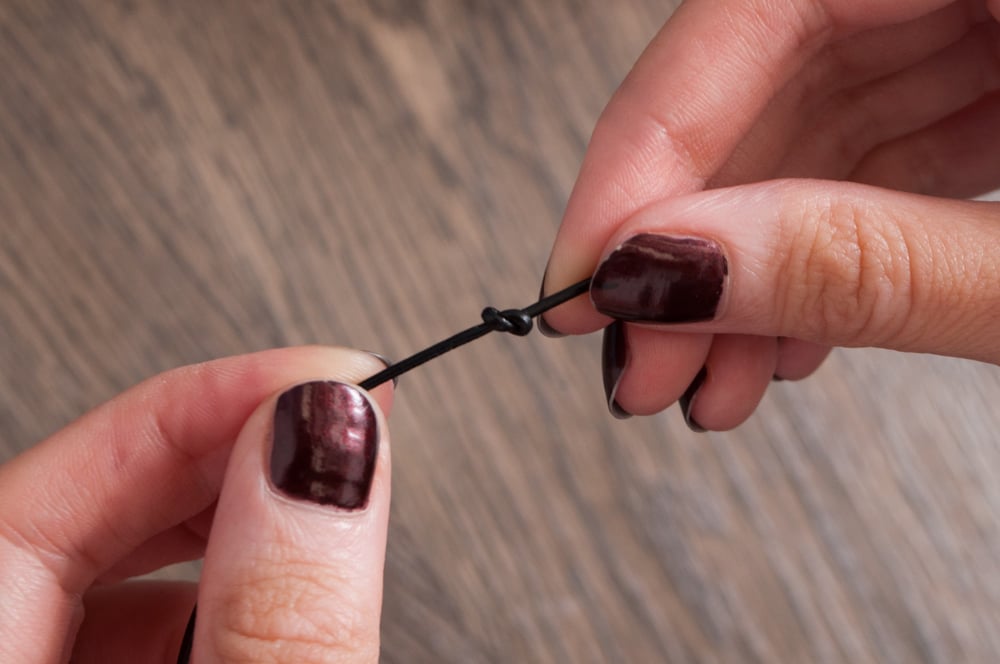 4. Make a knot at the base of the leather cord.
 5. Either drill or puncture small holes into the pumpkin using your cutout as a guide.
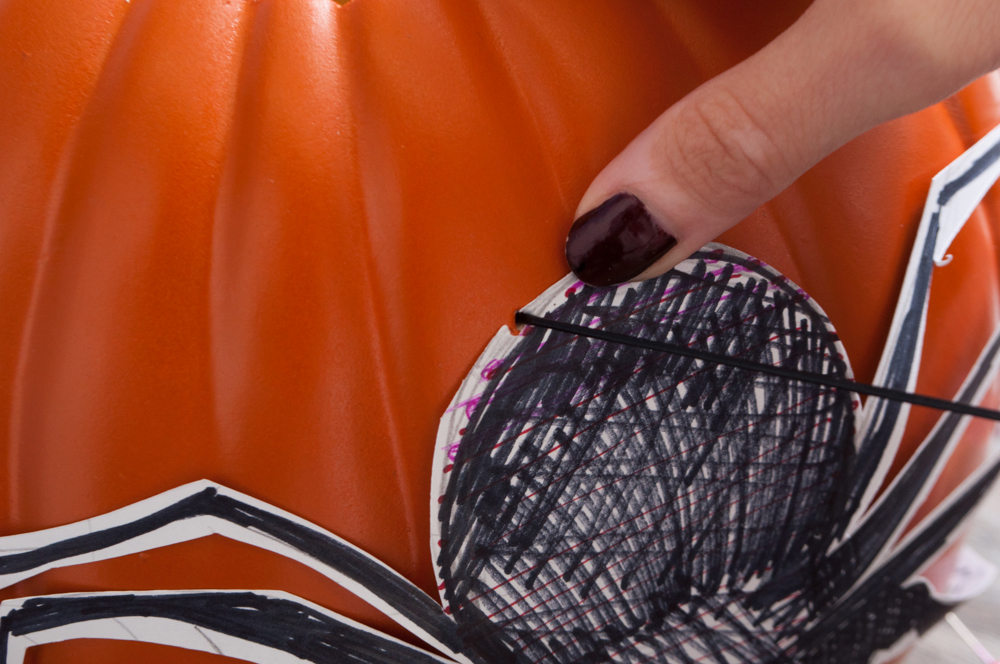
 6. Start weaving your leather cord through all of the holes. Make sure every hole has a complementary hole close by.
 7. Continue weaving until the image is complete. For small areas you can tie a knot and weave back through one hole, as we did with the spider fangs.

Oh my gosh that is brilliant! So cool and creative!