By Roseann
Over the past month I have been posting ideas and instructions for creating your Halloween costumes. It has been a very busy month and I was unfortunately unable to post everything that I would have liked to, so I’ve decided to do a little recap of the events held here at M&J and share a couple of last minute ideas from a basic garment that everyone has in their closet that maybe useful next year.
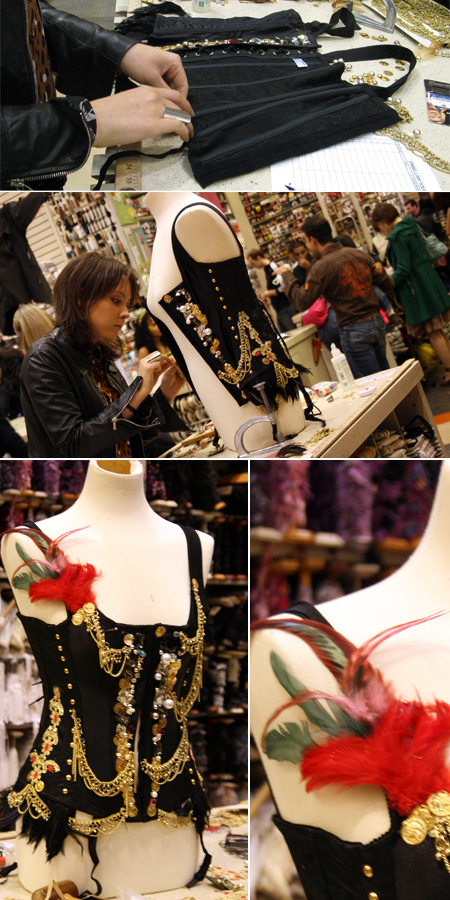
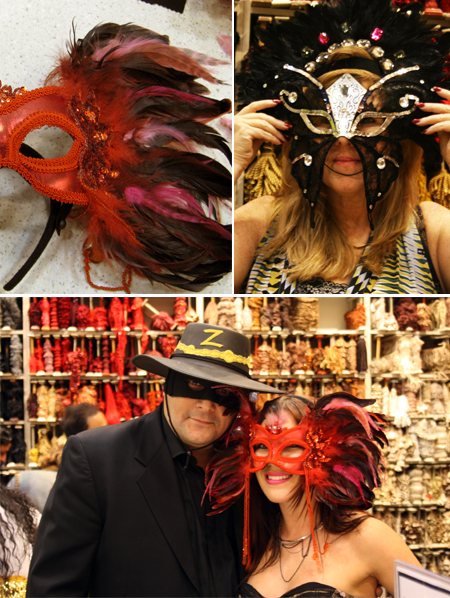
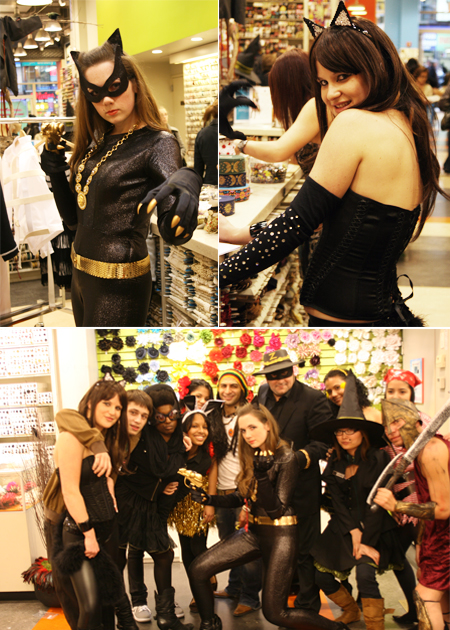
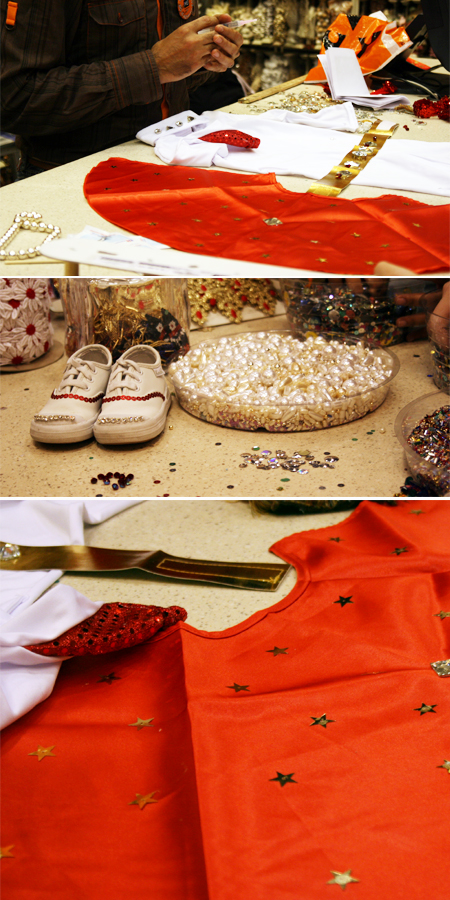
The Halloween DIY bar went over very successfully. People brought in all kinds of things to embellish and take to the next level. My favorite was a bustier that was part of a mail order bride costume. We embellished it to the max using everything from feathers, chains, sequin, beading, and nailheads. Masquerade masks were created, an Elvis costume adorned, and cat woman accessories made saucier. The event took place Fri evening in the store; it was the first of what I hope will become an annual event here at M&J.
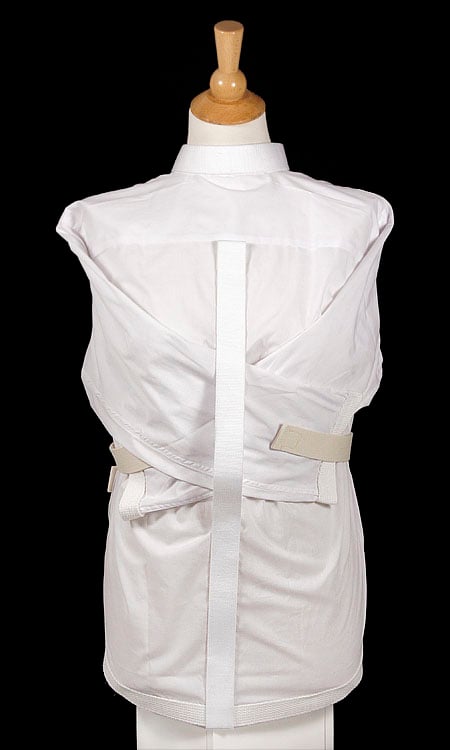
One of the things I wanted to show people this year for Halloween was that costumes can easily be created from pieces already in your closet. I made a couple of simple pieces from men’s white button down shirts. The process in seven steps was easy and fun to do.
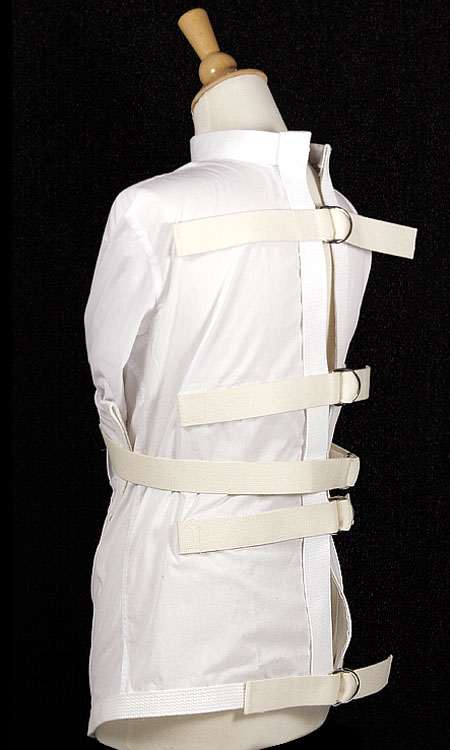
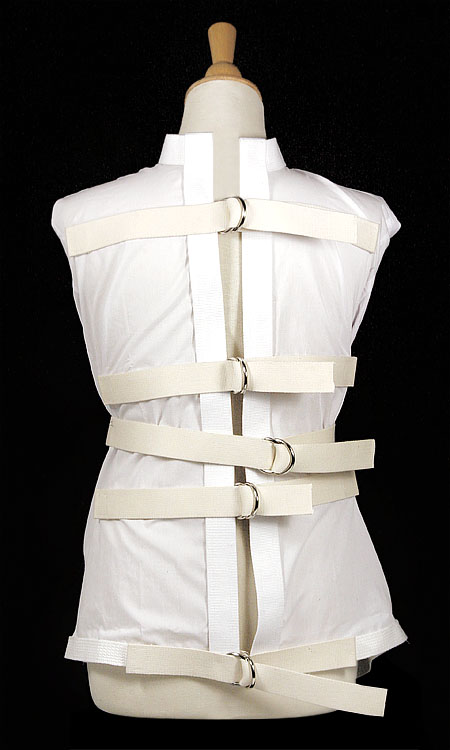
Straight Jacket:
- First you will need a white button down shirt, this can be oversized.
- 10 D rings
- 5 yards of 1 ¼” webbing style: 42216-0 (1-800-9-mjtrim) and 2 yards 1/14” twill tape. You could use twill tape for the entire project if you prefer.
1. Remove the top portion of the collar as well as the sleeve cuffs, front pocket, and buttons.
2. Cut the webbing into
Four 10” pieces finish 1 end by folding 1” over and secure
Four 16” pieces finish both ends
Two 25” pieces finish 1 end on one and both ends on the other
3. Finish around the sleeves and the bottom with twill tape. If the bottom of the shirt is not straight you will need to cut it even.
4. Attach 10” pieces equally apart on the left side of the center front of the shirt. Leave 1 ½” extra, slip 2 d rings through this and secure to inside of the shirt.
5. Attach the 16” pieces to the right side at same intervals leaving 8” free.
6. Attach about 4” of the 25” pieces to sleeves and then attach 2 d rings to the left.
7. Attach strip of webbing down center back starting 4” below neck line. Attach 5” of webbing at top stop and attach 9” at bottom. Same piece, you want a gap so that the arms can be thread through.
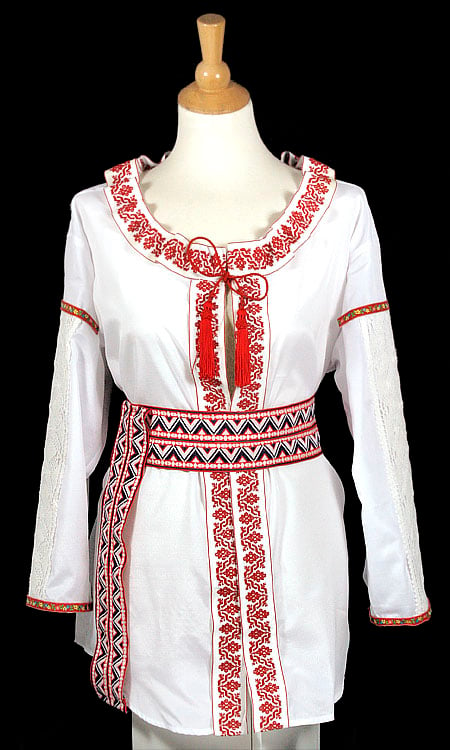
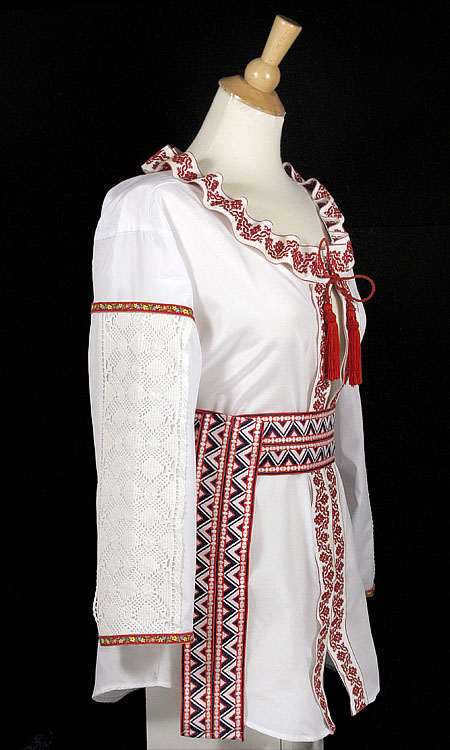
Ukrainian Folk Costume Inspired Shirt
- 1 white collard button down
- 2 tassels
- 1 yard cluny lace
- 3 yards 62mm jacquard ribbon
- 1 ½ yard 12mm jacquard ribbon
- ½ yard cording
1. Measure 2” from neckline and mark all the way around, cut.
2. Remove sleeve cuffs and pockets.
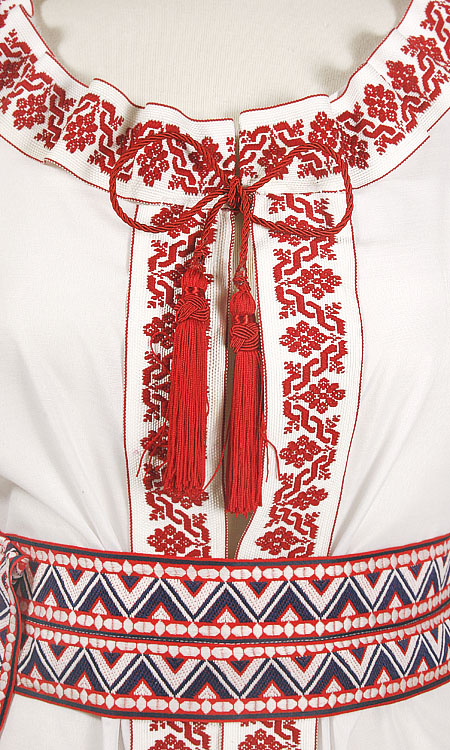
3. Measure down center front of shirt; add 2 inches to that measurement. Cut two pieces of the 62 mm jacquard equal to the measurement from before and apply to front of the shirt; finish ends by folding over.
4. Cut another piece of the 62mm jacquard and apply to front of neck by tacking the front down push up a wave and tack. Continue around entire neckline.
5. Add tassels and cording to the back of the shirt at the center front neck line.
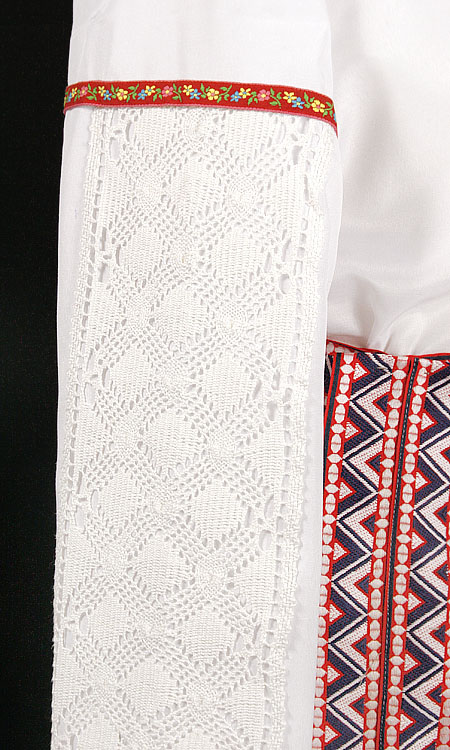
6. Cut cluny lace in half; apply to the sleeve 4” down from shoulder seam finish ends.
7. Apply 12mm jacquard around sleeve opening, use what’s left and apply at the edge of cluny lace at the top of the sleeve.
The belt is simply a jacquard ribbon 1 1/2 yard long wrapped and pinned.

What a GREAT straight jacket costume! I’d like to use one of the pictures on my blog – for a post that is about twill tape – and of course I’ll like back to your site & this post. If you are not okay with this, just let me know and I’ll pull it off ASAP. Thanks!
No problem, thanks Gwendolyn!