
M & J has the most fabulous selection of buttons,I thought these pictures would be perfect to share with you. The pictures were taken by Chellise Michael Photography. This duo has a great eye for capturing the day. Paying attention to the details, of your wedding, is not only fun but shows off your style. Click here to see more of Chellise Michael. See more photos here.
Tag: Wedding
Great Venues in and around the city
By Laurie
New Post on M&J Bridal Salon Blog… Love the Palm house at The Brooklyn Botanic Gardens perfect for a spring or fall wedding. Read the post to see more venues…
DIY: Flower Girl Swarvoski Head Band
By Julissa
Everyone always sees the adorable little girl throwing petals on the floor. Brides also need to worry about what to put on their flower girls. You can create your own head band for your flower girl using ribbon and crystals with these easy steps.

Materials:
- 1/2 yd of 2 1/4 Poly Satin Ribbon, Ivory Style# 00318 (1.800.9.mjtrim)
- 1/2 yd of 10mm Organdy Ribbon, Light Peach Style# 02110
- 25mm Plastic Head Band, White Style#43469 (1.800.9.mjtrim)
- 1 pack of SS12 Swarvoski Rhinestones, Crystal Style# 03012
- 1 pack of SS34 Swarvoski Rhinestones, Crystal Style# 03034
- 15” of 2mm Fine Metallic Twist Cord, Brown Gold Style# 00860
- 1/4” Swarvoski Crystal Belt, Crystal/Silver Style # 19912
- 2 pcs of 18*10mm Swarvoski Crystal Sew-on Pear Shaped Jewel, Crystal Style# 27474
- 1 pc of 15*4 mm Navette Rhinestone w/Setting, Crystal Style# 03912
- 1 pc of 18*9mm Sew-on, Crystal Style# 27473
- 1 pc of 12*6mm Sew-on, Crystal Style# 27473
- 1 pc of 10mm Round Sew-on, Crystal #32016
- E6000, Style # 37777
 Directions:
- Take the 1/2 yard of satin ribbon and glue it the headband to cover the plastic, cut the the ends to make them shorter, then glue the ends to the inside.
- Take the 1/2 yard of organza ribbon and glue it straight in the middle of the headband. Cut a little of the ends, leave some left over to glue the ends on the inside of the headband.
- take the metallic cord, cut 4 pieces even pieces (about 3 1/2 inches long), take the belt and swoop the pieces through, as a belt and glue the the ends on to the headband.
- take the other pieces of jewels and scatter them as you wish on each side of the head band.
Red Carpet Wedding Dresses
By Blerona
Here is part three of ‘Inspirational Wedding Gown’ from the red carpet. All very beautiful ‘Wedding Looks’
Take a look at Part1 and Part 2
 Marion Cotillard in Jean Paul Gaultier at Oscars 2008 – Photo by justjared.buzznet.com
 Kate Beckinsale in Marchesa at 2010 Cannes Film Festival – Photo by justjared.buzznet.com
Best Back-less Red Carpet Dresses
 Charlize Theron in Gucci at the Oscars 2004
 Eva Longoria in Naeem Khan at 2008 SAG Awards

 Olivia Wilde in Marchesa at 2009 Emmy Awards – Photo by justjared.buzznet.com
DIY: Swarvoski Button Bridal Shoes
By Julissa
Finding your perfect shoe for your perfect wedding dress can be somewhat difficult. Your either have to have that special luck at finding the perfect shoes for the half the price of what there worth or you have to spend a fortune. So what better way to get those shoes than to do an easy DIY, by making your own shoe with Swarovski buttons. You can take a plain shoe and make it pop out. Here are some inspirations. We’ve bought a pair of inexpensive white shoes and dressed them up with beautiful Swarovski buttons.


Buttons used:
- 2 Frosted Light Sapphire/ Silver button, 48L/30mm Style#19760
- 2 Crystal/Silver Button, 36 mm Style # 19838
- 2 Light Colorado Topaz Button, 48L/30mm Style# 40731
- 2 Montana/ Crystal Silver, 48L/ 30mm Style #19840
Materials
- Semi-Flush Cutter, Style # 44059 (1.800.9.mjtrim)

Directions:
- First use the flush cutter to cut the shanks of the buttons
- apply hot glue on the shoe and a little on the button and stick it on the shoe.
- wait for it to dry, move the button to see if its glued on there good.


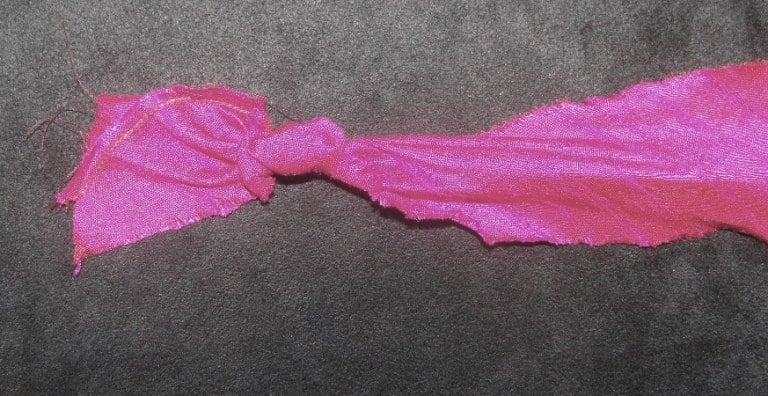
Adding Embellishments to your bouquet
By Blerona

A Flower bouquet is such an important part of your wedding day. And you want it to look beautiful, just like your wedding day. As part two of my other jeweled bouquet blog. Here’s another way to jewel up your wedding bouquet. Just tightly wrap about 3inches of ribbon around your bouquet and place the cut rhinestone blanket around the bouquet as well. Best option would be to glue or sew the two ends together.

Ribbon used: 2.5” Hand Dyed Silk Satin Item# 25180 (in Blushing Bride)
Rhinestone Blanket: 24-Row Rhinestone Blanket Item#03624 (in Crystal Silver)
DIY Accessory Brooch
By Dara
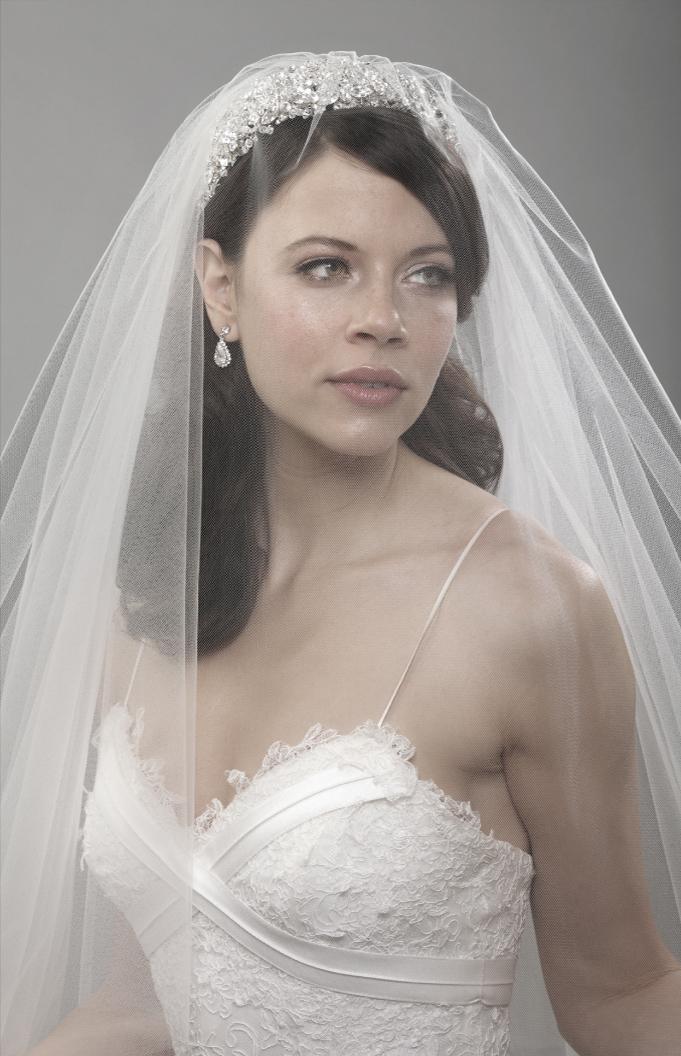
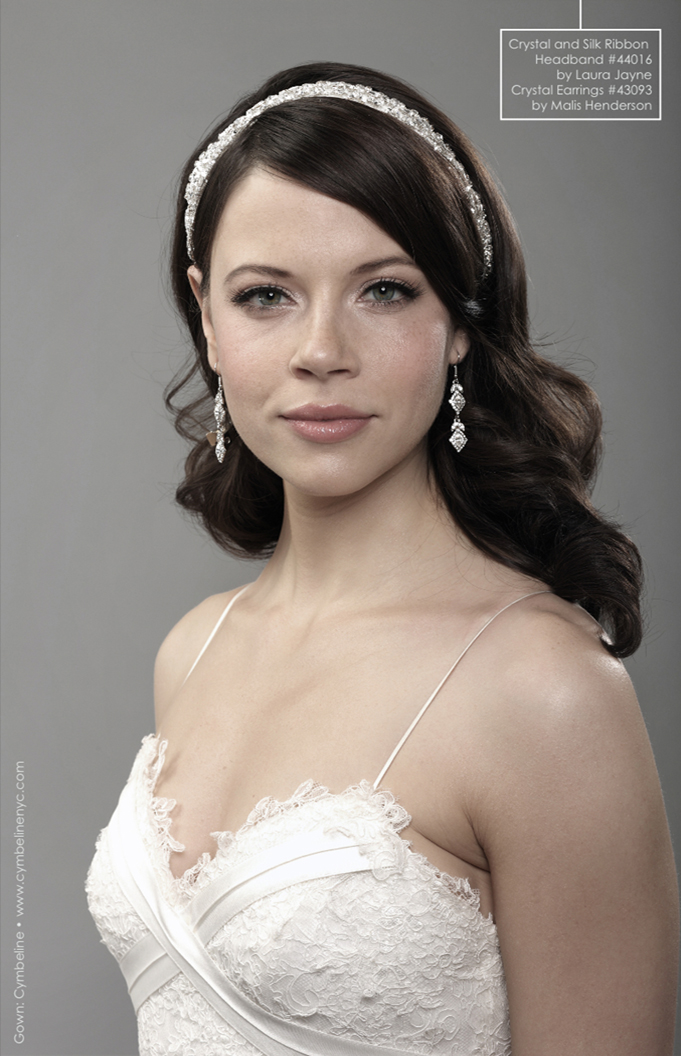
 M&J Bridal Salon Accessories– Necklace Style#44880 & Large Cage Veil Style#42929
There are so many great reasons for DIY projects, to save money, to create something you can’t find, to re-use something you don’t use, but most importantly to show your creativity and personality. And here’s something that works great anywhere and I mean anywhere. For a wedding or everyday use, this fabric brooch looks great in the hair, accessory, clothing and even your wedding dress.
Materials:
- 27inches of 50mm Midori Dupioni Silk Ribbon Item# 37302 in Peacock
- 5 Flat Back Pearl Buttons Item# 27592 size 8mm
- 4 inches of 27mm Box Pleated Taffeta Item#00872
- 2 inches 2-Row Rhinestone Blanket Trim Item# 03602
- Glue Gun
- Scissors
- Accessory clip
- Scrap of Felt Fabric
 M&J Bridal Salon Accessory Necklace Style# 44880
Instructions:
- The length of each material depends on how you want to design your flower brooch. For this particular project. Here is what I did.
- I took a 4” long pleated taffeta and folded ½” on both sides and used the glue gun to attach it to the felt. Make sure you don’t lay it down too straight or it’ll end up looking a little awkward. Slight bend both sides a little and glue it down. Be careful, the glue gun is extremely hot.
- Next I took about 2” of a double row rhinestone trim and glued it on top of the pleated ribbon to cover the ribbons stitches that it came with.
- Next is making the flower.
- For the larger flower, I used about 3/4 of a yard of Midori Dupinoi ribbon. On one end, tie a loose knot. Make it as flat as possible.
- Next lay the ribbon down on a table and with two finger, hold down the knot.
- With the other hand, start flipping the ribbon over one small section at a time. The ribbons should over lap each other as you also turn the ribbon on the table to form a flower. You can make the flower as tight or loose as you would like, but just remember to hold it down so it stays in shape.


4. When you’re complete with the flower, tuck the end down underneath the flower and carefully pick up the flower to glue it down onto the felt. Glue it close to the rhinestone trim.
- Repeat steps a-d for the other two flowers
- When you’re done gluing the entire flower down, glue the loose pearls onto the center of the flower.
- Also glue pieces of the rhinestones along areas where you can visibly see the felt.
- Next, take the scissors and carefully trim the brooch. Be careful not to get too close to the flower and not to trim too far.
- Lastly, glue the accessory clip onto the back of the felt. With this clip, you can add it onto your hair, clothing or anywhere you like.
 Accessories are from our M&J Bridal Salon
Call 1-800-9MJTRIM to Purchase.
Necklace Style# 44880
Large Cage Veil Style#42929
DIY: Wedding Bouquet Jewelry
By Blerona
Bouquets! What can we say about a wedding bouquet other than they are the second or third most important part of your wedding day accessories. There are always so many new trends every season that go away as quickly as they come and some that always stay with us. Like wedding bouquet jewelry, where pearls or Swarovski elements are placed in between or in the middle of a flower itself. And the look is well, Glamorous and Beautiful without looking tacky. While looking online for bouquet jewelry I realized they can get a bit pricey, so I decided to make my own DIY versions.
 Bouquet jewelry used: Swarovski Pear shaped sew-on jewel, 8mm faux pearl, ss20 Swarovski flatback (crystal) -Directions for each below
Materials:
Optional Swaroviski elements and pearls
- 14 x 10 mm Swarovski Pear Sew-On Style#43181 Color Crystal/Silver
- ss20 Swarovski Flat Back Style#03020 Color Crystal
- ss20 Swarovski Flat Back Style#03020 Color Silk
- ss16 H.F. Swarovski Pearl Style#03416 Color Nacre
- 8mm 60″ Faux Pearl Strand Style#41836 Color Ivory
 Learn How to make this eco-friendly vase, same bouquet jewelry as photo above
Directions For flat back rhinestones, & H.F. Swarovski Pearl:
- Step 1: Take straight pin and dip the flat end in E-6000 glue and stick it to the flat surface of the rhinestones or half pearl.
- Step 2: let it sit for about 20 minutes before placing in flower.
Directions For Swarovski pear sew-on jewel:
- Step1: Measure and cut a piece for cardboard foam that fits exactly behind the sew-on jewel.
- Step2: Stick two straight pins in the cut cardboard foam and place glue ontop of the straight pins and cardboard then stick to the back of the pear sew-on. Let it sit for 25 minutes before placing in flower.
Directions for Faux Pearl Strand
- Step1: Take a straight pin and dip it in E-6000 glue about 1/2″ on the flat tip. Then take one pearl from the strand.
- Step2: Take the straight pin and slip it threw the hole in the pearl. Clean the pearl for extra glue and let it set for 20minutes before placing in flower.
M&J Bridal Lookbook
Images may not be downloaded, manipulated or reproduced without prior written permission from M&J Trimming Co. Inc. Any commercial or private use of the images which belongs to M&J Trimming without the explicit written consent is prohibited and punishable through M&J Trimming and worldwide copyright laws.
M&J Bridal is excited to annouce that we have recently finish the photoshoot for our lookbook. Below is a glimpse the beautiful bridal accessories we are currently carrying. Click on the image below to view the entire lookbook.
To contact regarding any of the pieces, please email [email protected] or call 212-704-8017.

Magnetic Save The Date Cards!
By Kristin

You just got engaged, congratulations! Now time for some fun and planning your big day, but not before picking the date. Once you have your special day picked out, make sure your guests will know far enough in advance to save the date. Save the date cards are important to remind your guests so that you can work on the invitations and send out final details later. This is a great time to express who you are as a couple, fun and quirky or romantic and serious? Use these traits to personalize your card.
My brother used a really neat trick to make his cards for his San Diego wedding, refrigerator magnets! You can pick up magnet business cards from any office supply store (I suggest Avery brand #8374, you get 30 for $12). You can make a simple card that states the date with the bride and groom’s name. If you are really creative you can use a photo editing program to make a custom design using an engagement photo or make a monogram to put on the card.
So how does M&J factor into this? Try embellishing the magnet with a simple ribbon loop at the top, some new refrigerators won’t let a magnet stick, and some people just don’t like magnets on their refrigerators (like my mother). The loop will allow them tack it on a cork board for safe keeping. Make a little loop at the top and glue it down with some e6000 glue, add an SS20 rhinestone for that ‘Bridal Bling’ and you are done. They are a super easy project that can save you a little money in the long run.
The magnets are light enough that one postage stamp should suffice, but just to be safe, take one to the post office and have it weighed. While there be sure to check out their wedding stamps that they offer every year. Congrats, and have fun planning!