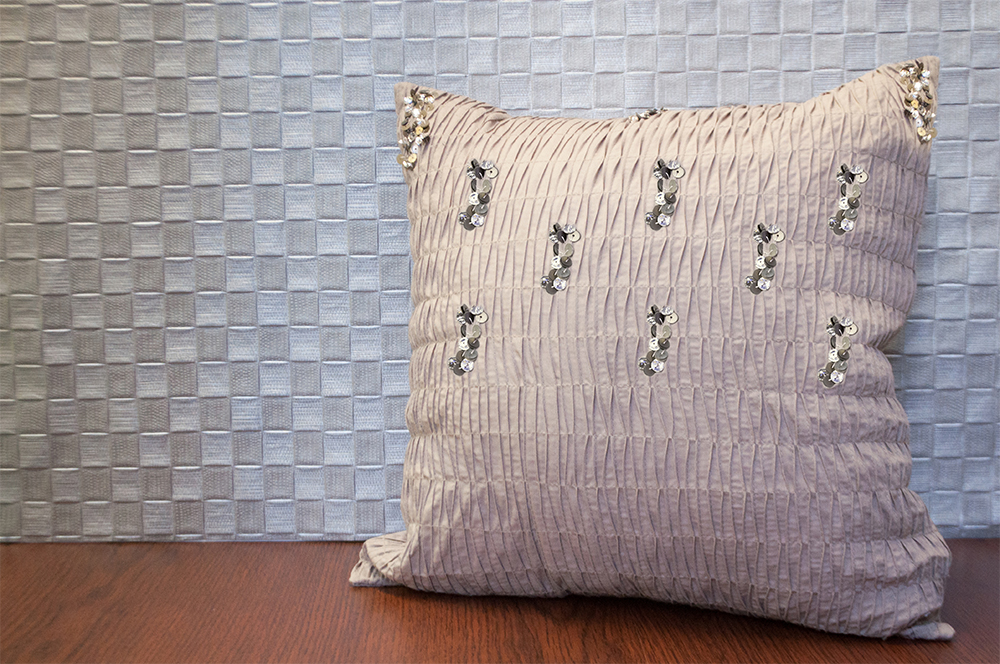
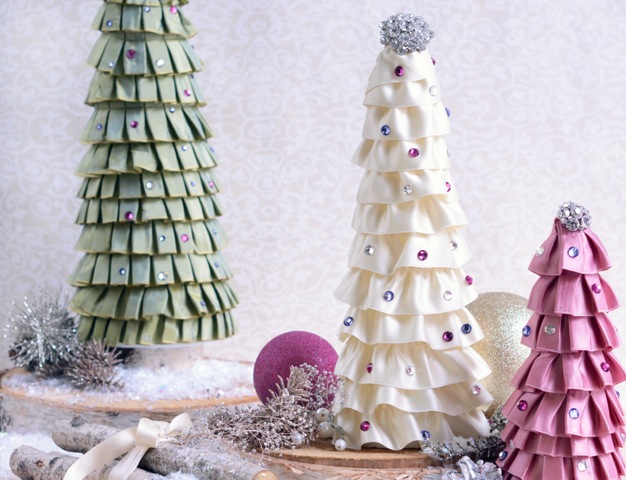
Add a little ice to your home decor this season with an embellished pillow that is sure to sparkle! We used loch rosen rhinestones and flat metal sequins to add a multi-dimensional shimmer that’s not too over-the-top, but still has a high-end style. 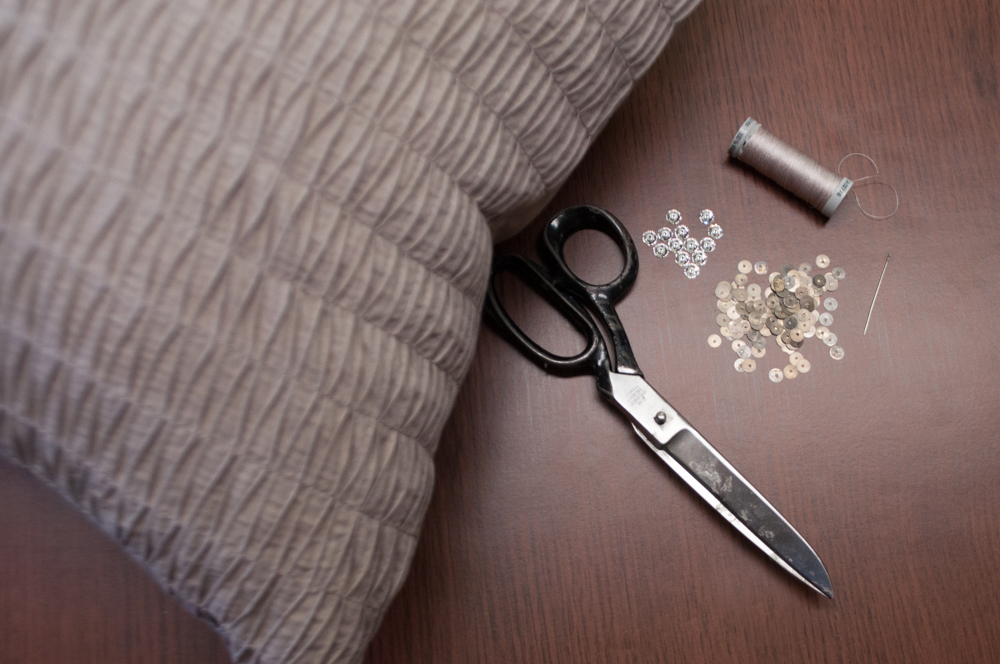
What You’ll Need:
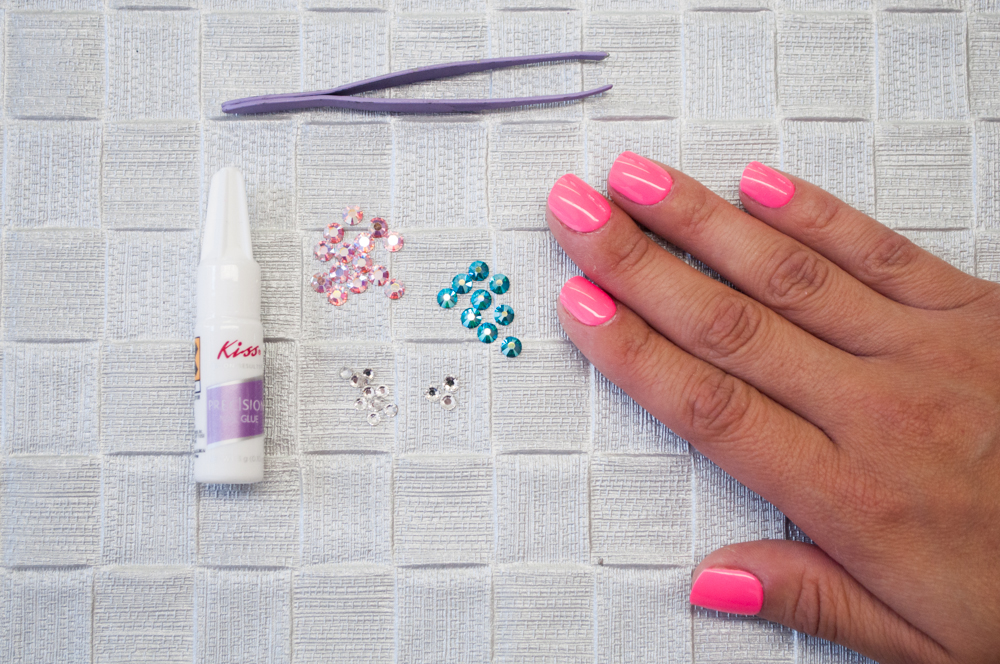
6mm Round Loch Rosen Rhinestones
8mm Round Metal Sequins*
Pillow
Needle and thread
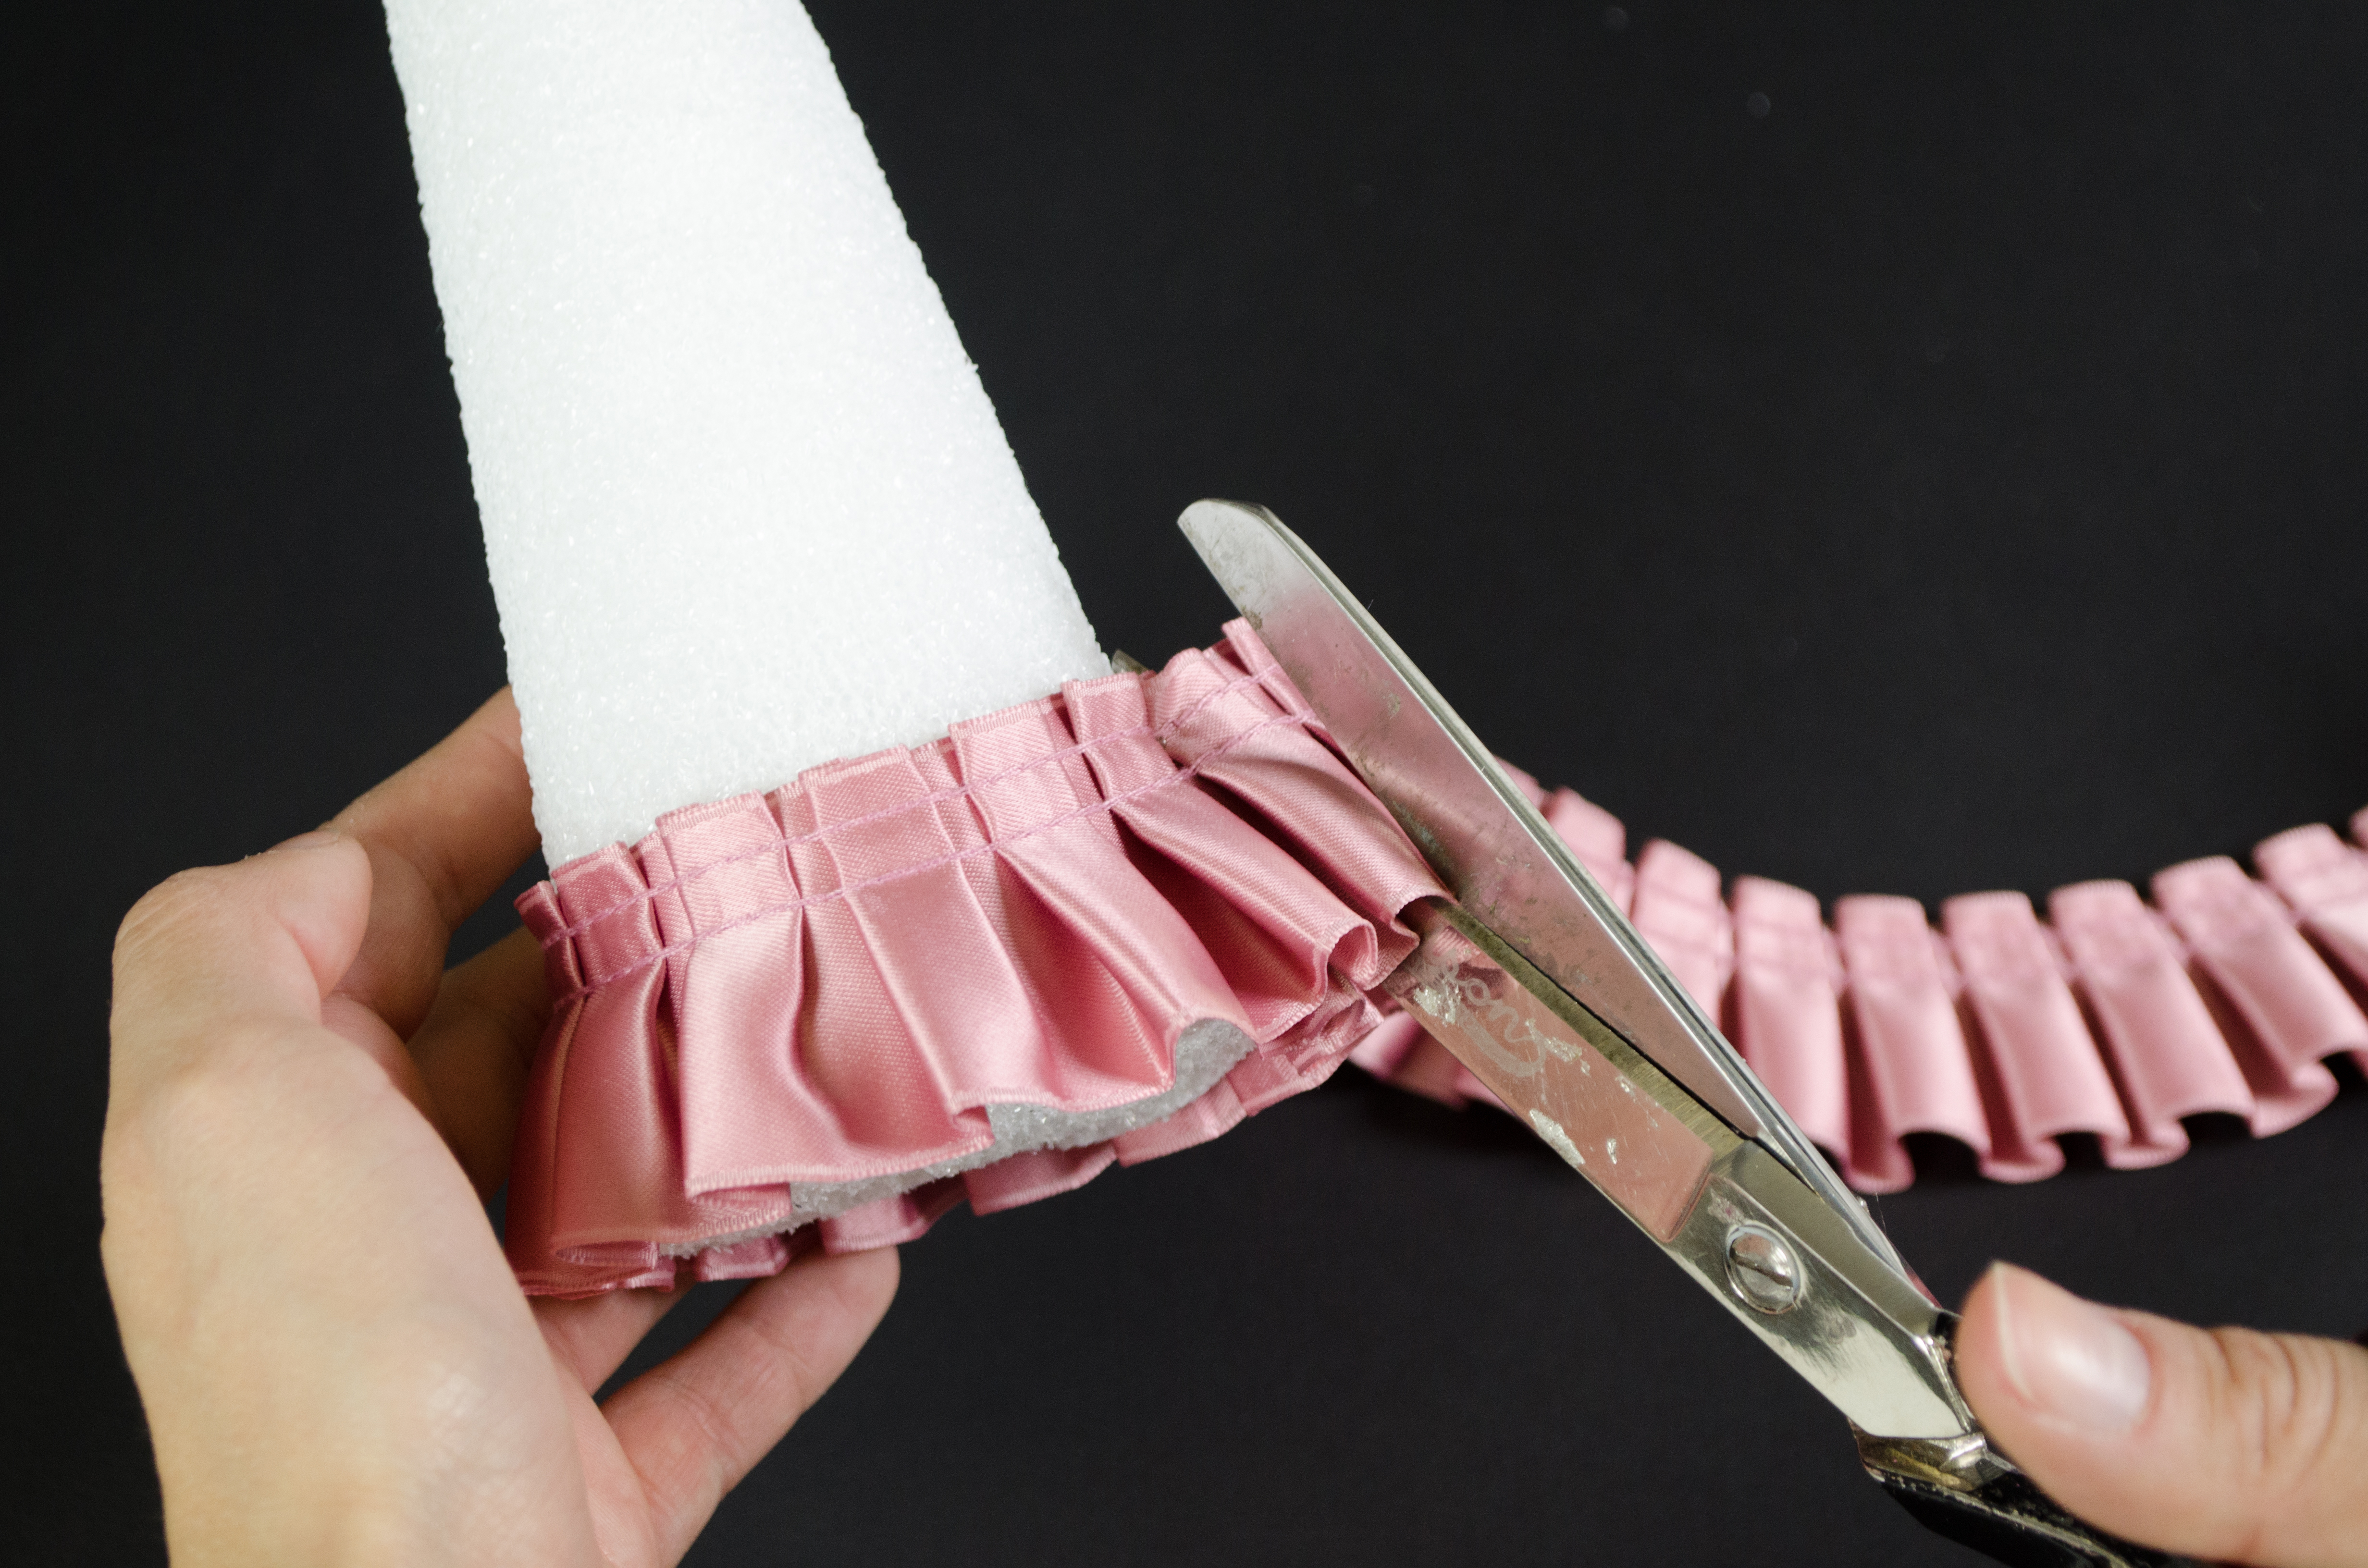
Scissors
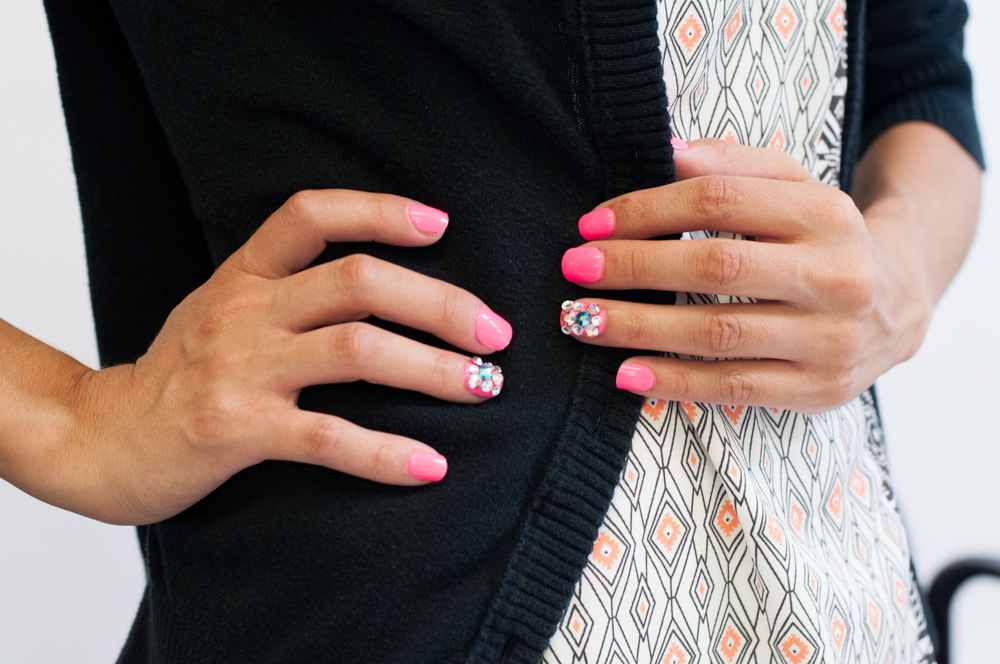
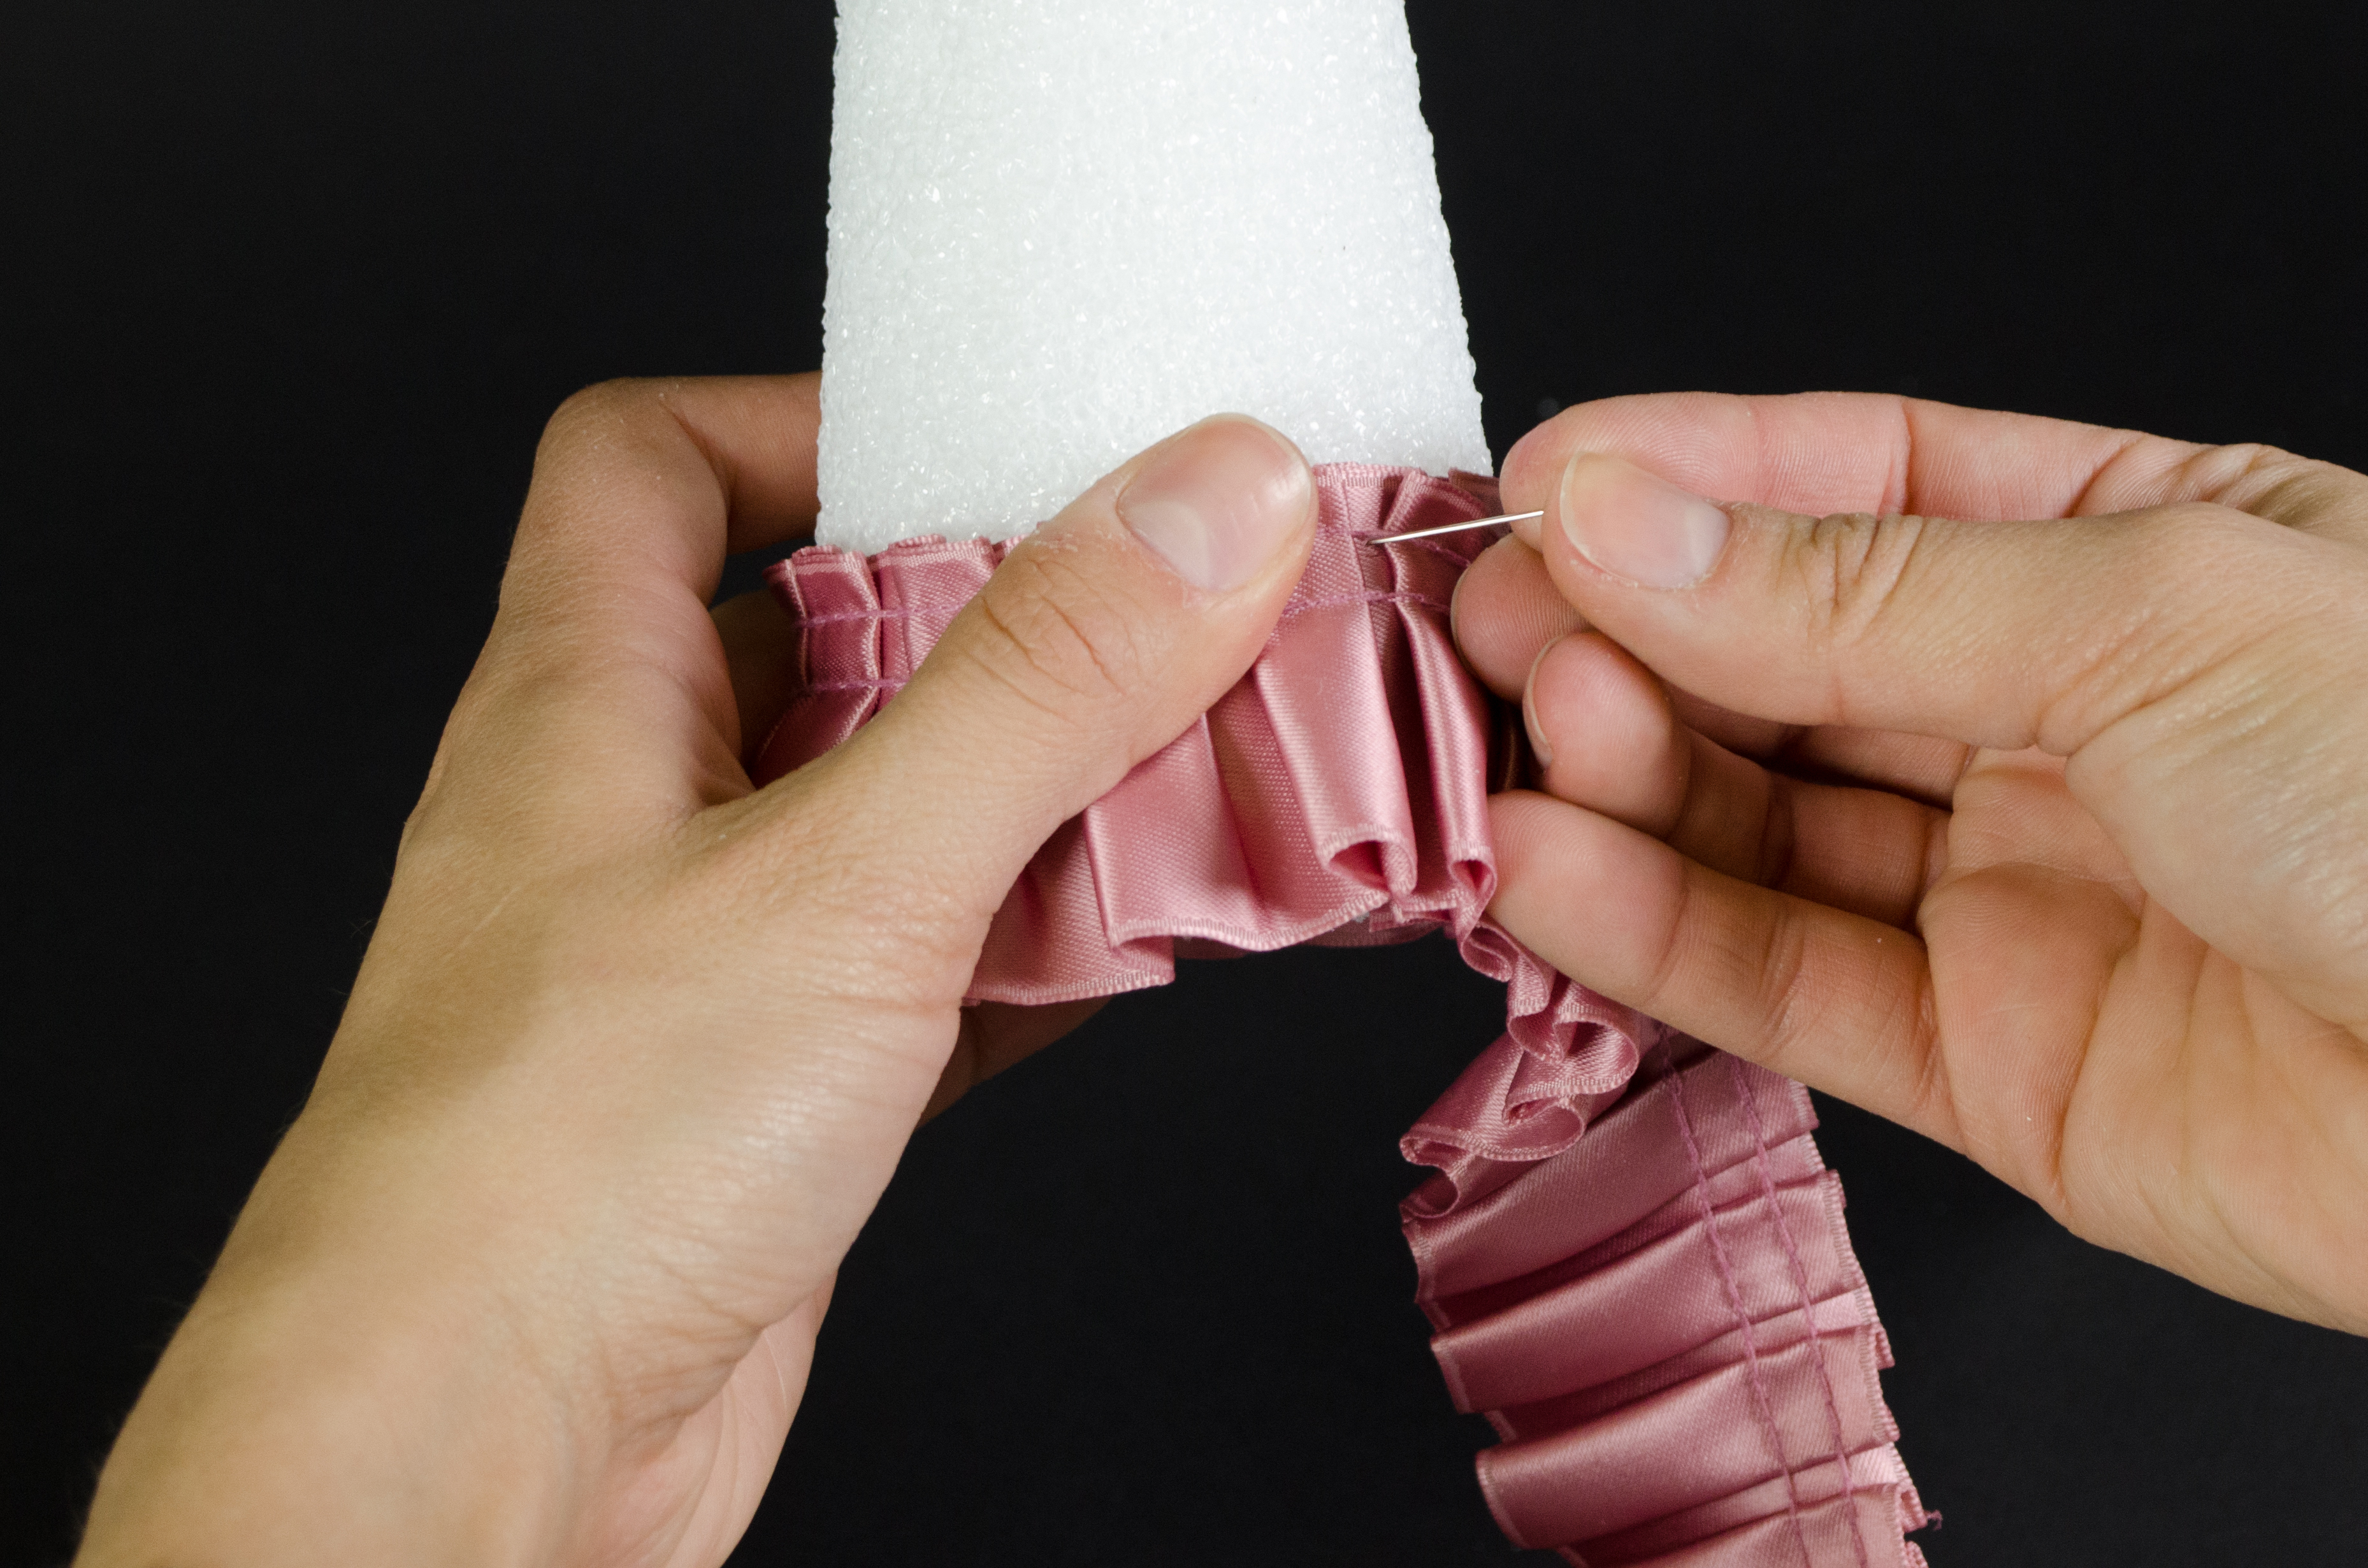
 1. Sew sequins and sew-on rhinestones into an abstract cluster shape.
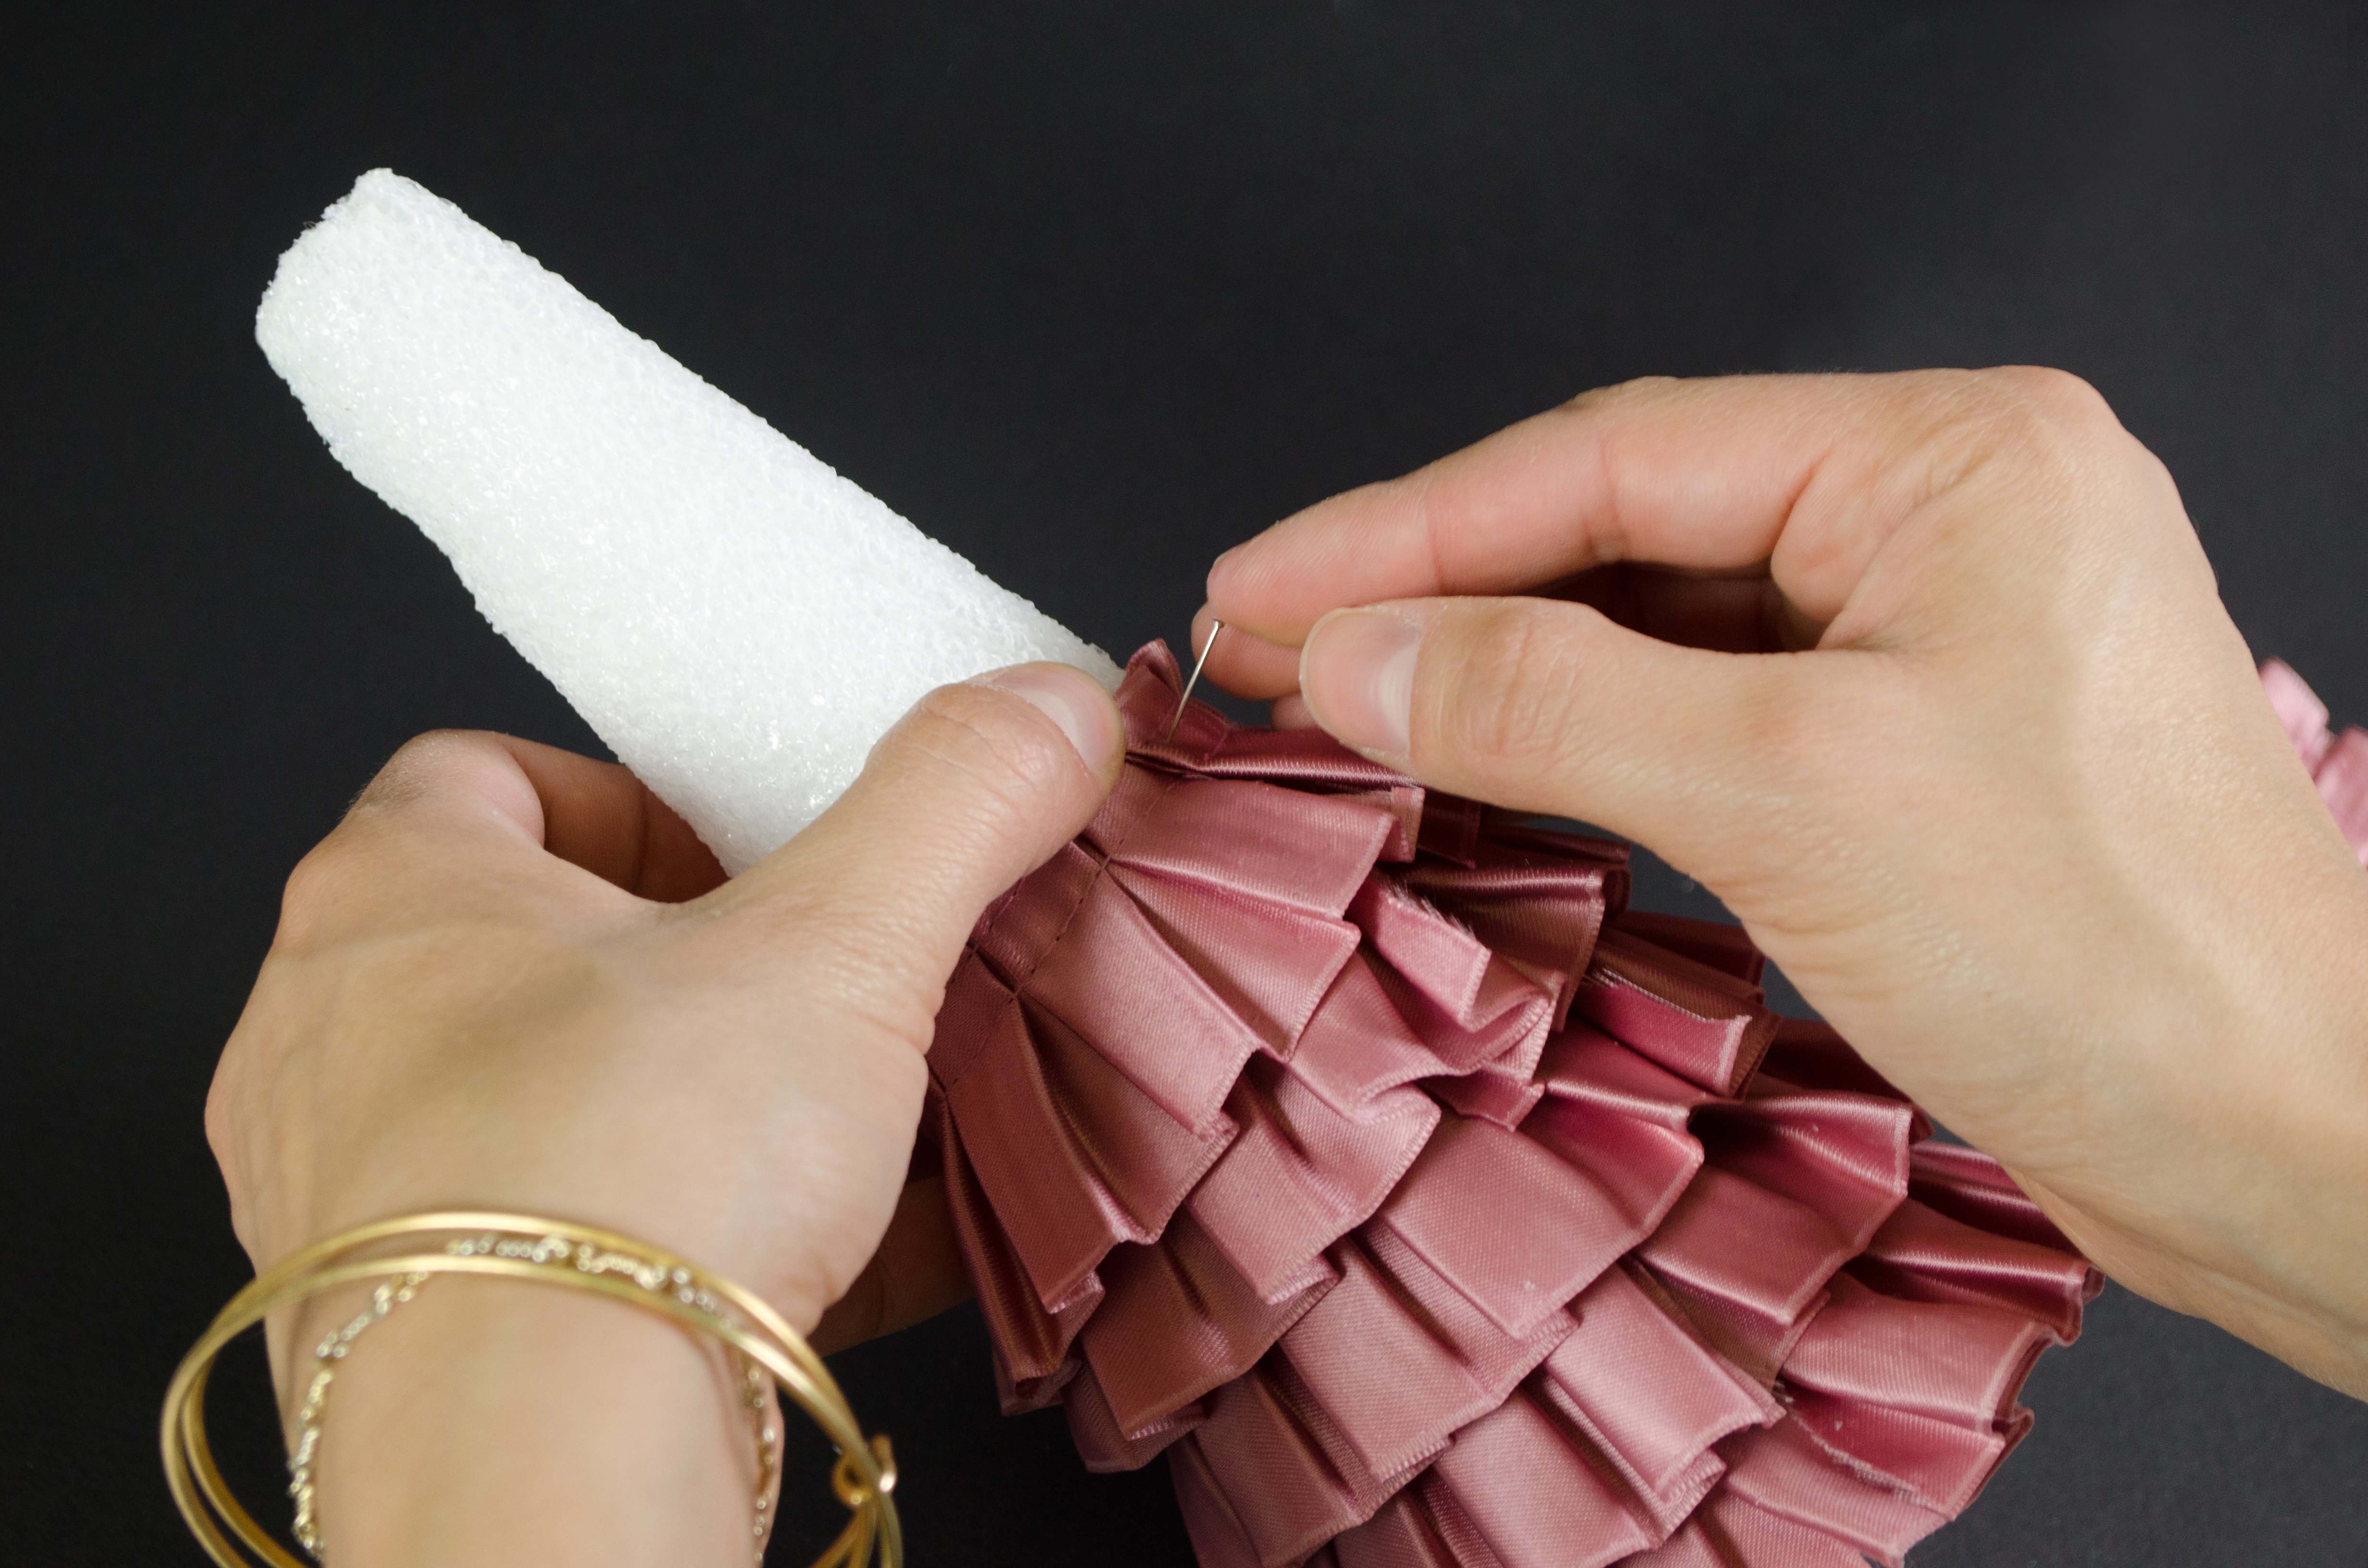
 2. Repeat the pattern throughout the pillow, or embellish random sections for a more eclectic look!
*This item is currently unavailable. Check out our full selection of sequins.


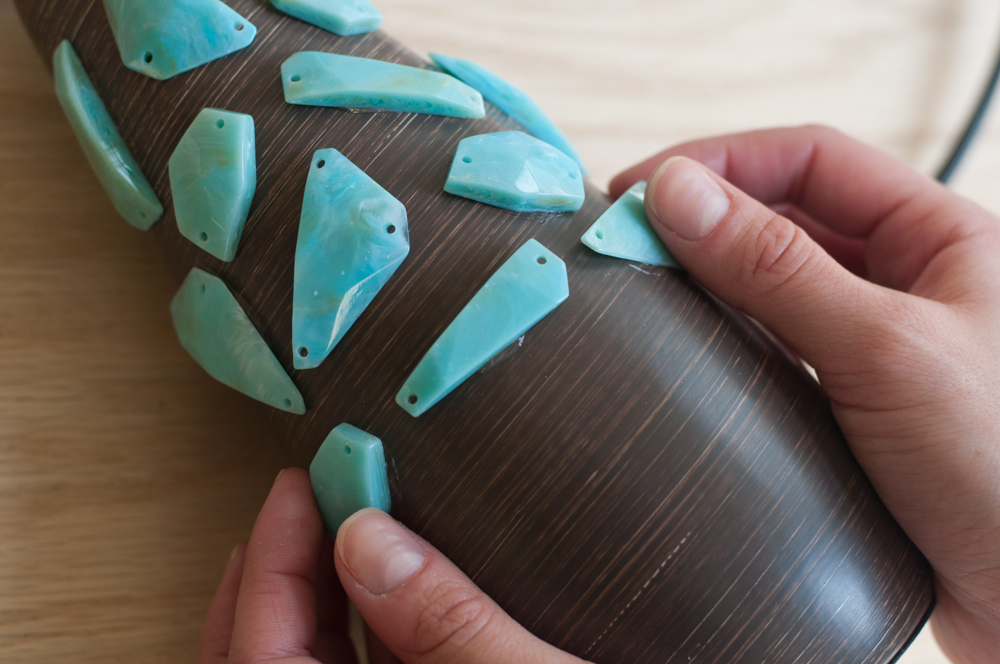
 2. Use up the larger stones and pieces first. This ensures that you will have space for them.
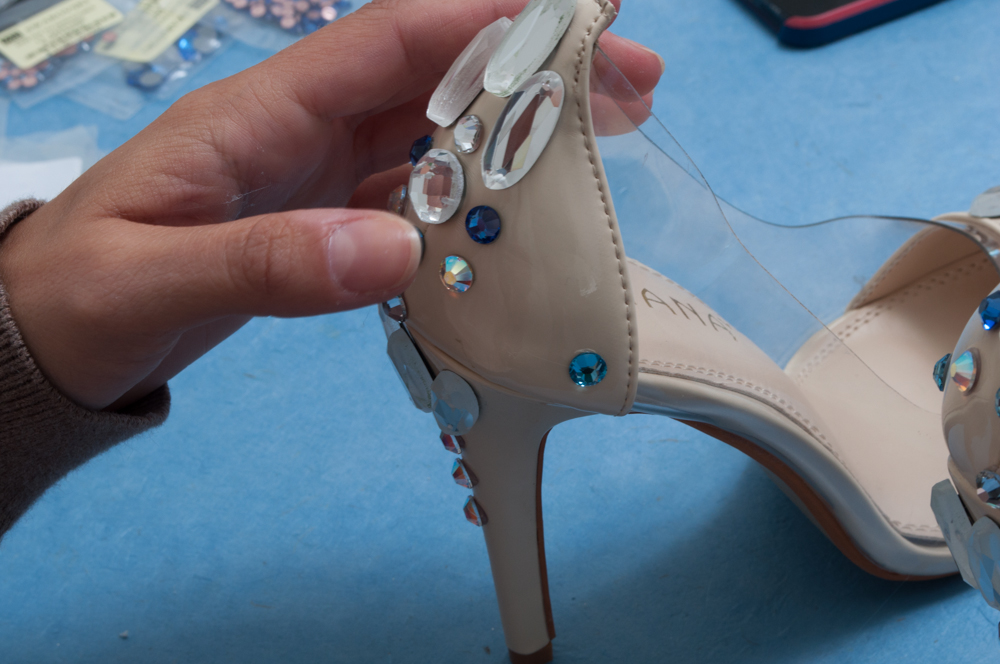 3. Hold each stone in place for a few seconds so that the stones don’t slip down the shoe.
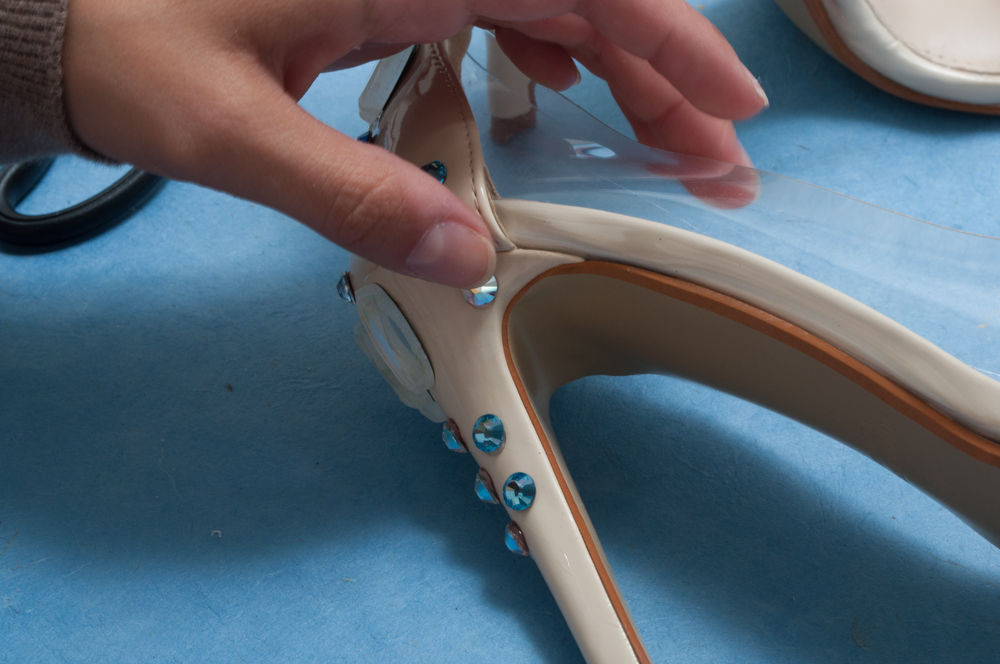


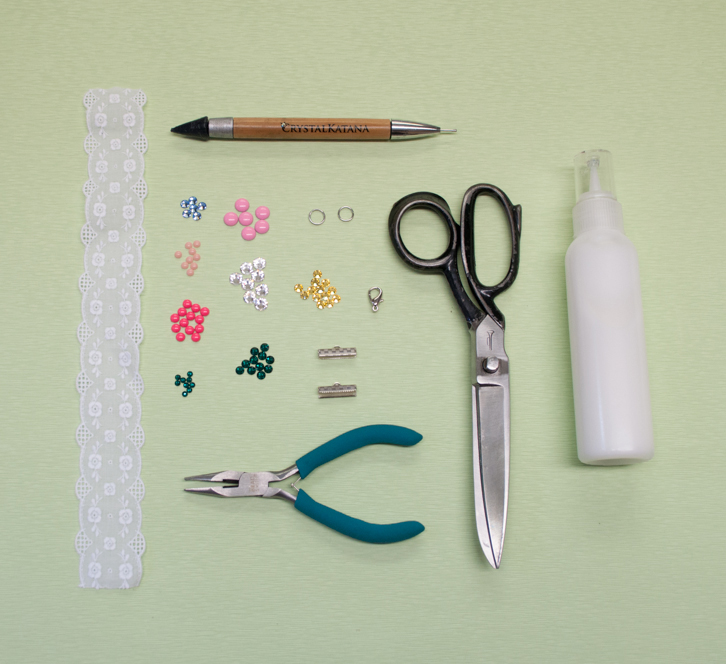
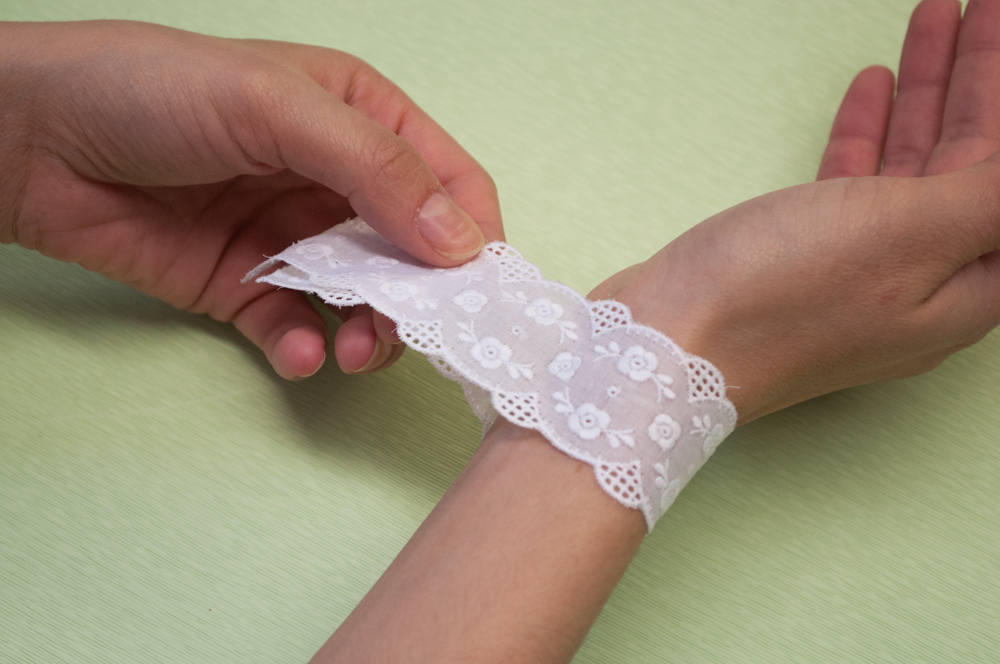 1. Wrap the lace trim around your wrist, and measure how long the lace is when it overlaps on your wrist. Add an inch to that number, and cut.
 2. Fold your lace over half an inch, so that the crimp closure will have a thicker grip.
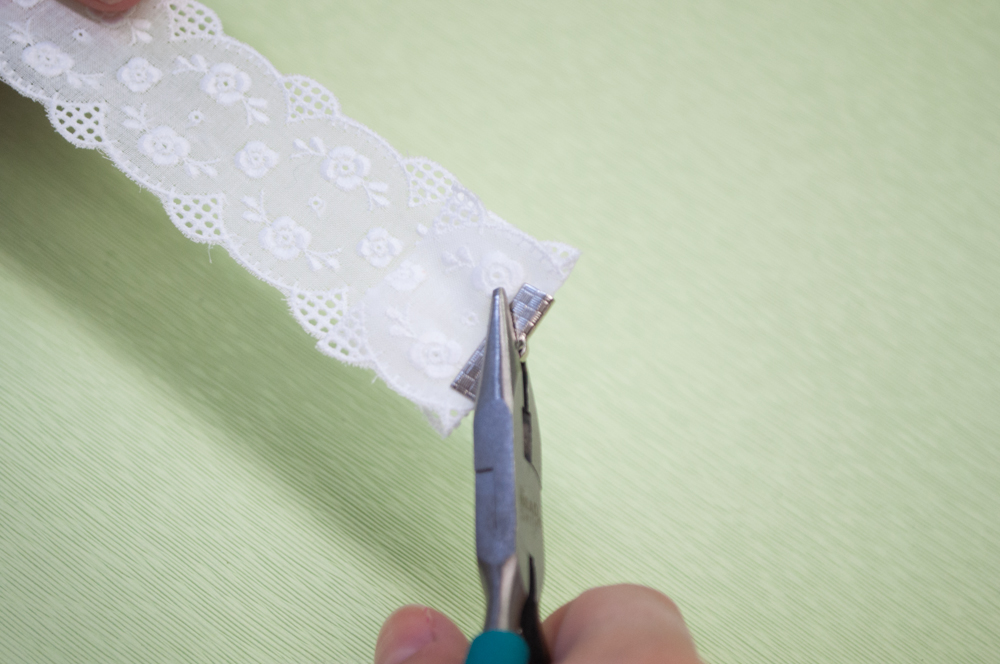 3. Place the crimp at the end of your folded lace, and clamp down. Repeat on the opposite side.
 4. Connect your jump ring and lobster clasp, and then connect each end to a jump ring.
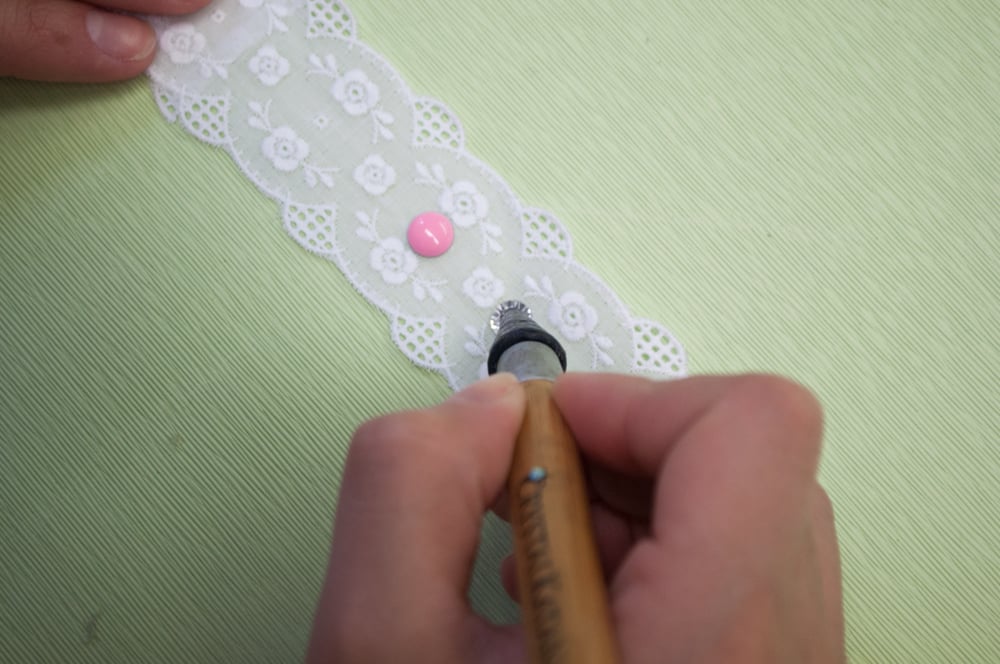 5. Now it’s time to design! Lay out your bracelet, and create the pattern you want using rhinestones and nailheads. Use your crystal katana to easily pick up and place the rhinestones.
 6. Once you’ve laid out your pattern, glue down each stone. Let the bracelet dry overnight.
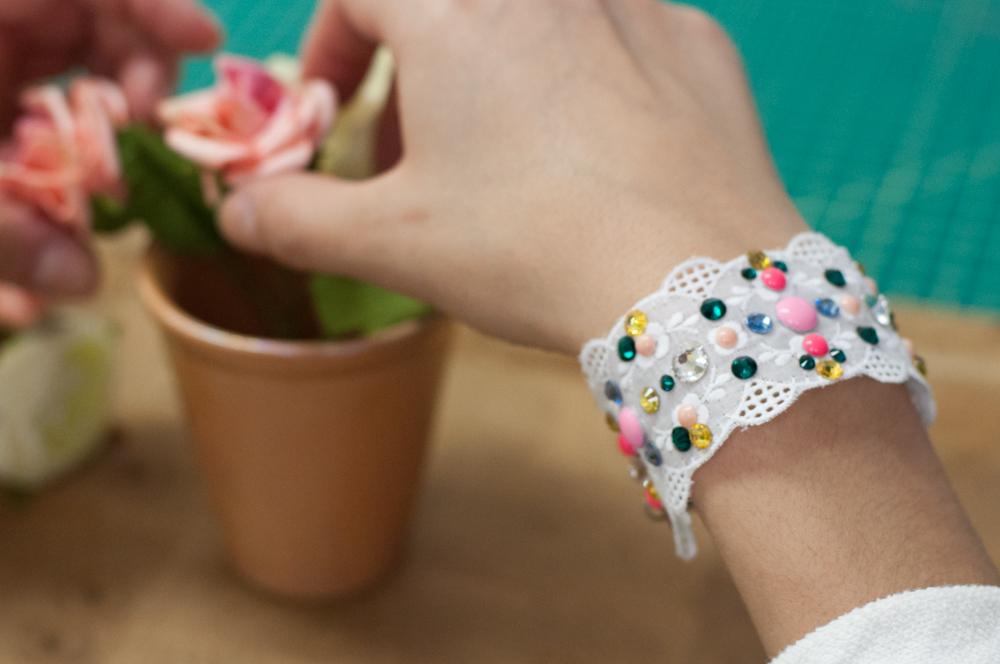
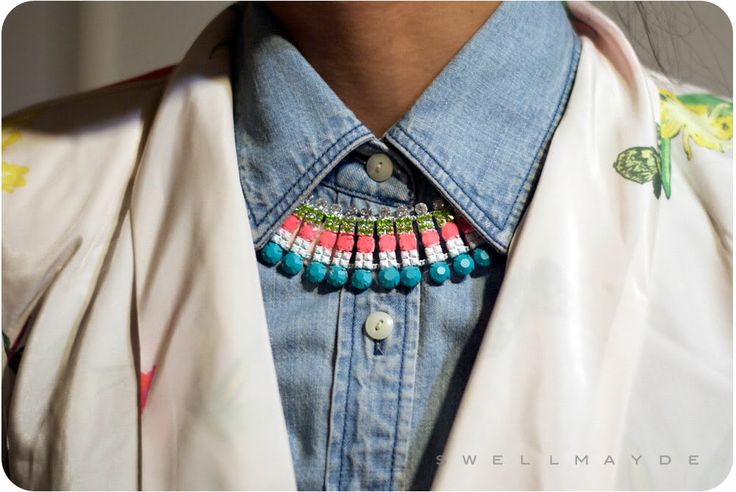 This necklace from Swell Mayde is great for repurposing old, inexpensive necklaces that you wouldn’t otherwise wear. Just a few coats of paint and you have the perfect spring accessory!
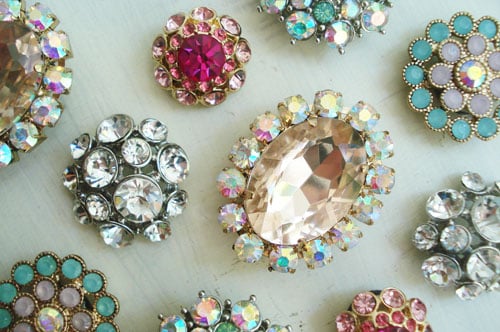 If you’re in school or just love having beautiful office supplies, these fun magnets are a great weekend DIY! Created using inexpensive earrings, these are sure to set your locker apart from the rest.


 TIP: Make sure to hold sew-ons in place because it will slip when first putting the glue on.


 Press down on your