Tag: Leather

DIY: Leather-Trimmed Sailor Mirror

Want to add an edgy element to your home, while also brightening your space? Check out our latest DIY which uses a rustic tray, a plain mirror and some sassy leather trim to create a chic decoration that is sure to be the fairest on your wall!
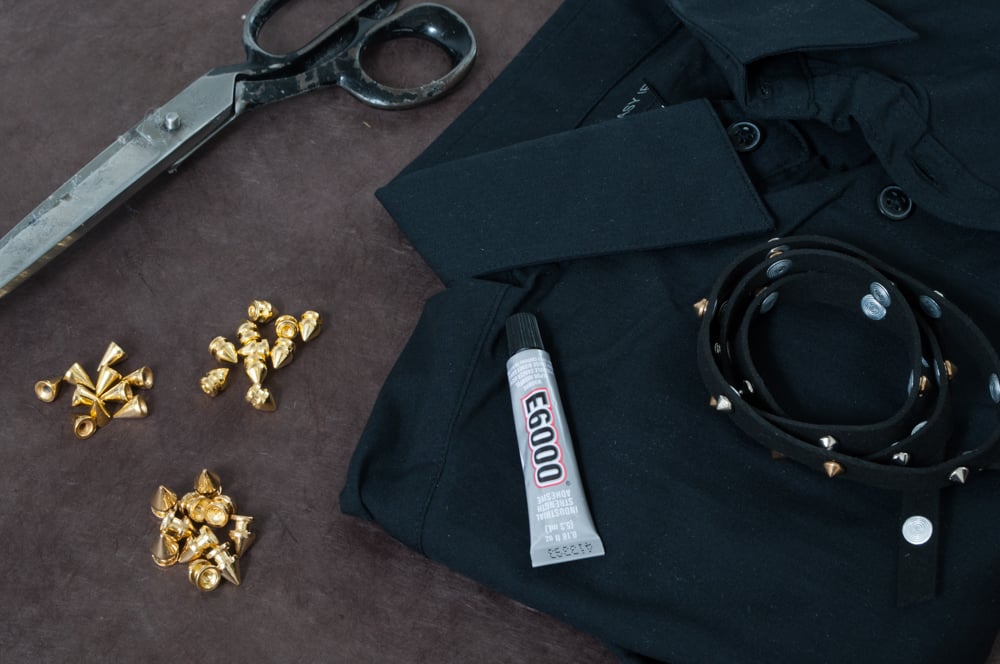
 DSC_0069
What You’ll Need:

Tray
Mirror
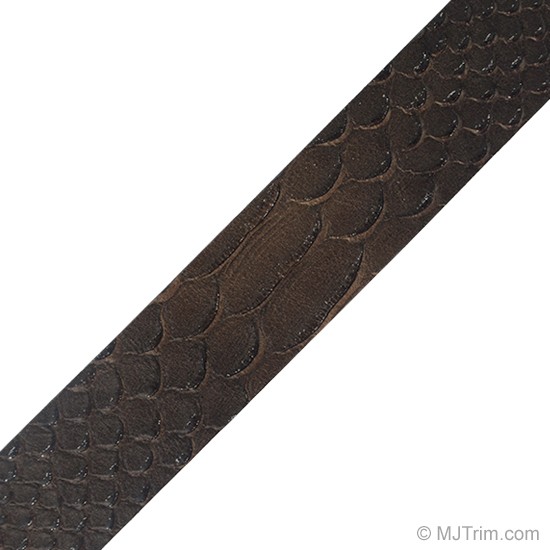
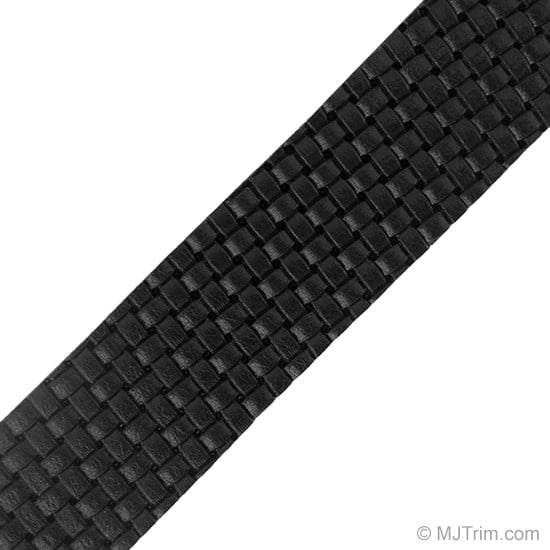
1 1/4” Stamped Animal Leather Ribbon
Scissor
E6000DSC_0070DSC_0075
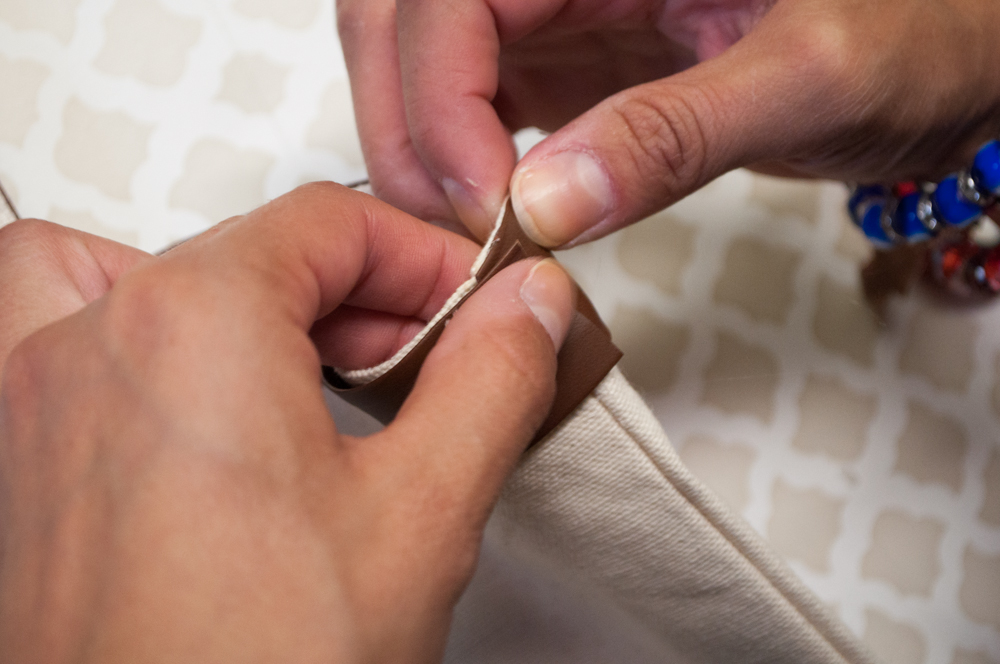
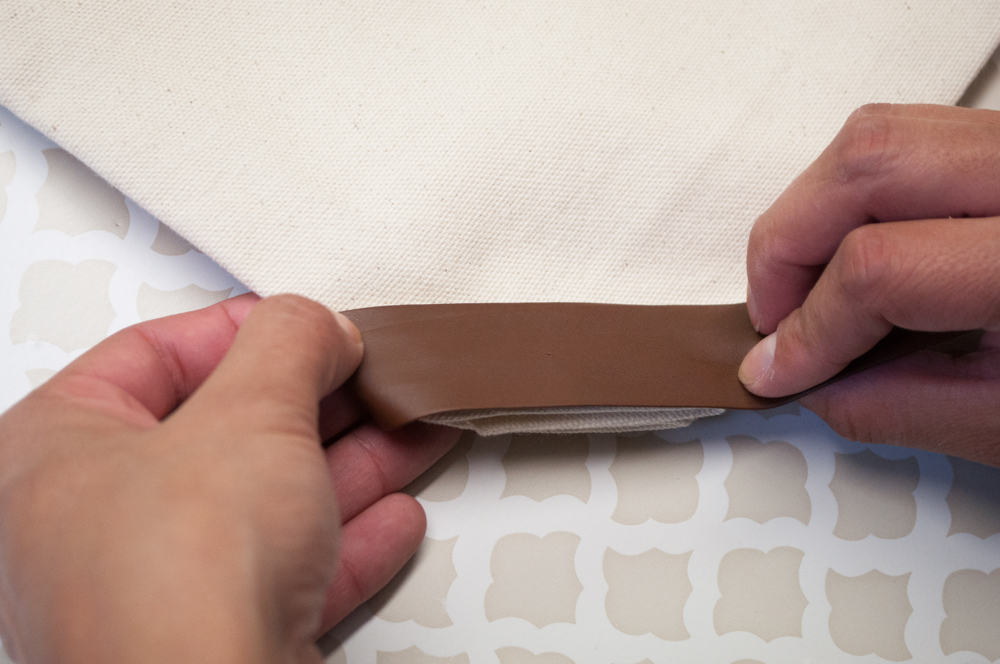
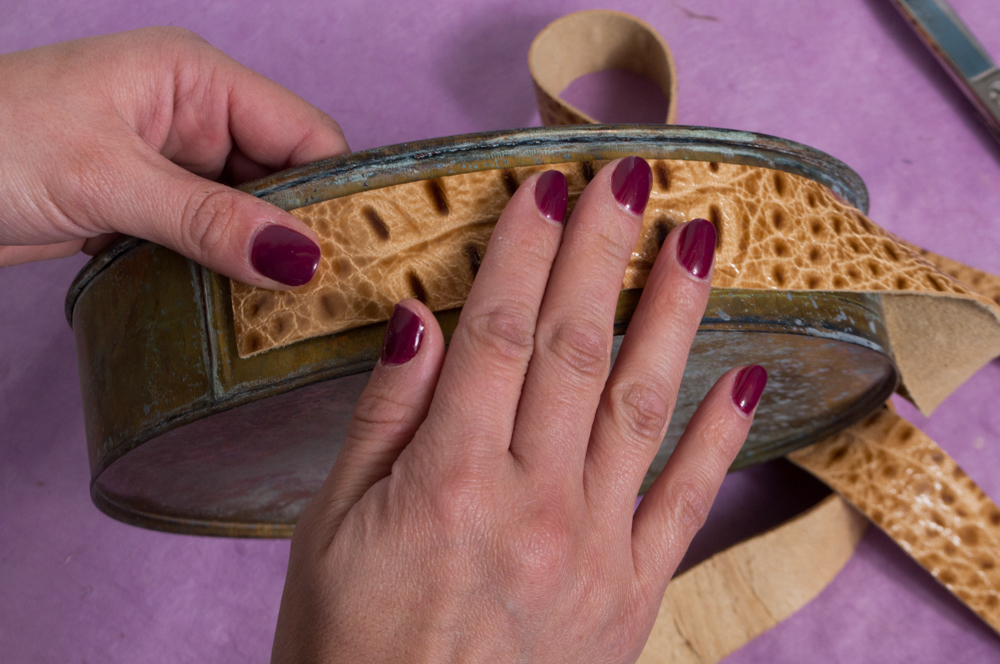
1. Glue your leather trim down the middle of the bottom of the tray, and up five inches.

DSC_0076

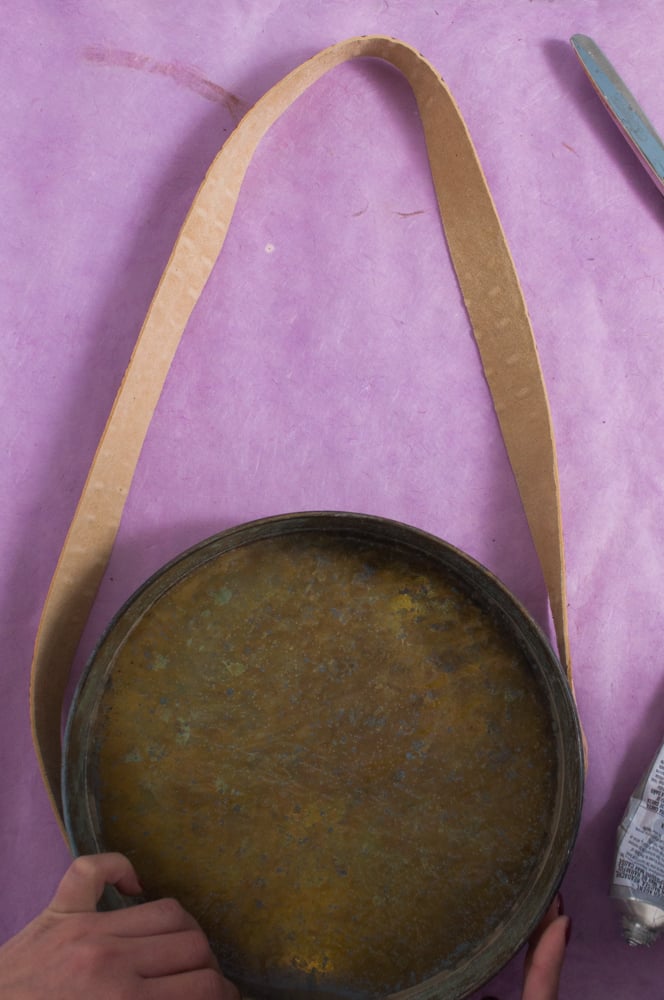
2. Then wrap the leather around the top of the mirror, with about a foot for hanging of trim hanging loosely at the top.

DSC_00773. Glue the trim to the other side of the mirror. Cut any excess trim leather.

DSC_00834. Place E6000 on the back of the mirror and place it inside the tray.

DSC_00855. Let your mirror dry overnight before hanging.

DSC_0253

Leather DIY Ideas

Only a few days left to save 10% on our leather trims with code LEATHER101! Take stock up on everything you need to make some super chic DIYs for the home, your hobbies, and your outfit!


DIY_Mystery_Braid_Bracelet_TutorialUse colorful leather trim to make a cool set of braided bracelets!

camera-strap 4An old belt, or a stamped leather ribbon can be used to make a rustic leather camera strap.

4ca3da041aece29e334ea212ed7bf616This grown-up hair bow is perfect for winter hairstyles.

diamant9Not all diamonds sparkle! Make a geometric design with this diamond leather necklace.

530b54bedbfa3f5391003dce._w.540_s.fit_Keep your sweaters under wraps with these storage containers, and kick those plastic bins to the curb.


leatherbracelettutorial.jpg.pagespeed.ce.8btLz2FlmPsfQwpJL28FThese bohemian bracelets pair crystal sparkle with matte leather, making for a perfect combination of styles.

Leather Trim Inspiration

This month we’ve welcomed a lot of new leather trims to the lineup, and for the next two weeks we’re offering them at 10% off with code LEATHER101! Leather trim is perfect for luxe DIY projects that will have everyone asking where you got your piece!
61431-003_1


This 3″ Leather Fringe is perfect for adorning your clutch or for making an edgy flapper-inspired skirt!

61425-001_1


Take a walk on the wild side with our 1 1/4″ Stamped Animal Leather Ribbon! This fun trim features a number of different animal textures. Use it as an accent trim on home decor or even a basic bag!


61428-010


The 1 1/4″ Leather Ribbon comes in an array of out-of-this-world colors that are perfect for almost any project, from an accented throw pillow, to a funky hair bow.

61430-001 (1)


The 1 1/2″ Weave Stamped Leather Ribbon is stamped to look like an actual woven trim! Use this textured trim to accent a hat, bag or any accessory that need a little interest.

DIY: Leather Fringe Gloves

Looking for a fun way to upgrade chic, but basic gloves? This tutorial shows you how to DIY a pair of average leather gloves into a high-fashion, cold-weather accessory by using fun leather fringe! DSC_0867What You’ll Need:

2” Faux Leather Cut Fringe*

Leather gloves (H&M)

Needle and thread

Scissors

DSC_08711. Take your fringe trim and measure on the outside of the glove.

DSC_08732. Cut to size.

DSC_08753. Sew on the fringe around the opening of the gloves.

DSC_2528

*This item is currently unavailable. Check out our full selection of leather trims.

Leather Glove DIY Roundup

Leather gloves are definitely a high-fashion way to keep your digits from freezing off! But if basic leather gloves are a little boring, upgrade them with these fun DIY alternatives!

DSC_0378+web (1)Upgrade a basic pair of leather or faux-leather gloves with this fun Chanel-inspired DIY!

Final-11Brit+Co. gives us three luxe options for leather gloves!

Screen-Shot-2013-12-18-at-10.44.07-AMHere are two ways to add some edge to your leather with the addition of studs!

gloves2Need added warmth? Extend those gloves with a form-fitting sleeve!


DIY: Leather Wrap Watch

Are you looking for the perfect present for that hard-to-shop-for fashionista? If so, we’ve got the perfect gift idea that she’s sure to love. Not only is this gift chic, it’s also handmade! You can customize it to fit the giftee’s style. Use all black cord for a punk look, or neon cord for a super-trendy summer style!

DSC_0836 Watch You’ll Need:

Braided Leather Bolo

Project DIY Modern Heirlooms Timeless Wrap Watch

5MM Jump Rings

10MM Jump Rings


DSC_08481. Take your cord and cut five 1′ pieces. The pieces should be long enough to wrap around your wrist.

DSC_0850
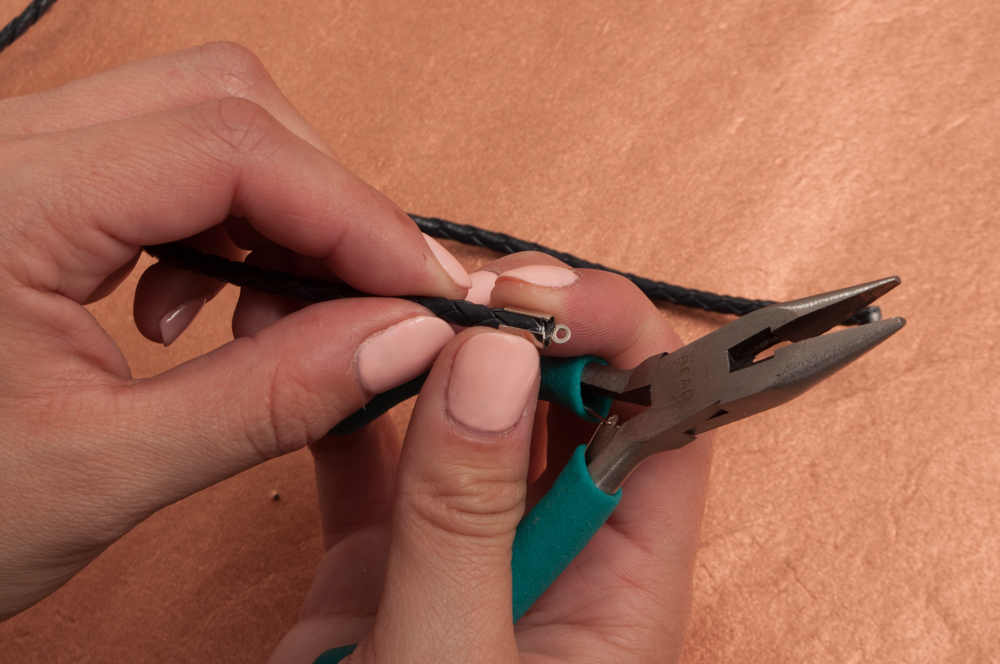
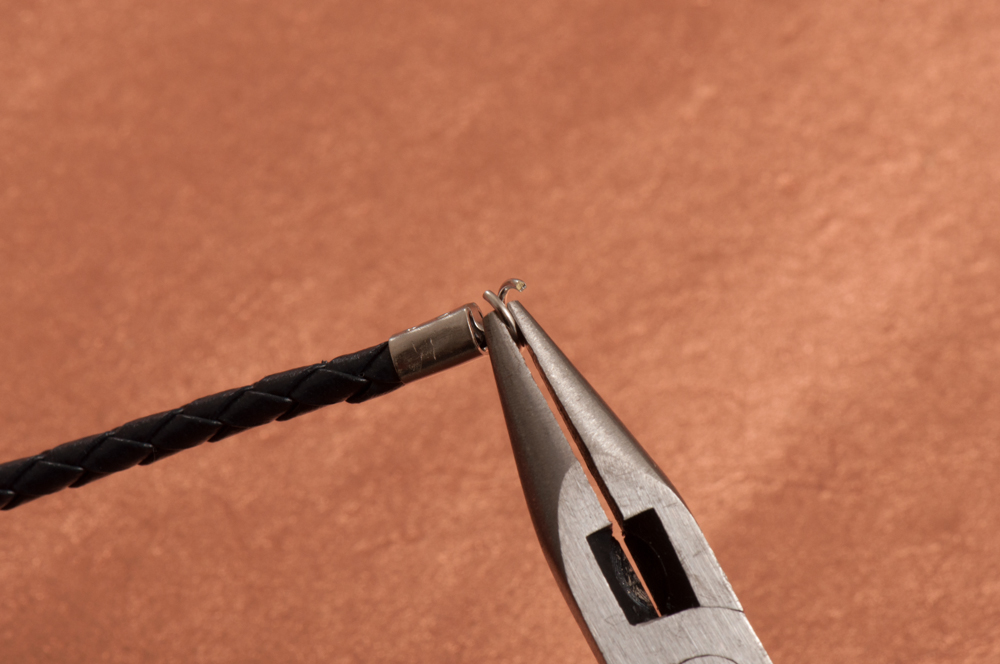
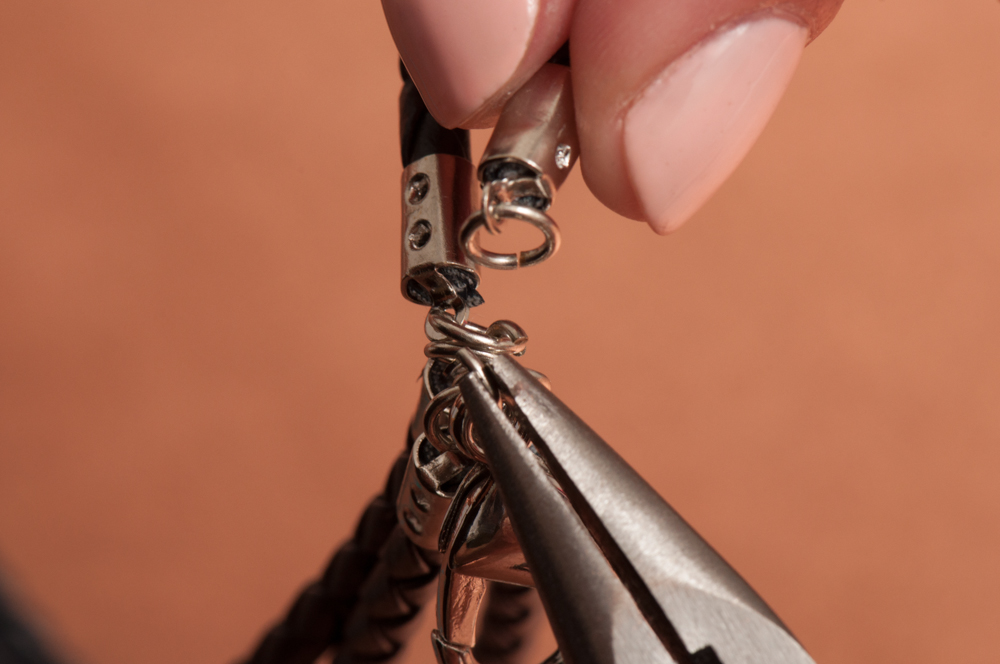
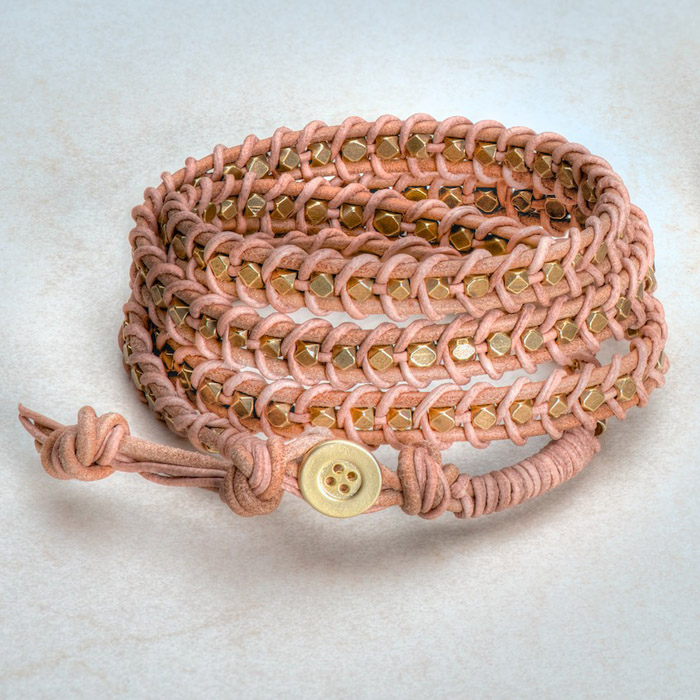
2. Add cord connectors to each end, and connect them to the watch with jump rings.

DSC_08543. Take the rest of the cord and cut five piece 8 inches or longer.

DSC_08514. Add connectors and connect with jumps rings to the watch.

DSC_08555. Place the watch face on your wrist. Wrap the long side around your wrist until it hits the middle of your wrist. Cut if too long.

DSC_08586. Wrap the short side until it meets the ends of the cords you just cut.

DSC_08617. Add cord connectors to each end with jump rings. On one side add the five cord ends to a jump ring and then connect it to the lobster clap.

DSC_0865
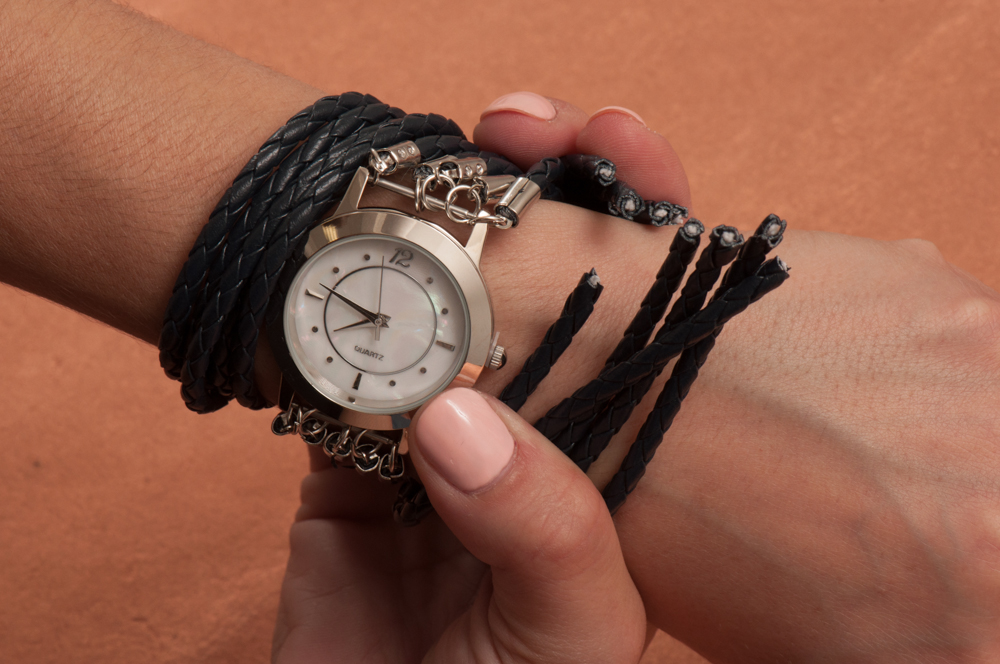
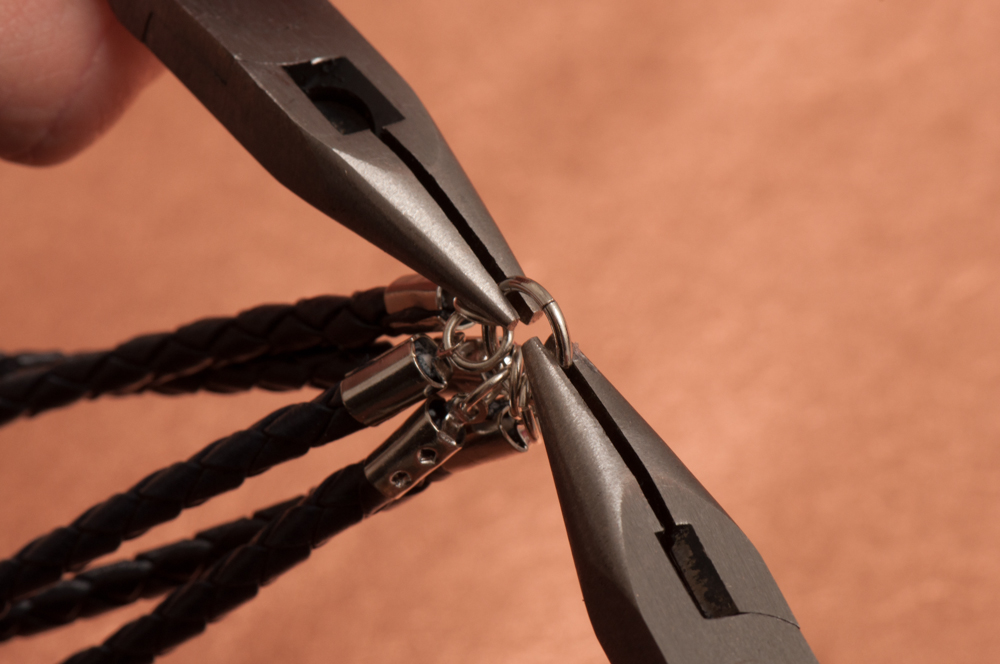
8. Connect the other side with a larger jump ring.

DSC_0925

DSC_2607

DIY: Punk Rock Studded Collar

This year add some serious punk-rock style to your Halloween costume with a collar DIY that can be easily created with a few simple studs and a collared shirt! Need more edgy DIY materials? Check out our Punk Rock Halloween Shop! DSC_0456 What You’ll Need: Black Collared Shirt 7mm x 10mm Metal Spike With Screw 7mm x 10mm Metal Spike With Screw 8mm x 13mm Metal Spike With Screw 10mm Two-Tone Spike Ultra Suede Ribbon* E6000 Hole Puncher Scissor   DSC_0457DSC_0480
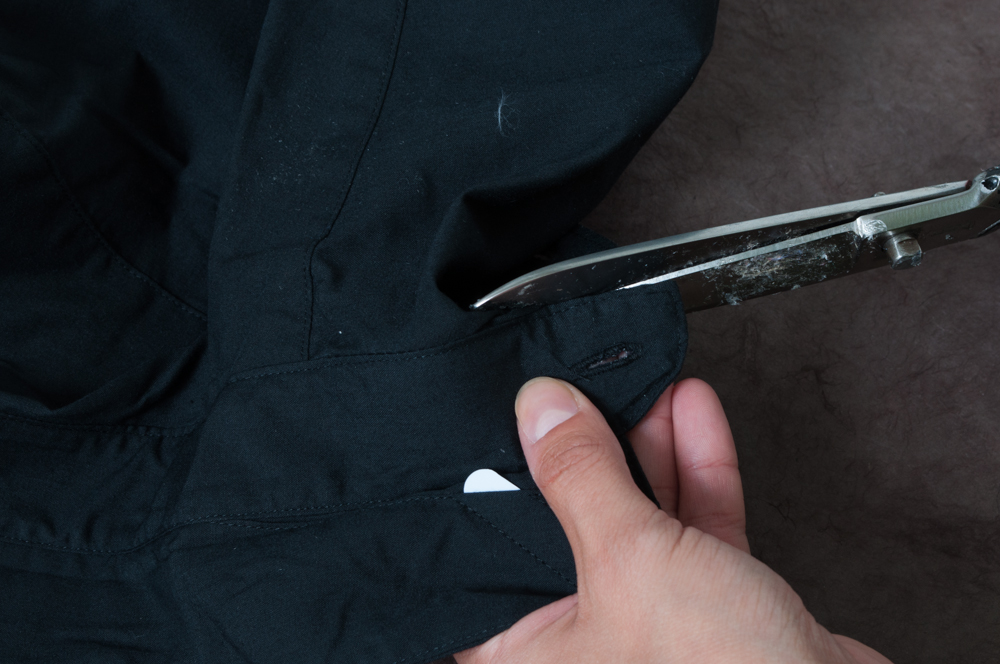
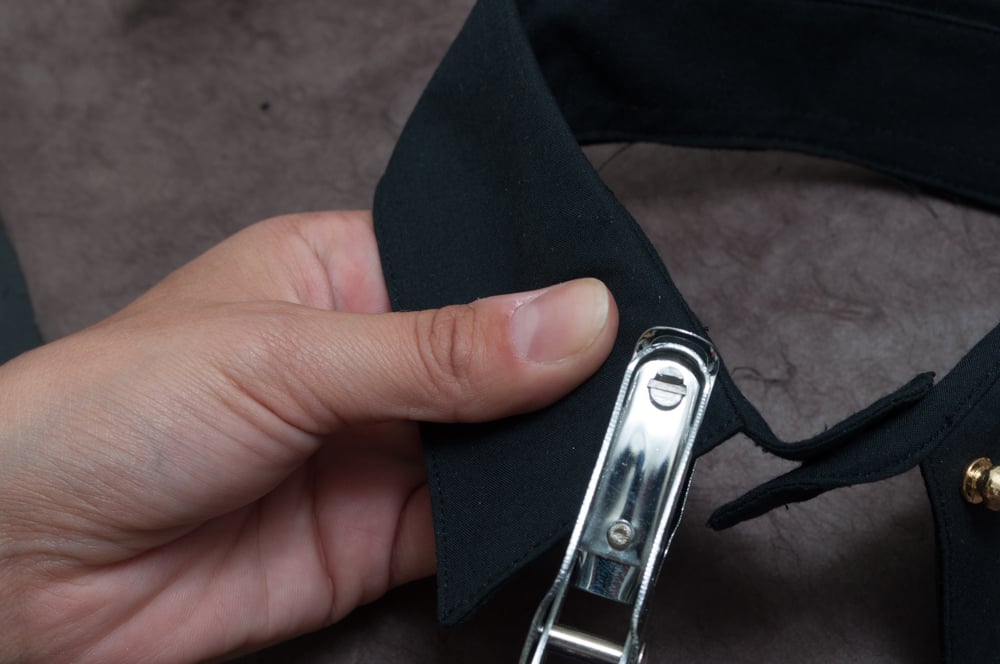
1- Take your shirt and carefully remove the collar part. DSC_0482DSC_04842- Take your trim and glue down on the rim of the collar. Let dry. DSC_0485
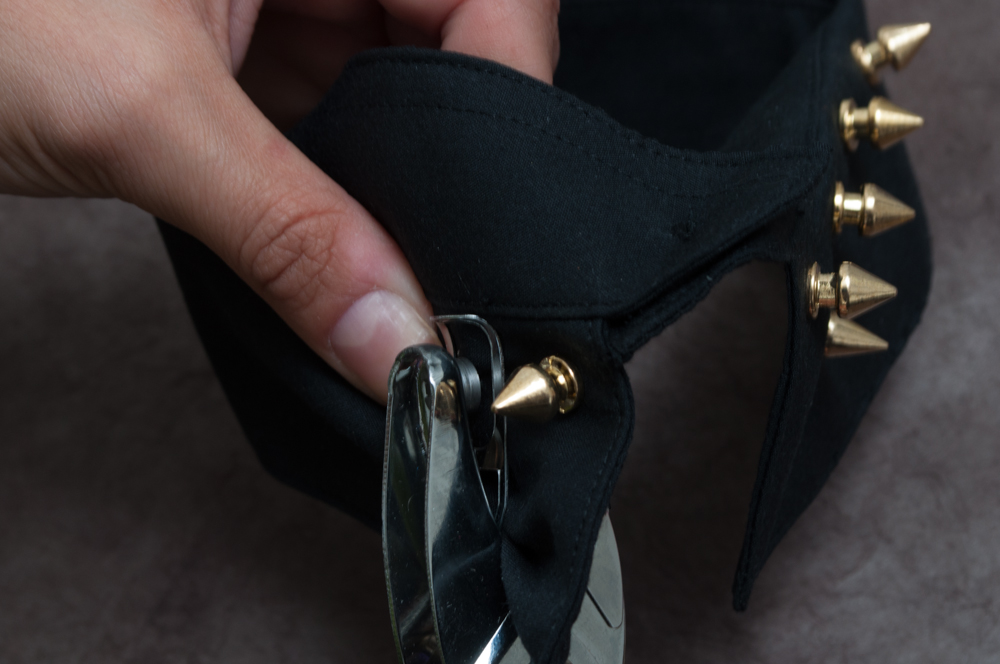
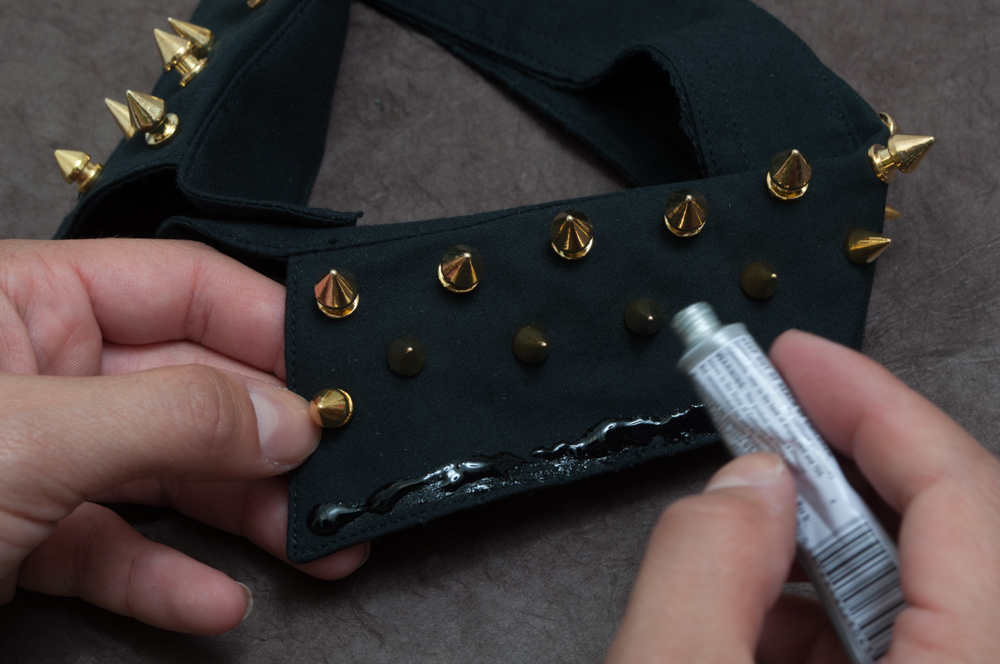
3- Punch a hole in the collar and screw in a spike. Repeat this until desired design is complete.

DSC_0801

(*This item is currently unavailable.  For alternatives, check out our full selection of leather and suede trims.)

4 Ways to Embellish Back to School: Pencil Case

There’s nothing worse than losing all of your pens and pencils in the depths of your backpack. Make sure your writing utensils are snug, sound and stylish with this classy pencil case DIY.
DSC_0207

What You’ll Need:

1.8” Ultra Suede Tape

2” Metallic Crossweave Leather Trim

Hole Puncher

Scissors

DSC_0208 1. Fold a 14″ piece of gold trim in half.

DSC_0212 2. At the bottom corner start to punch holes going all the way up. Repeat on the other side evenly.

DSC_02243. Starting from the lower corner, push your suede cord through the hole and tie a knot.

DSC_02314. Start to weave the suede creating loops on the outside. Once you get to the top, tie a knot and cut excess suede.

DSC_0369


Need more inspiration for your back-to-school gear? Check out our 4 Ways Back to School Shop!

Beaded Bracelets DIY Roundup

Whether you’re a jewelry-making expert, or a total novice, beads are a medium that anyone can use! They’re easy to work with, but also come in a huge range of colors, shapes and sizes! Our love of beads knows no bounds, and we like to include them in almost any DIY that we make. That being said, we think this weekend should be filled with DIYs using beads! Check out this collection of beaded bracelet DIYs to create an elaborate arm party on your wrist!
Final-Paracord2These bracelets from Brit + Co. feature beads and parachute cord in fun contrasting colors!

beadbracelet13We love the stacked look of the beaded bracelets from Honestly WTF!

4c1172a265f9ae3864d7adb0016792e4This beaded bracelet from Flamingo Toes has just the right amount of sparkle!

bluestonebracelettitleThis blue stone chip bracelet from Fall for DIY is a beautiful way to use up loose stone chips.

92This leather bracelet from Poppy Talk is perfect for making a piece that’s a bit more rugged!

DIY: Monogrammed Leather Accent Tote Bag

Canvas tote bags are practical and great for running errands. But truth be told, they’re a little plain. Make your tote bag stand out with classic details that will instill your DIY creation with a preppy and sophisticated vibe, and avoid the question of paper or plastic once and for all.

DSC_0070

What You’ll Need:

Canvas Tote
Faux Leather Bias Binding
E6000
Scissors
Fabric Pen
Flatback Crystal Rhinestones


DSC_00711. Glue the faux leather trim on top on the canvas handles of your tote.

DSC_00882. Once the glue has dried, use E6000 to glue the trim across the top of the bag.

DSC_00903. Use small pieces of the trim to cover the edges of the bag.

DSC_01084. Write your initials, favorite word or phrase out lightly in pencil, and when you’re happy with the marks, go over it with your fabric pen.

DSC_01145. Finish your tote off with some sparkling accents by adding small flatback rhinestones to the top and bottom of your design!

DSC_0127