We love to dye at M&J. It’s always an experiment because the medium has a mind of its own! We embraced that free-flowing spirit with this next DIY, a tank top worthy of any mermaid under the sea.
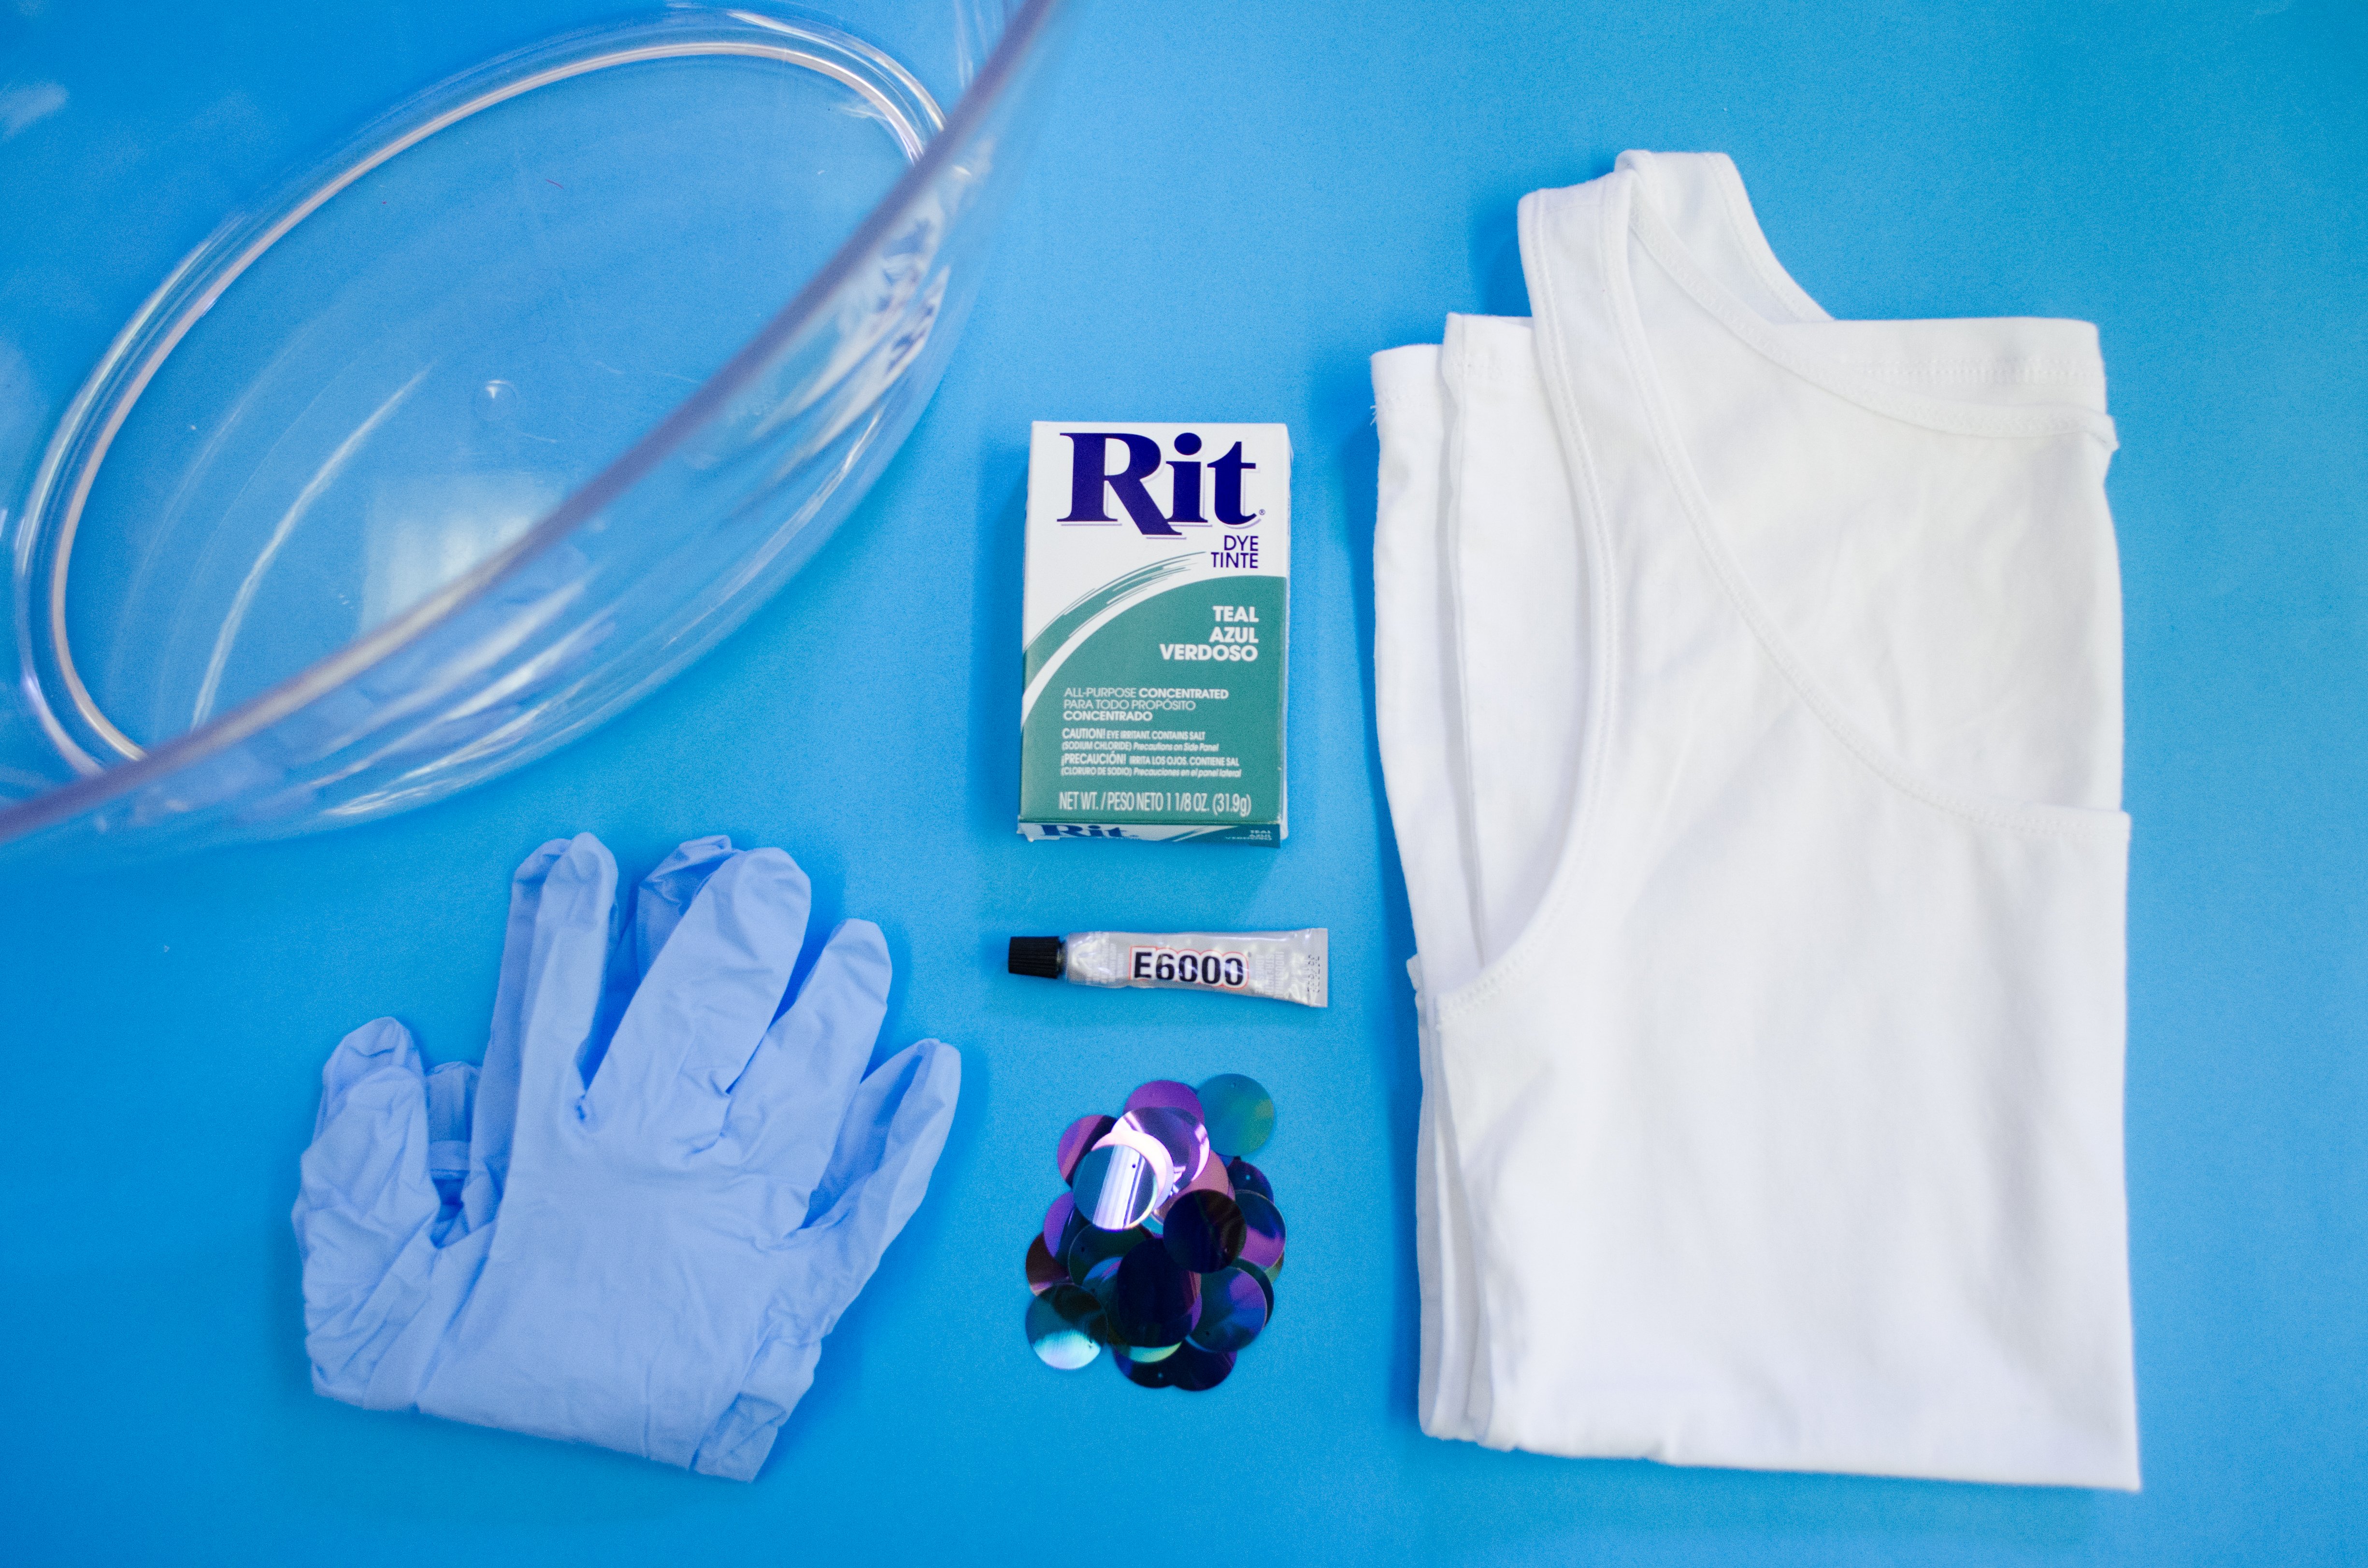
What You’ll Need:
20mm Paillettes with Hole on Top #13623
White tank top
Big Plastic Bucket or Sink
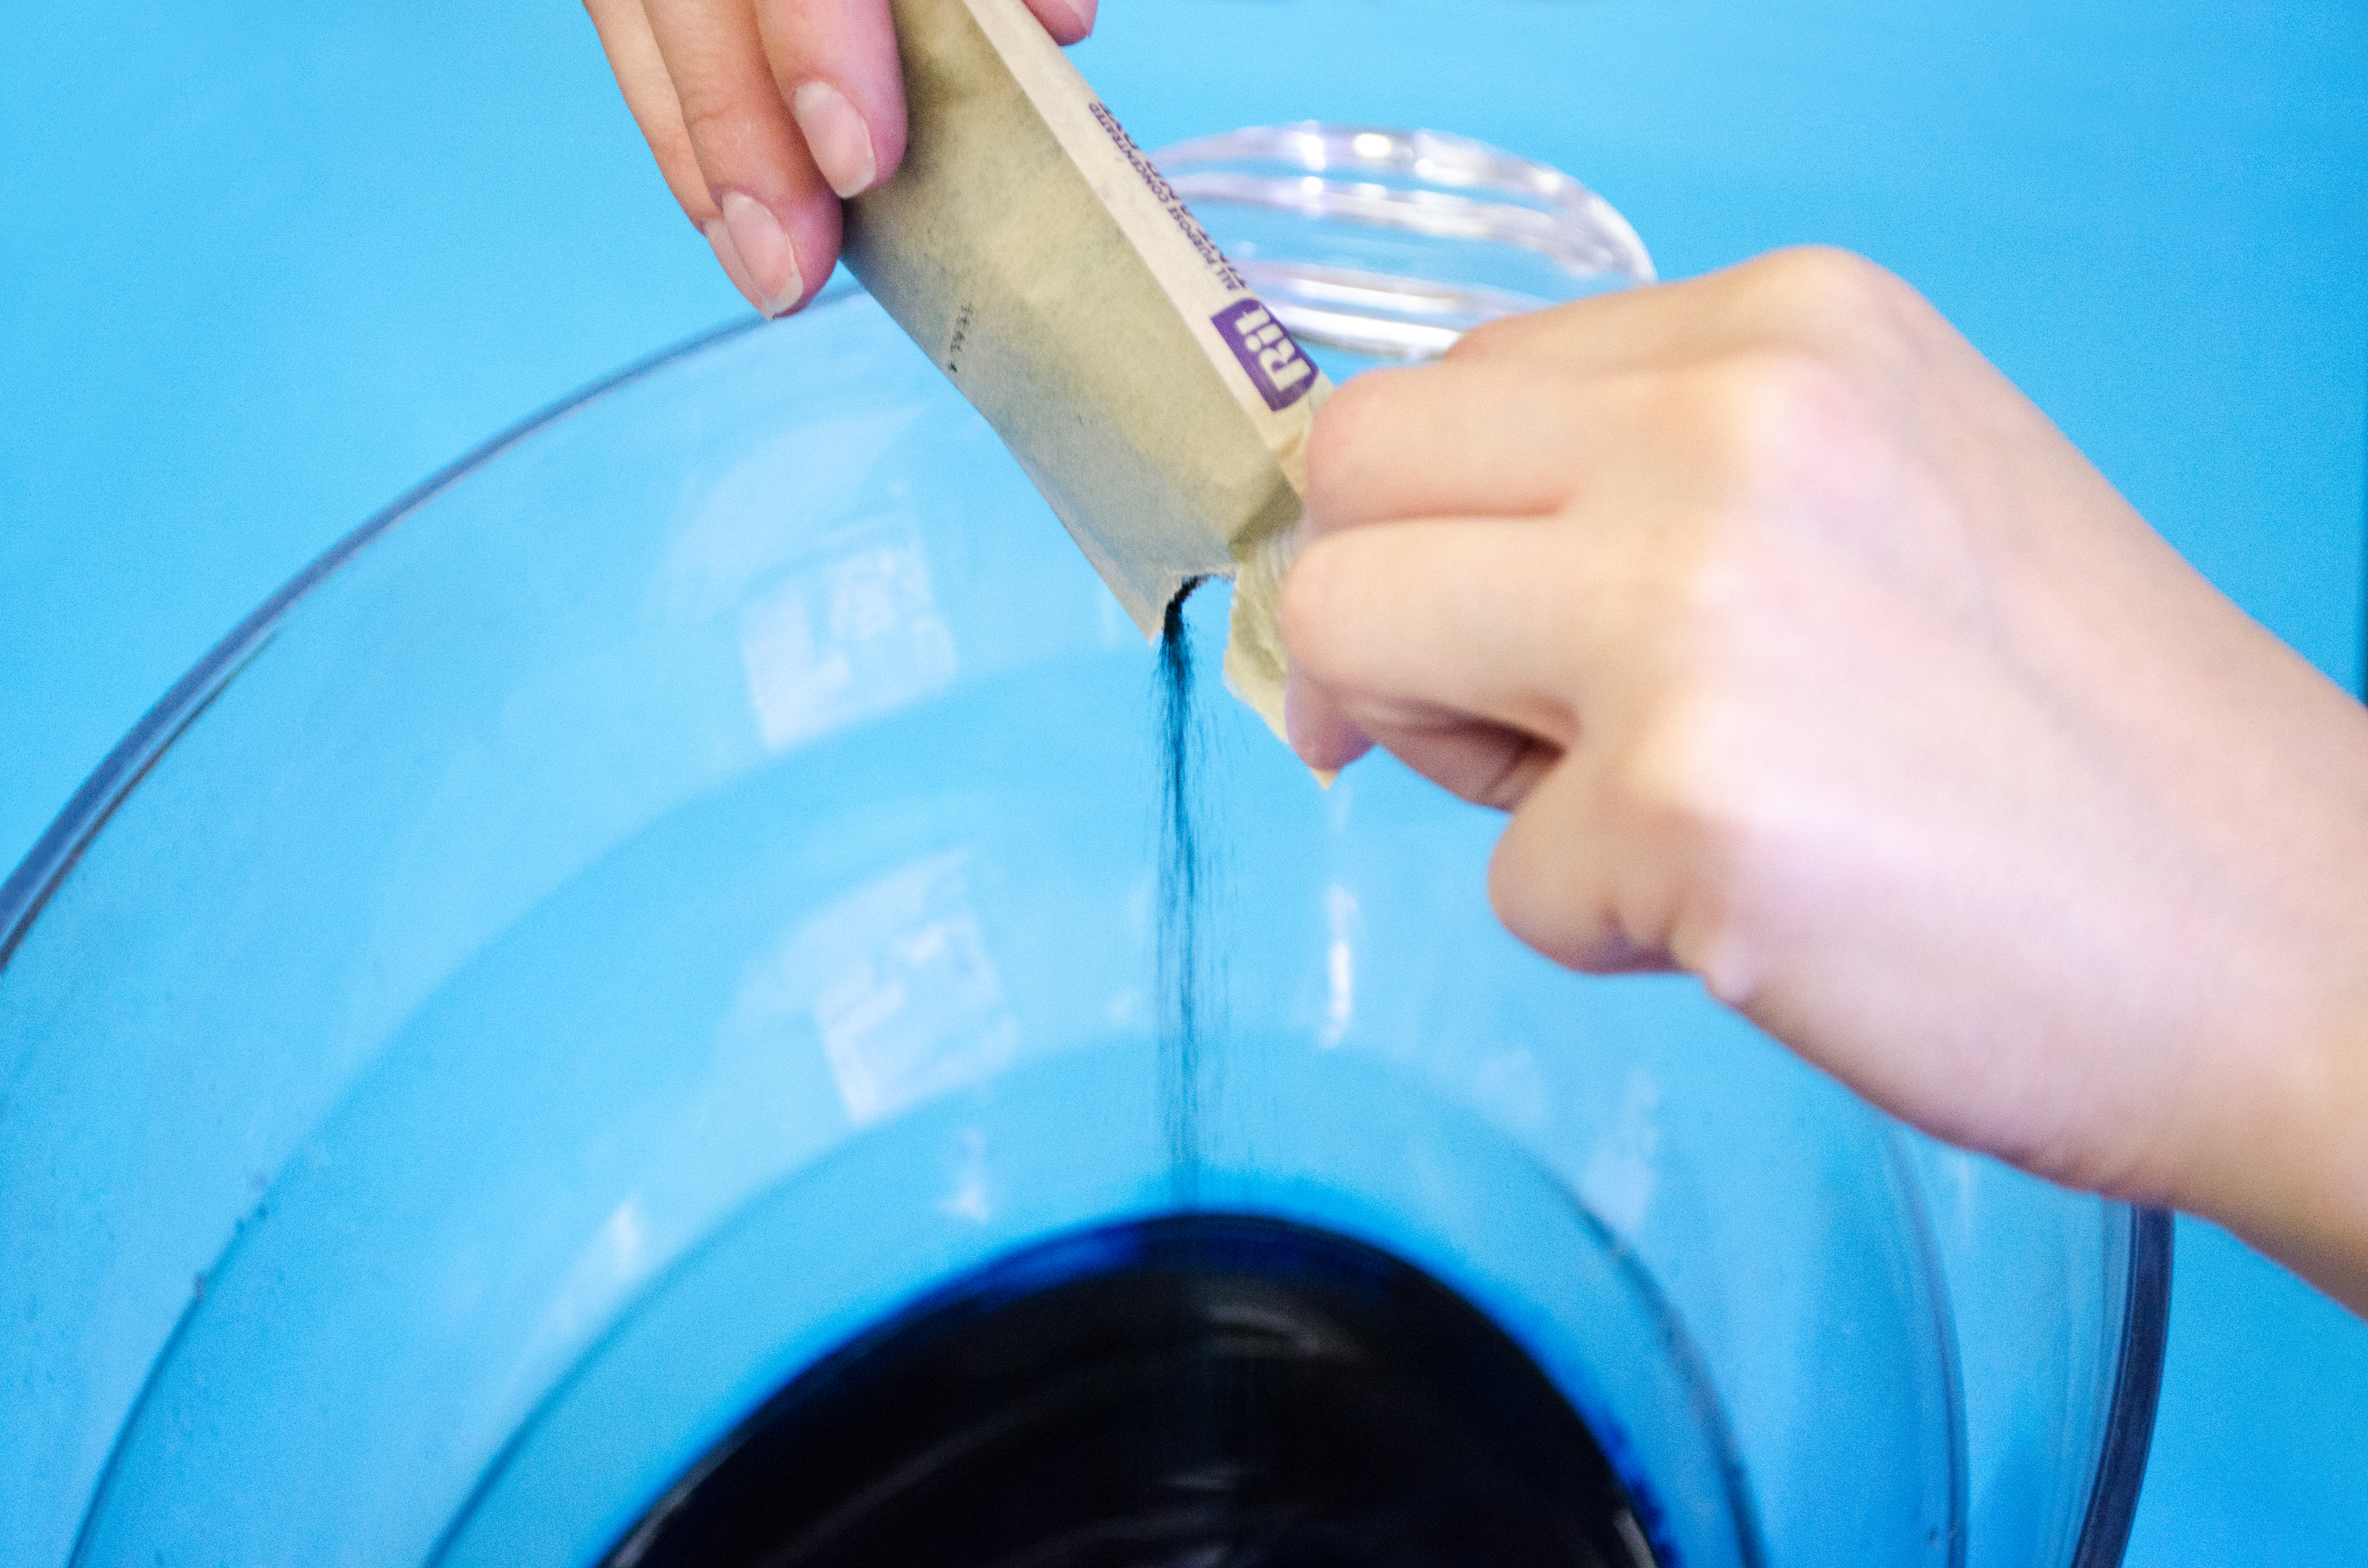
1. Follow the RIT Dye instructions. We used teal RIT dye powder, which we combined with 2 cups of hot water and 5 cups of lukewarm water.
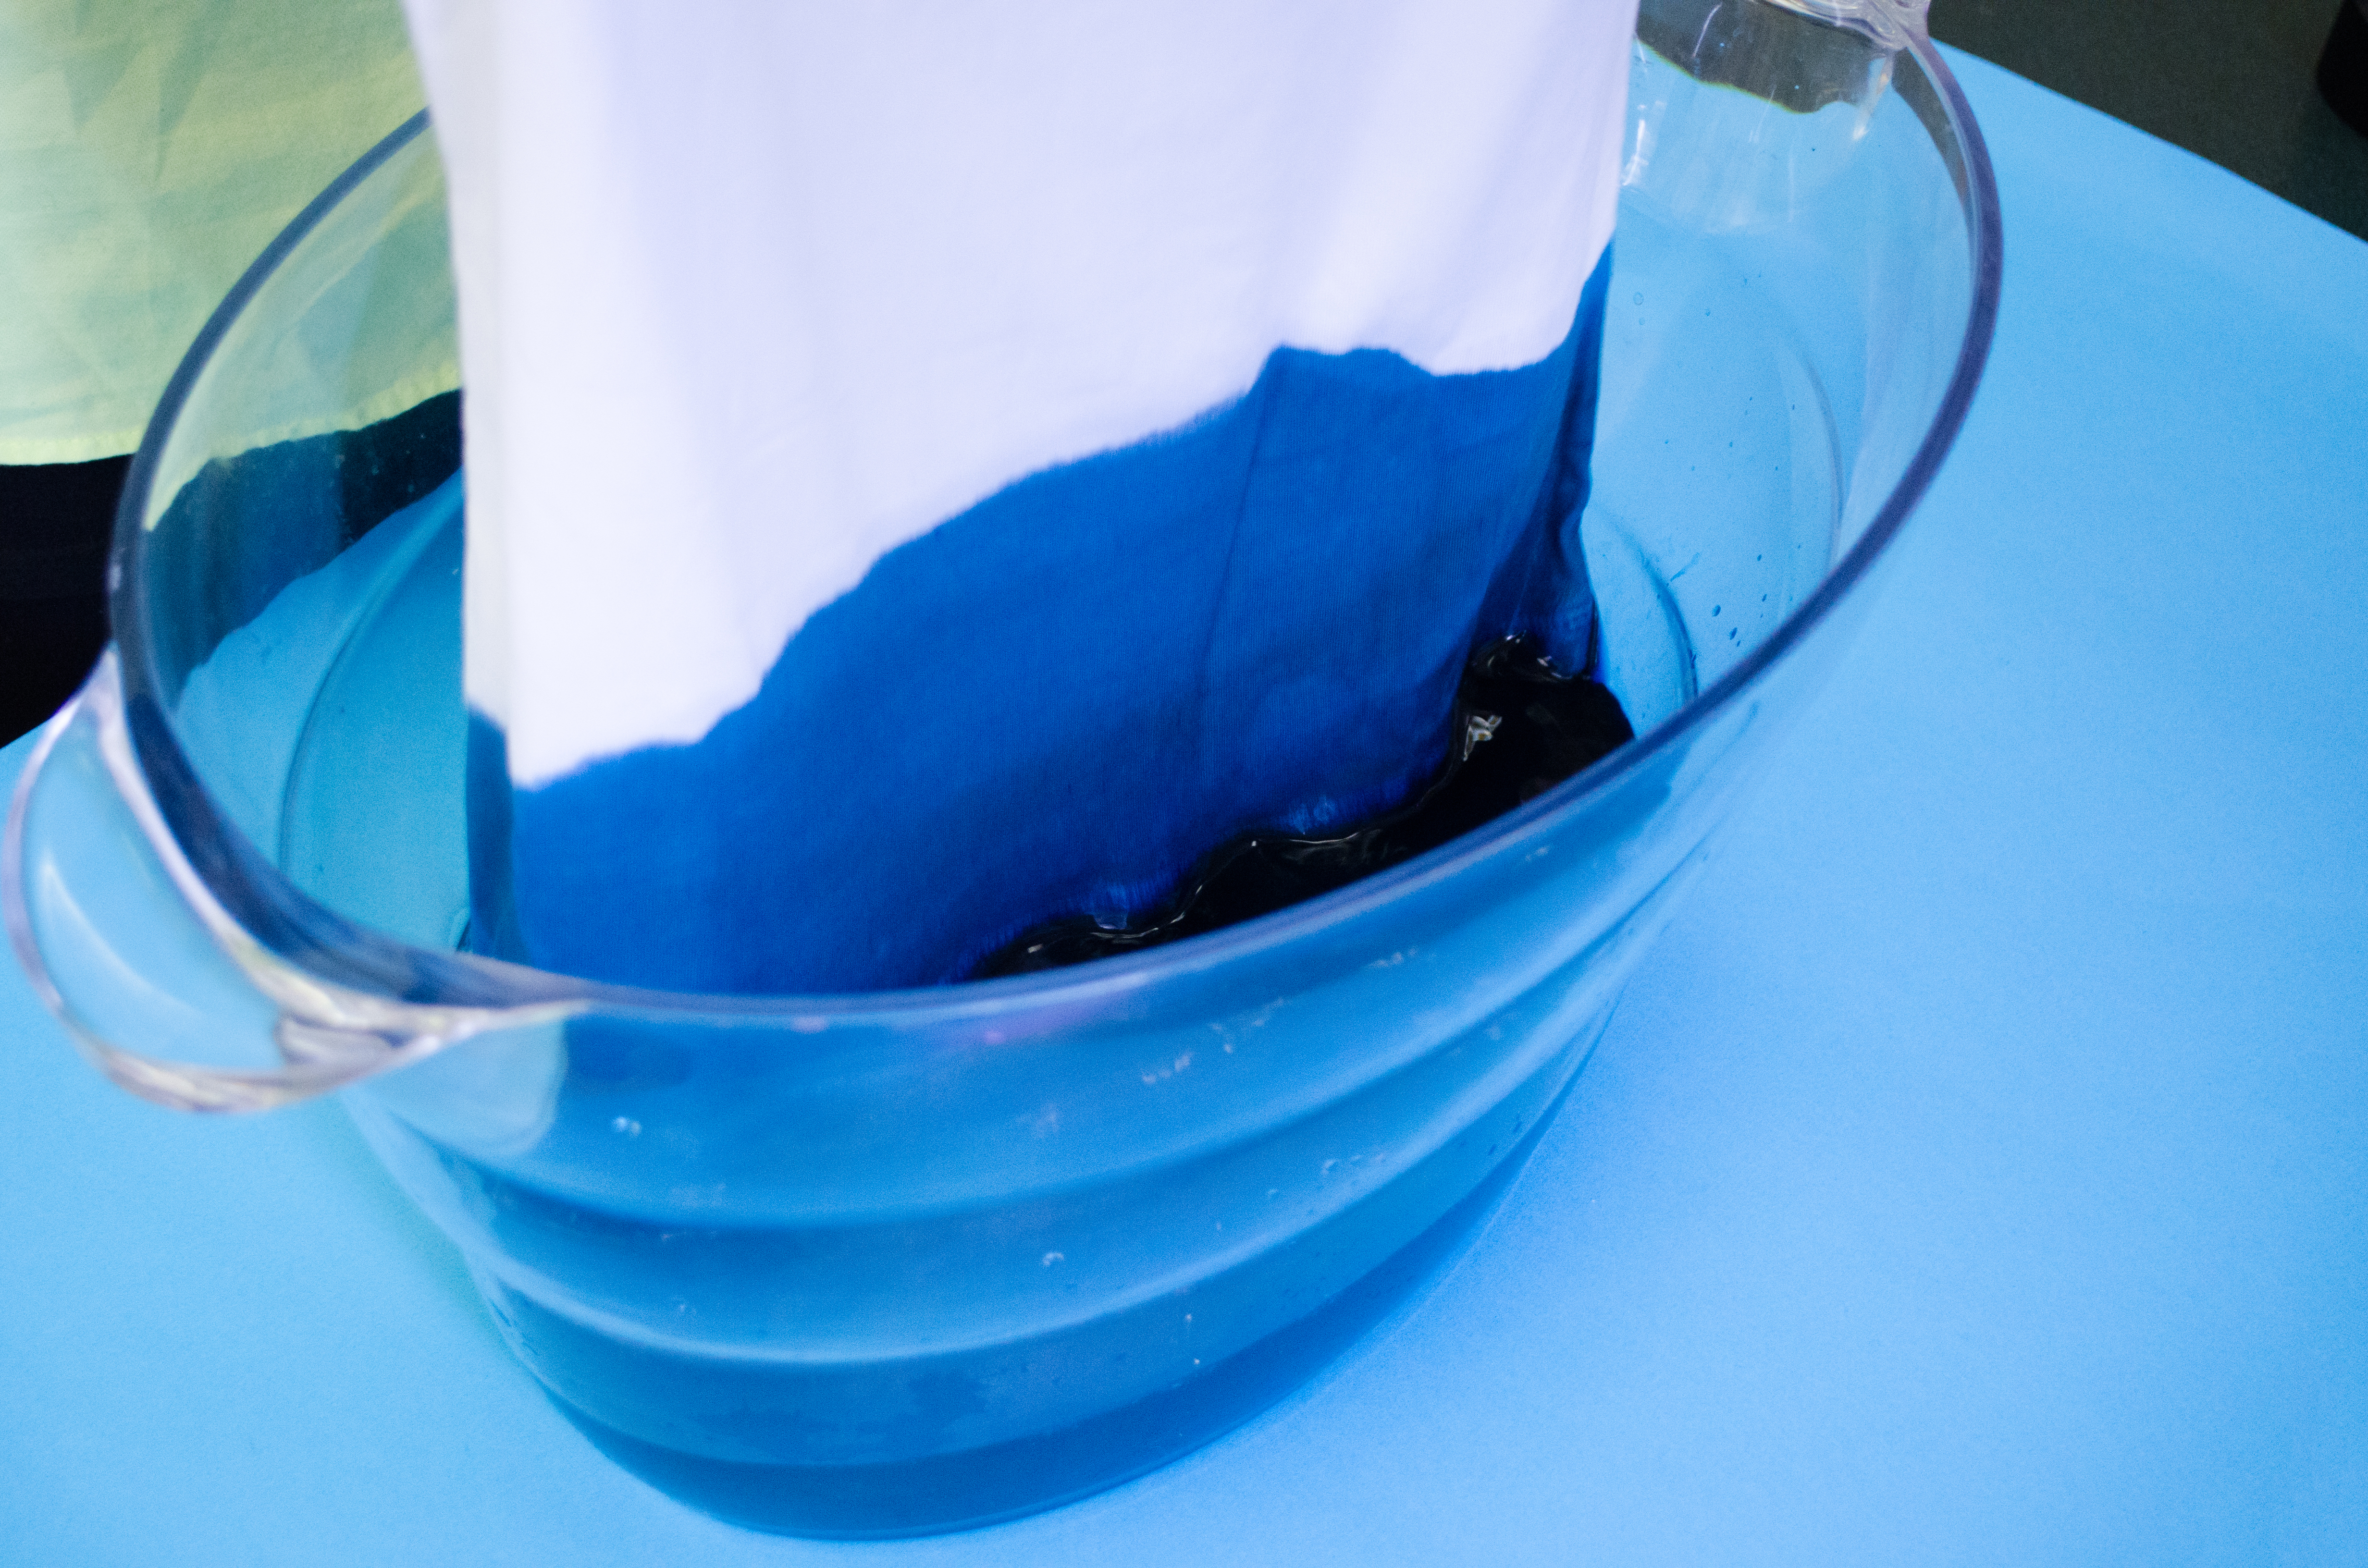
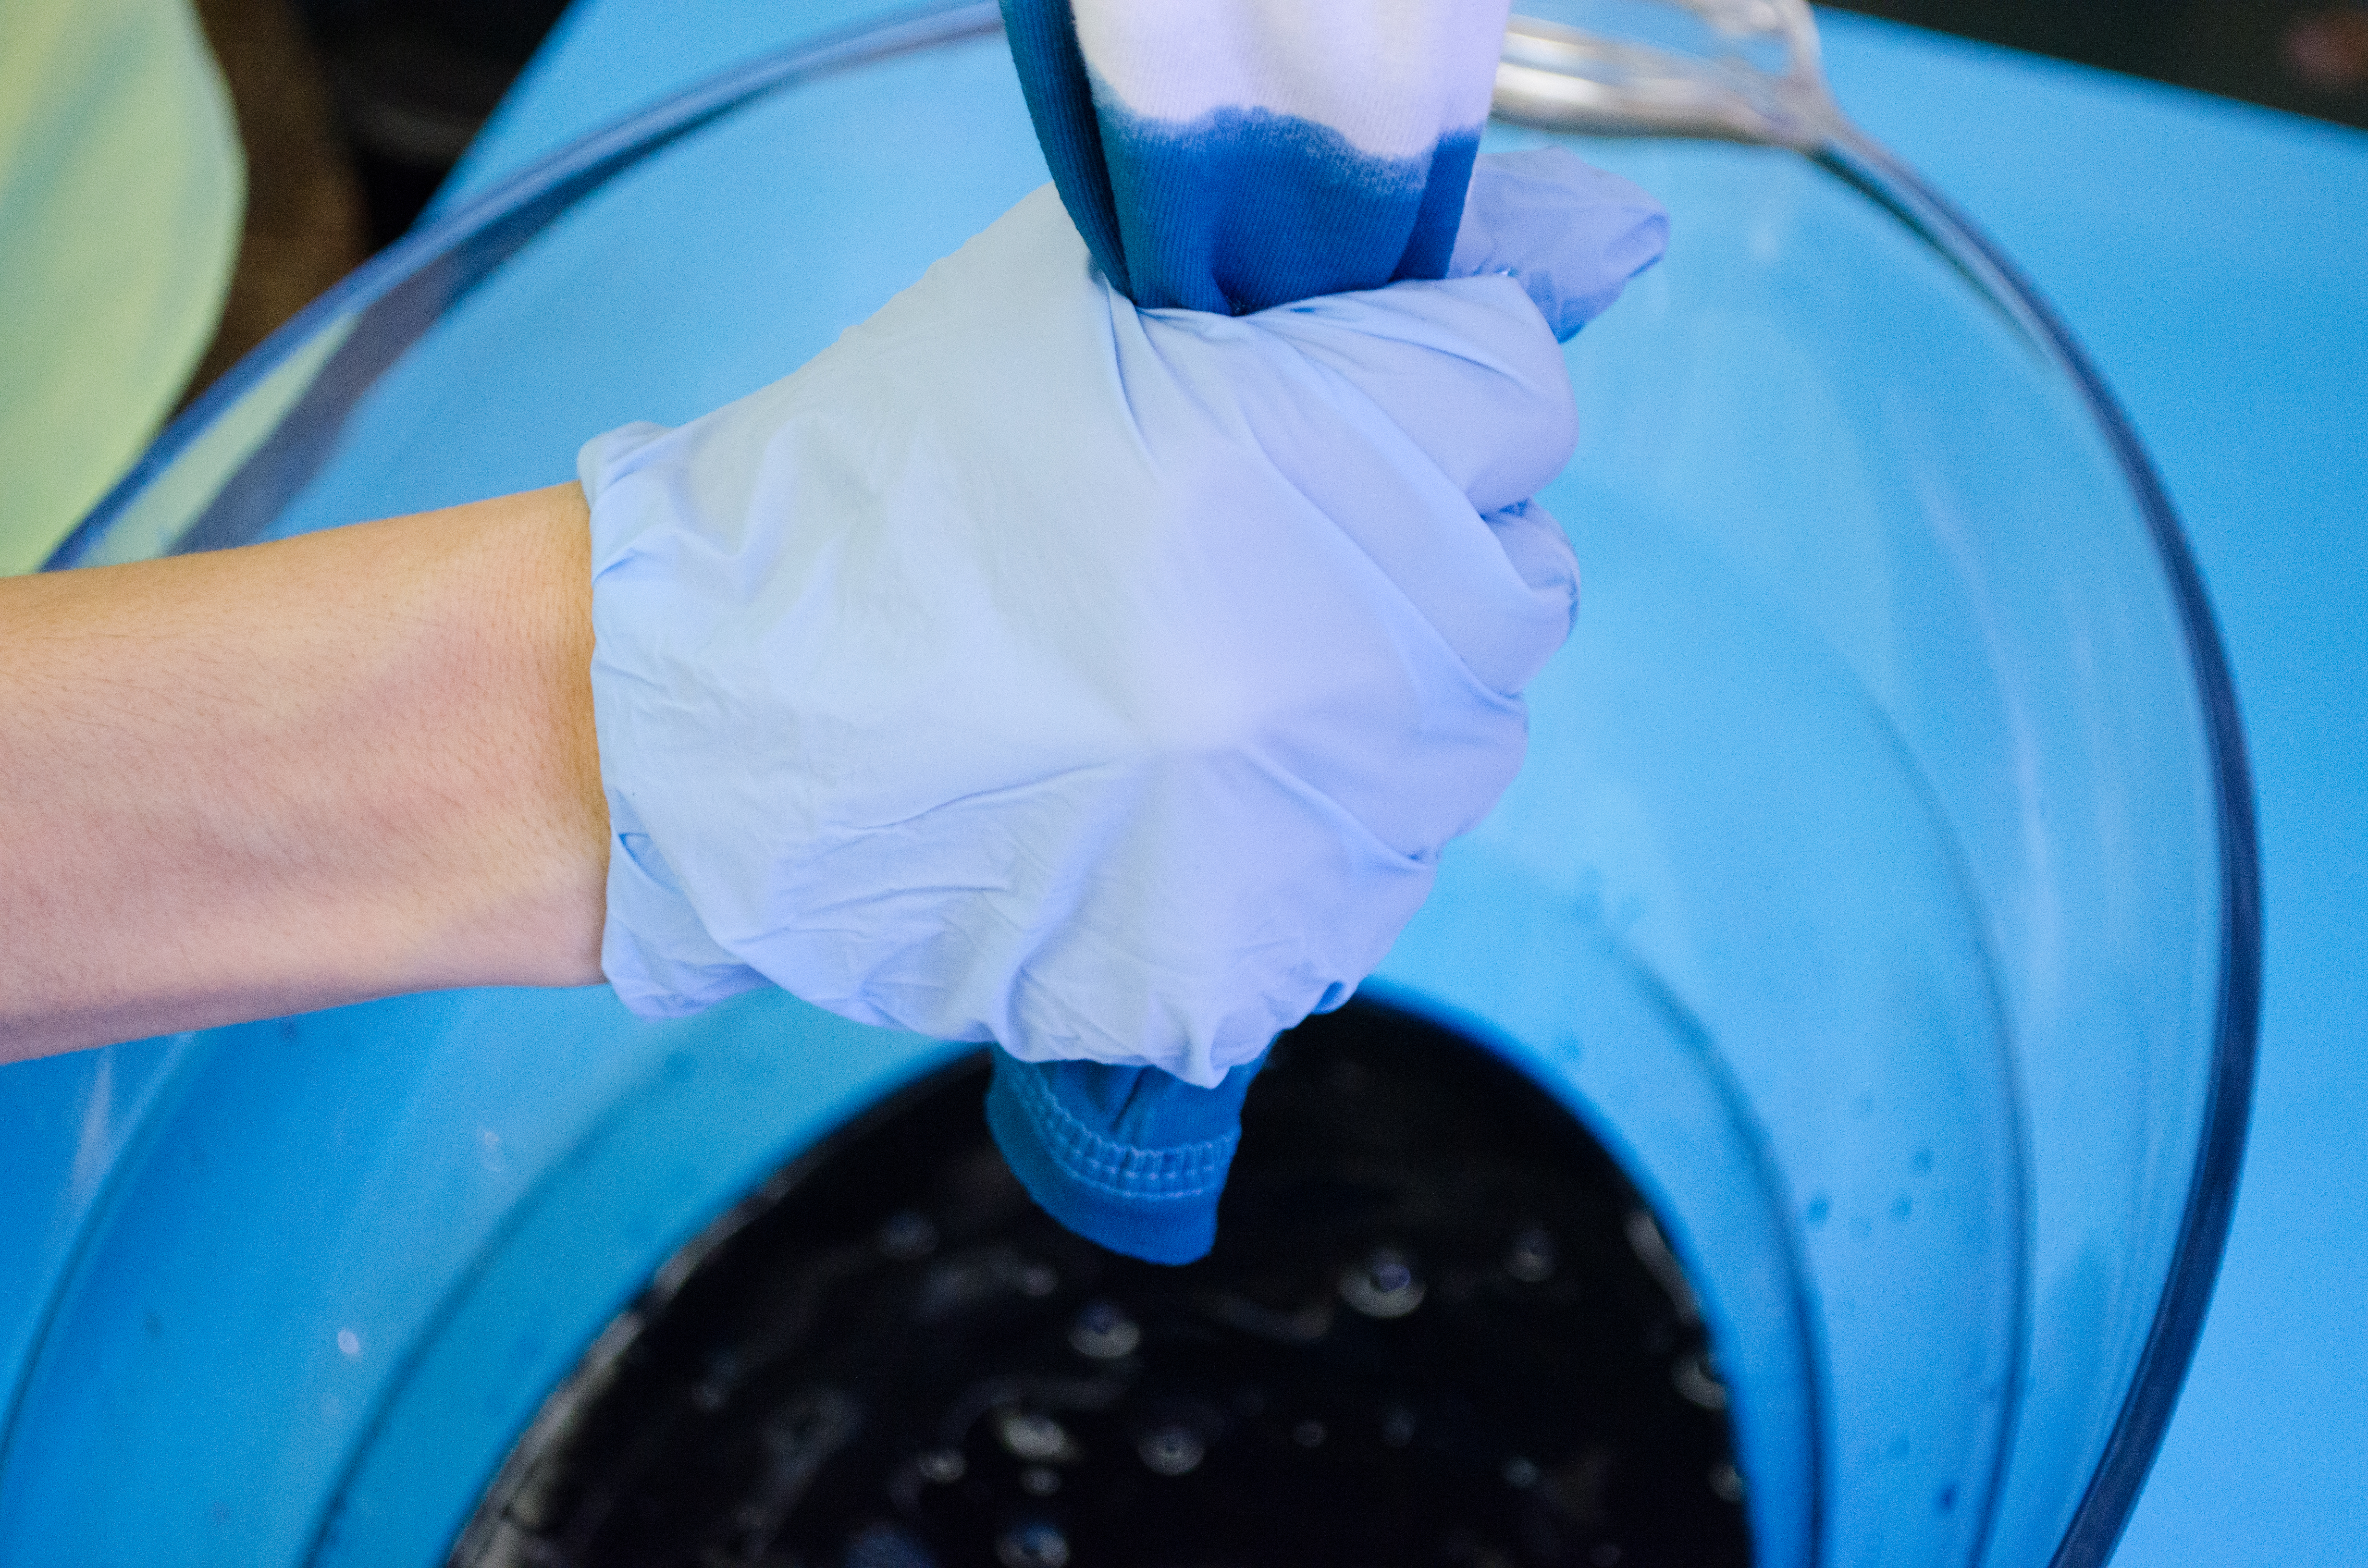
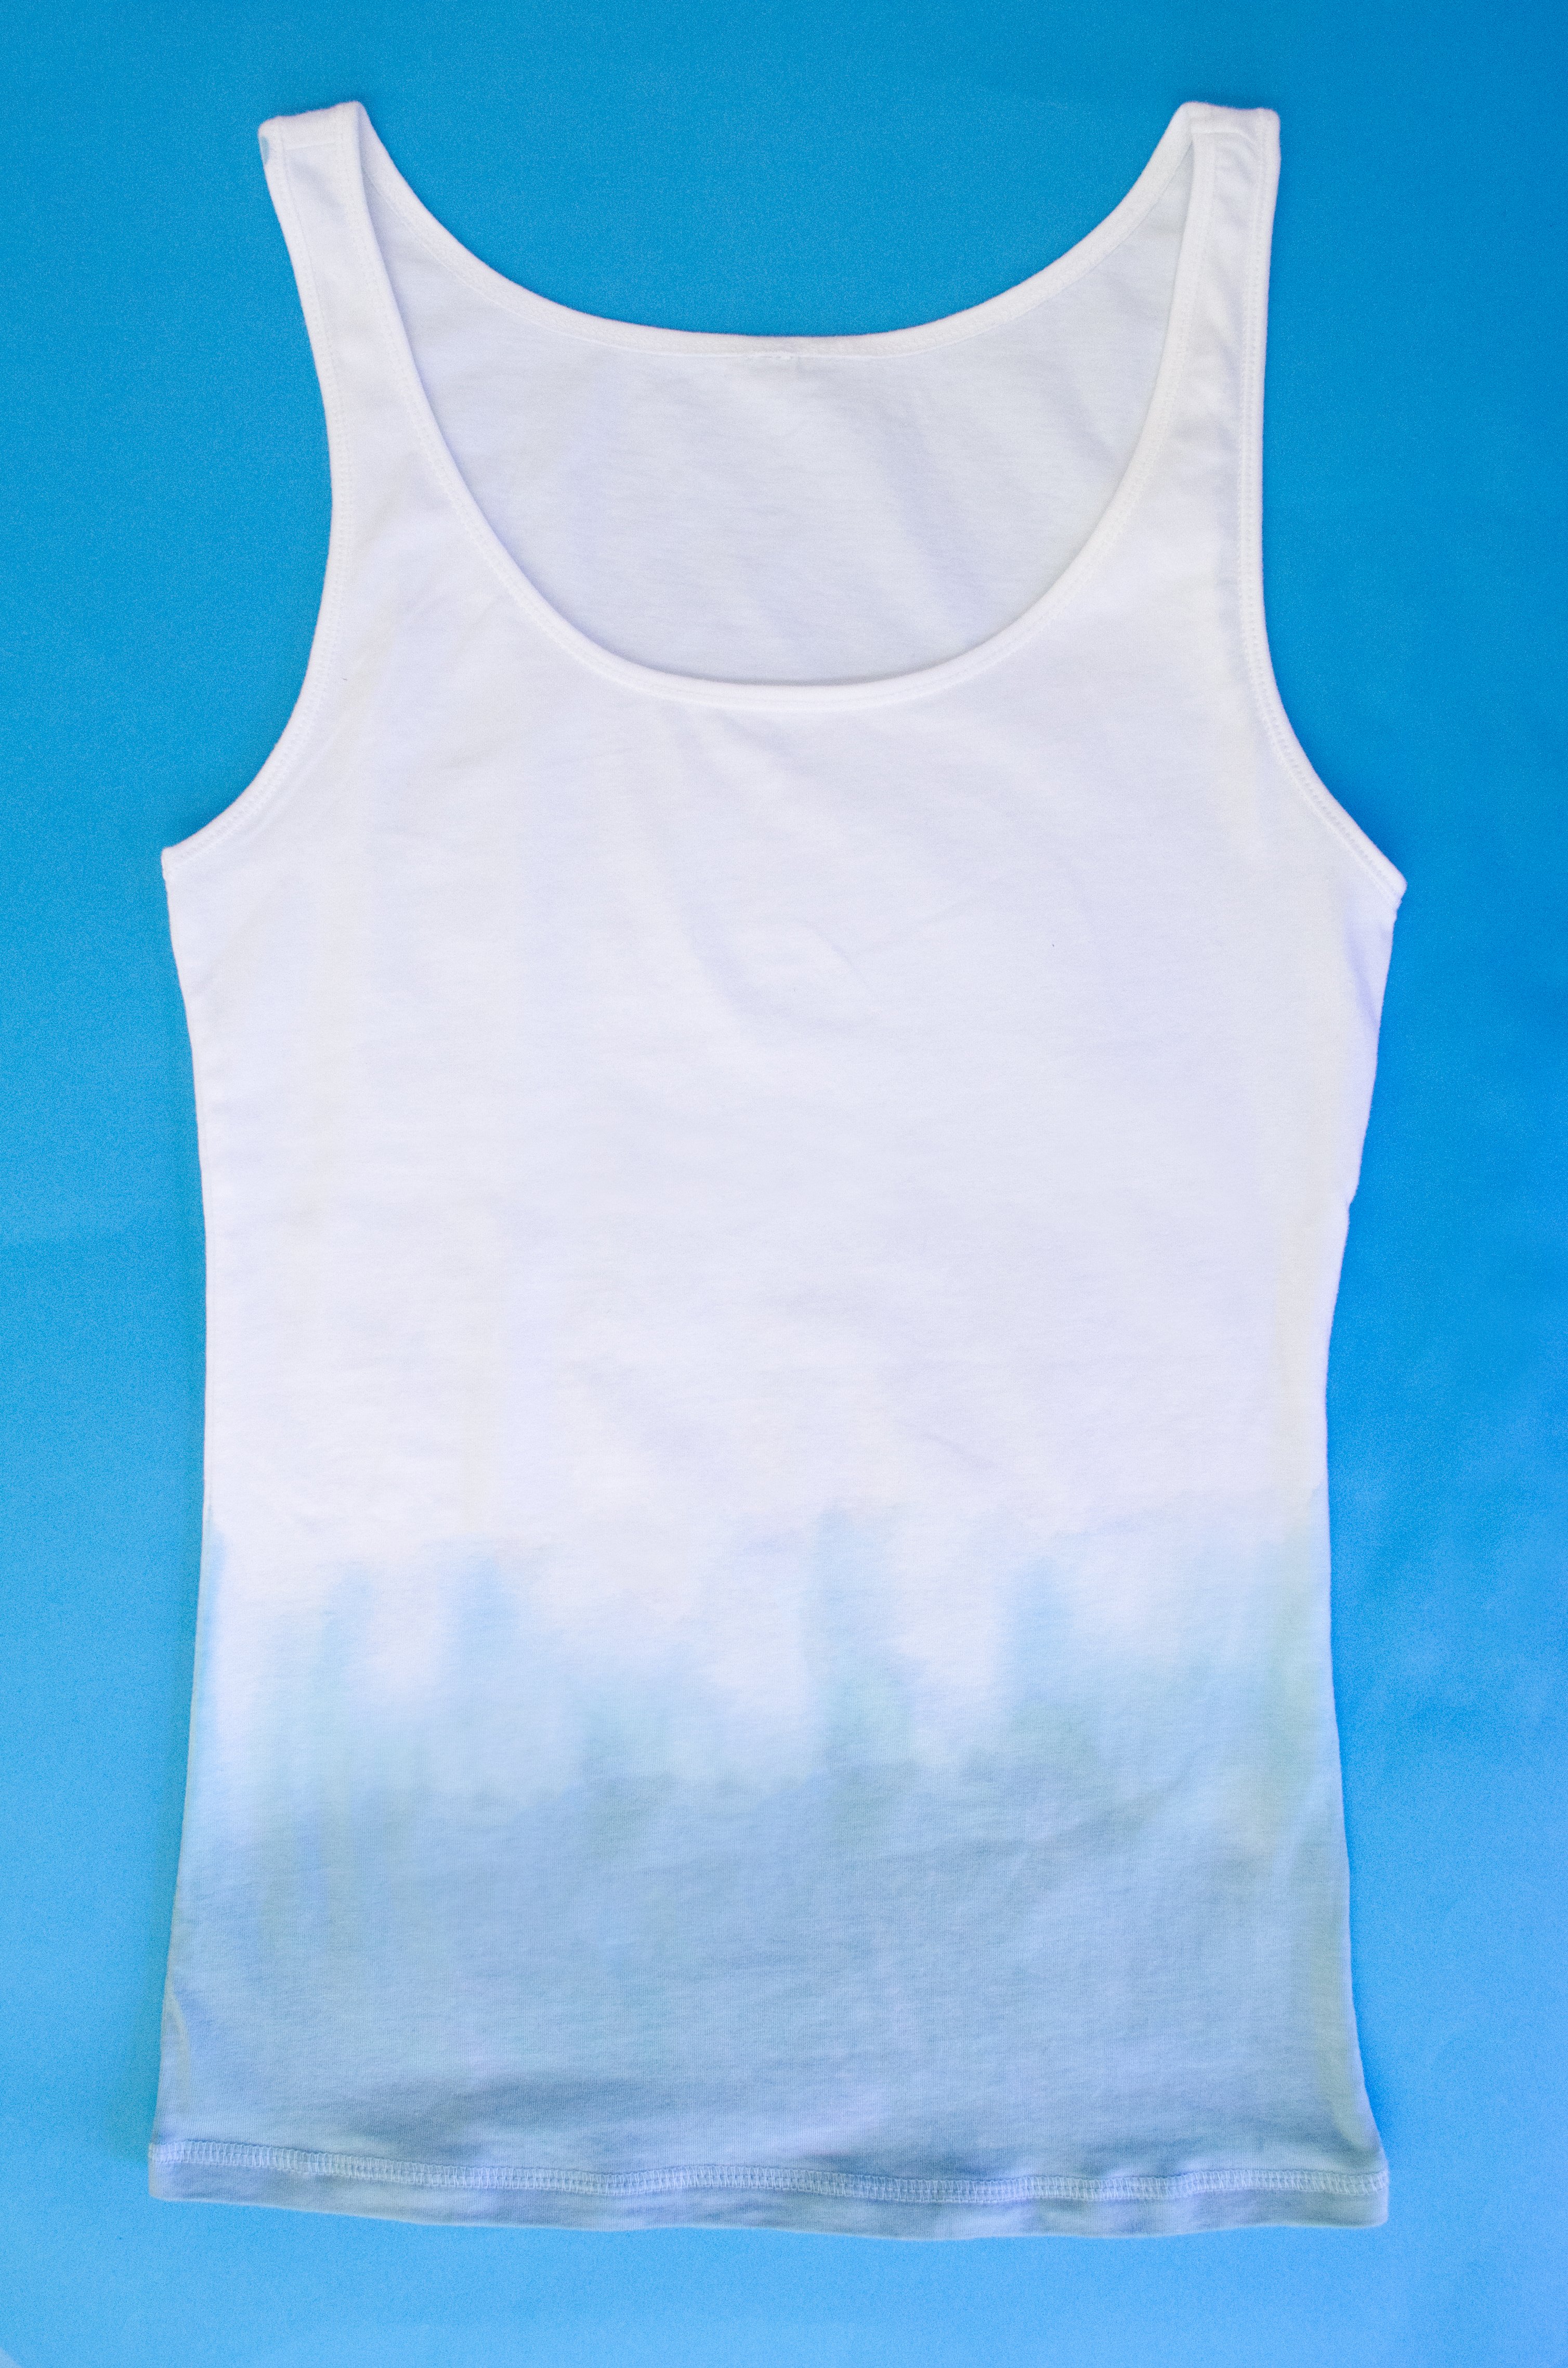
2. Dip the end of your tank into the dye. If you want an ombre effect, leave the ends of the tank in the dye for a longer period of time.
3. Wring the excess dye out into the bucket.
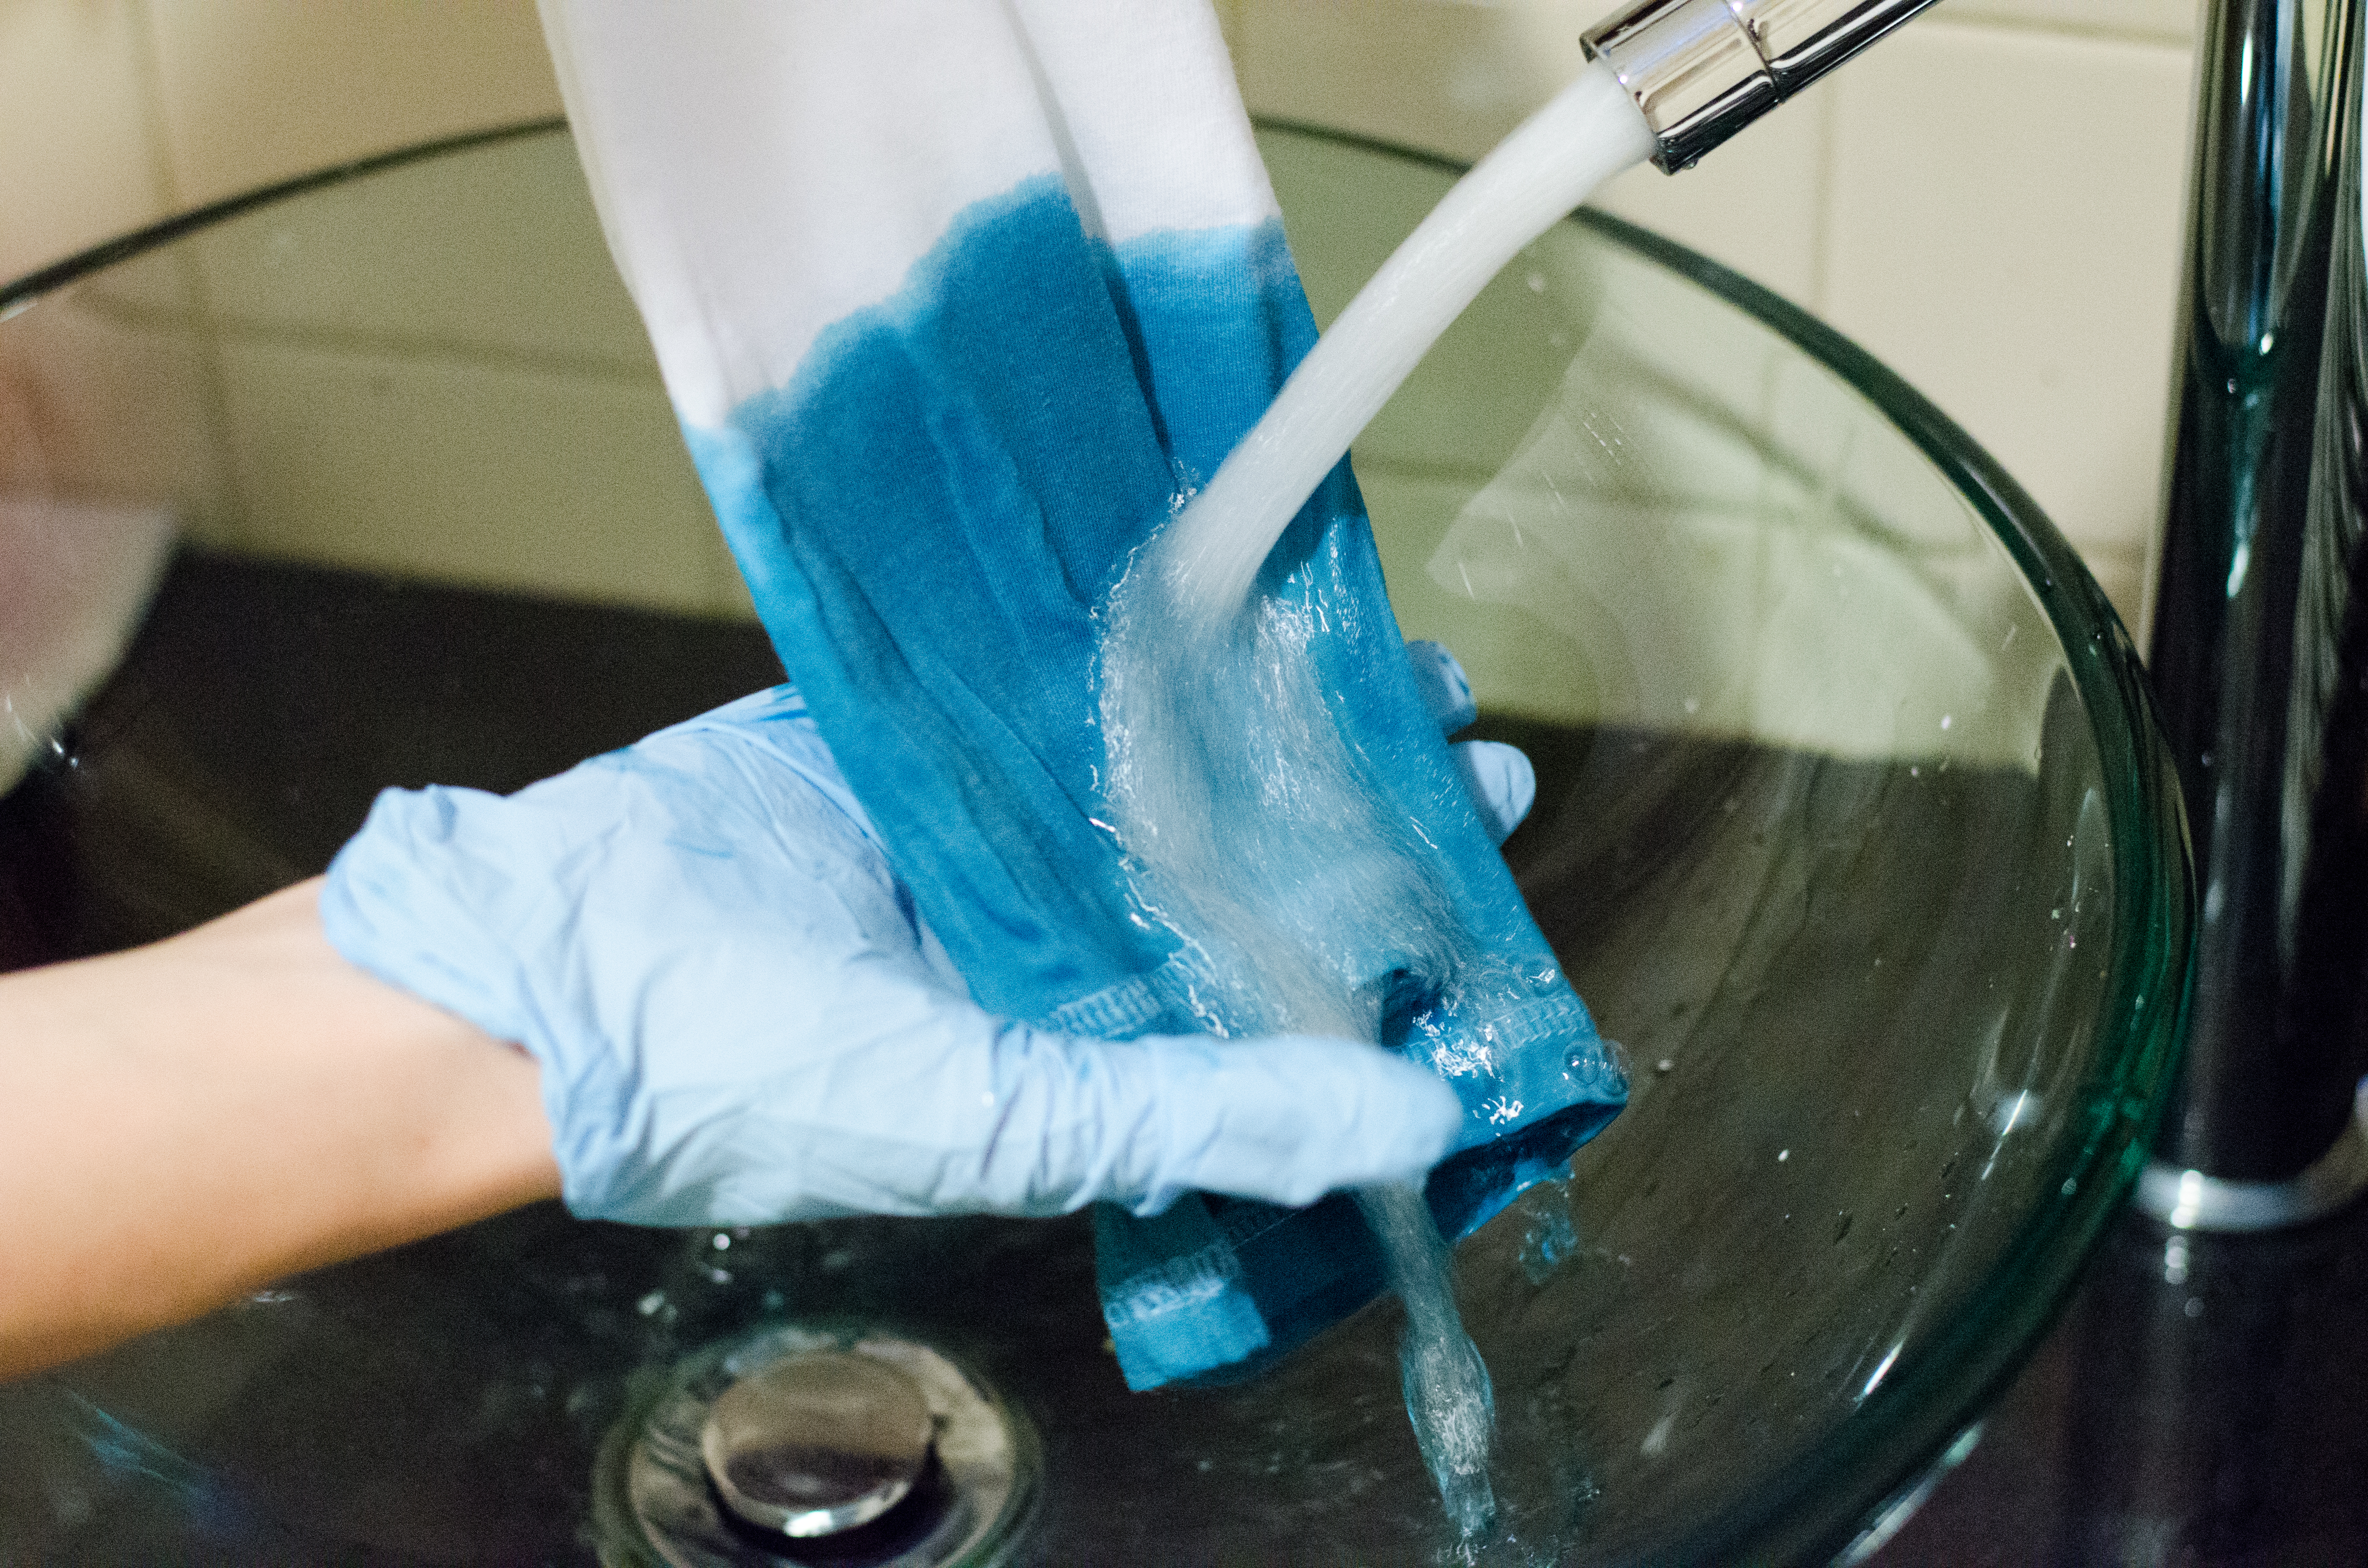
4. Wash out your tank until the running water becomes clear. This will indicate the dye has set in and will not run.
4. Allow your tank to dry.
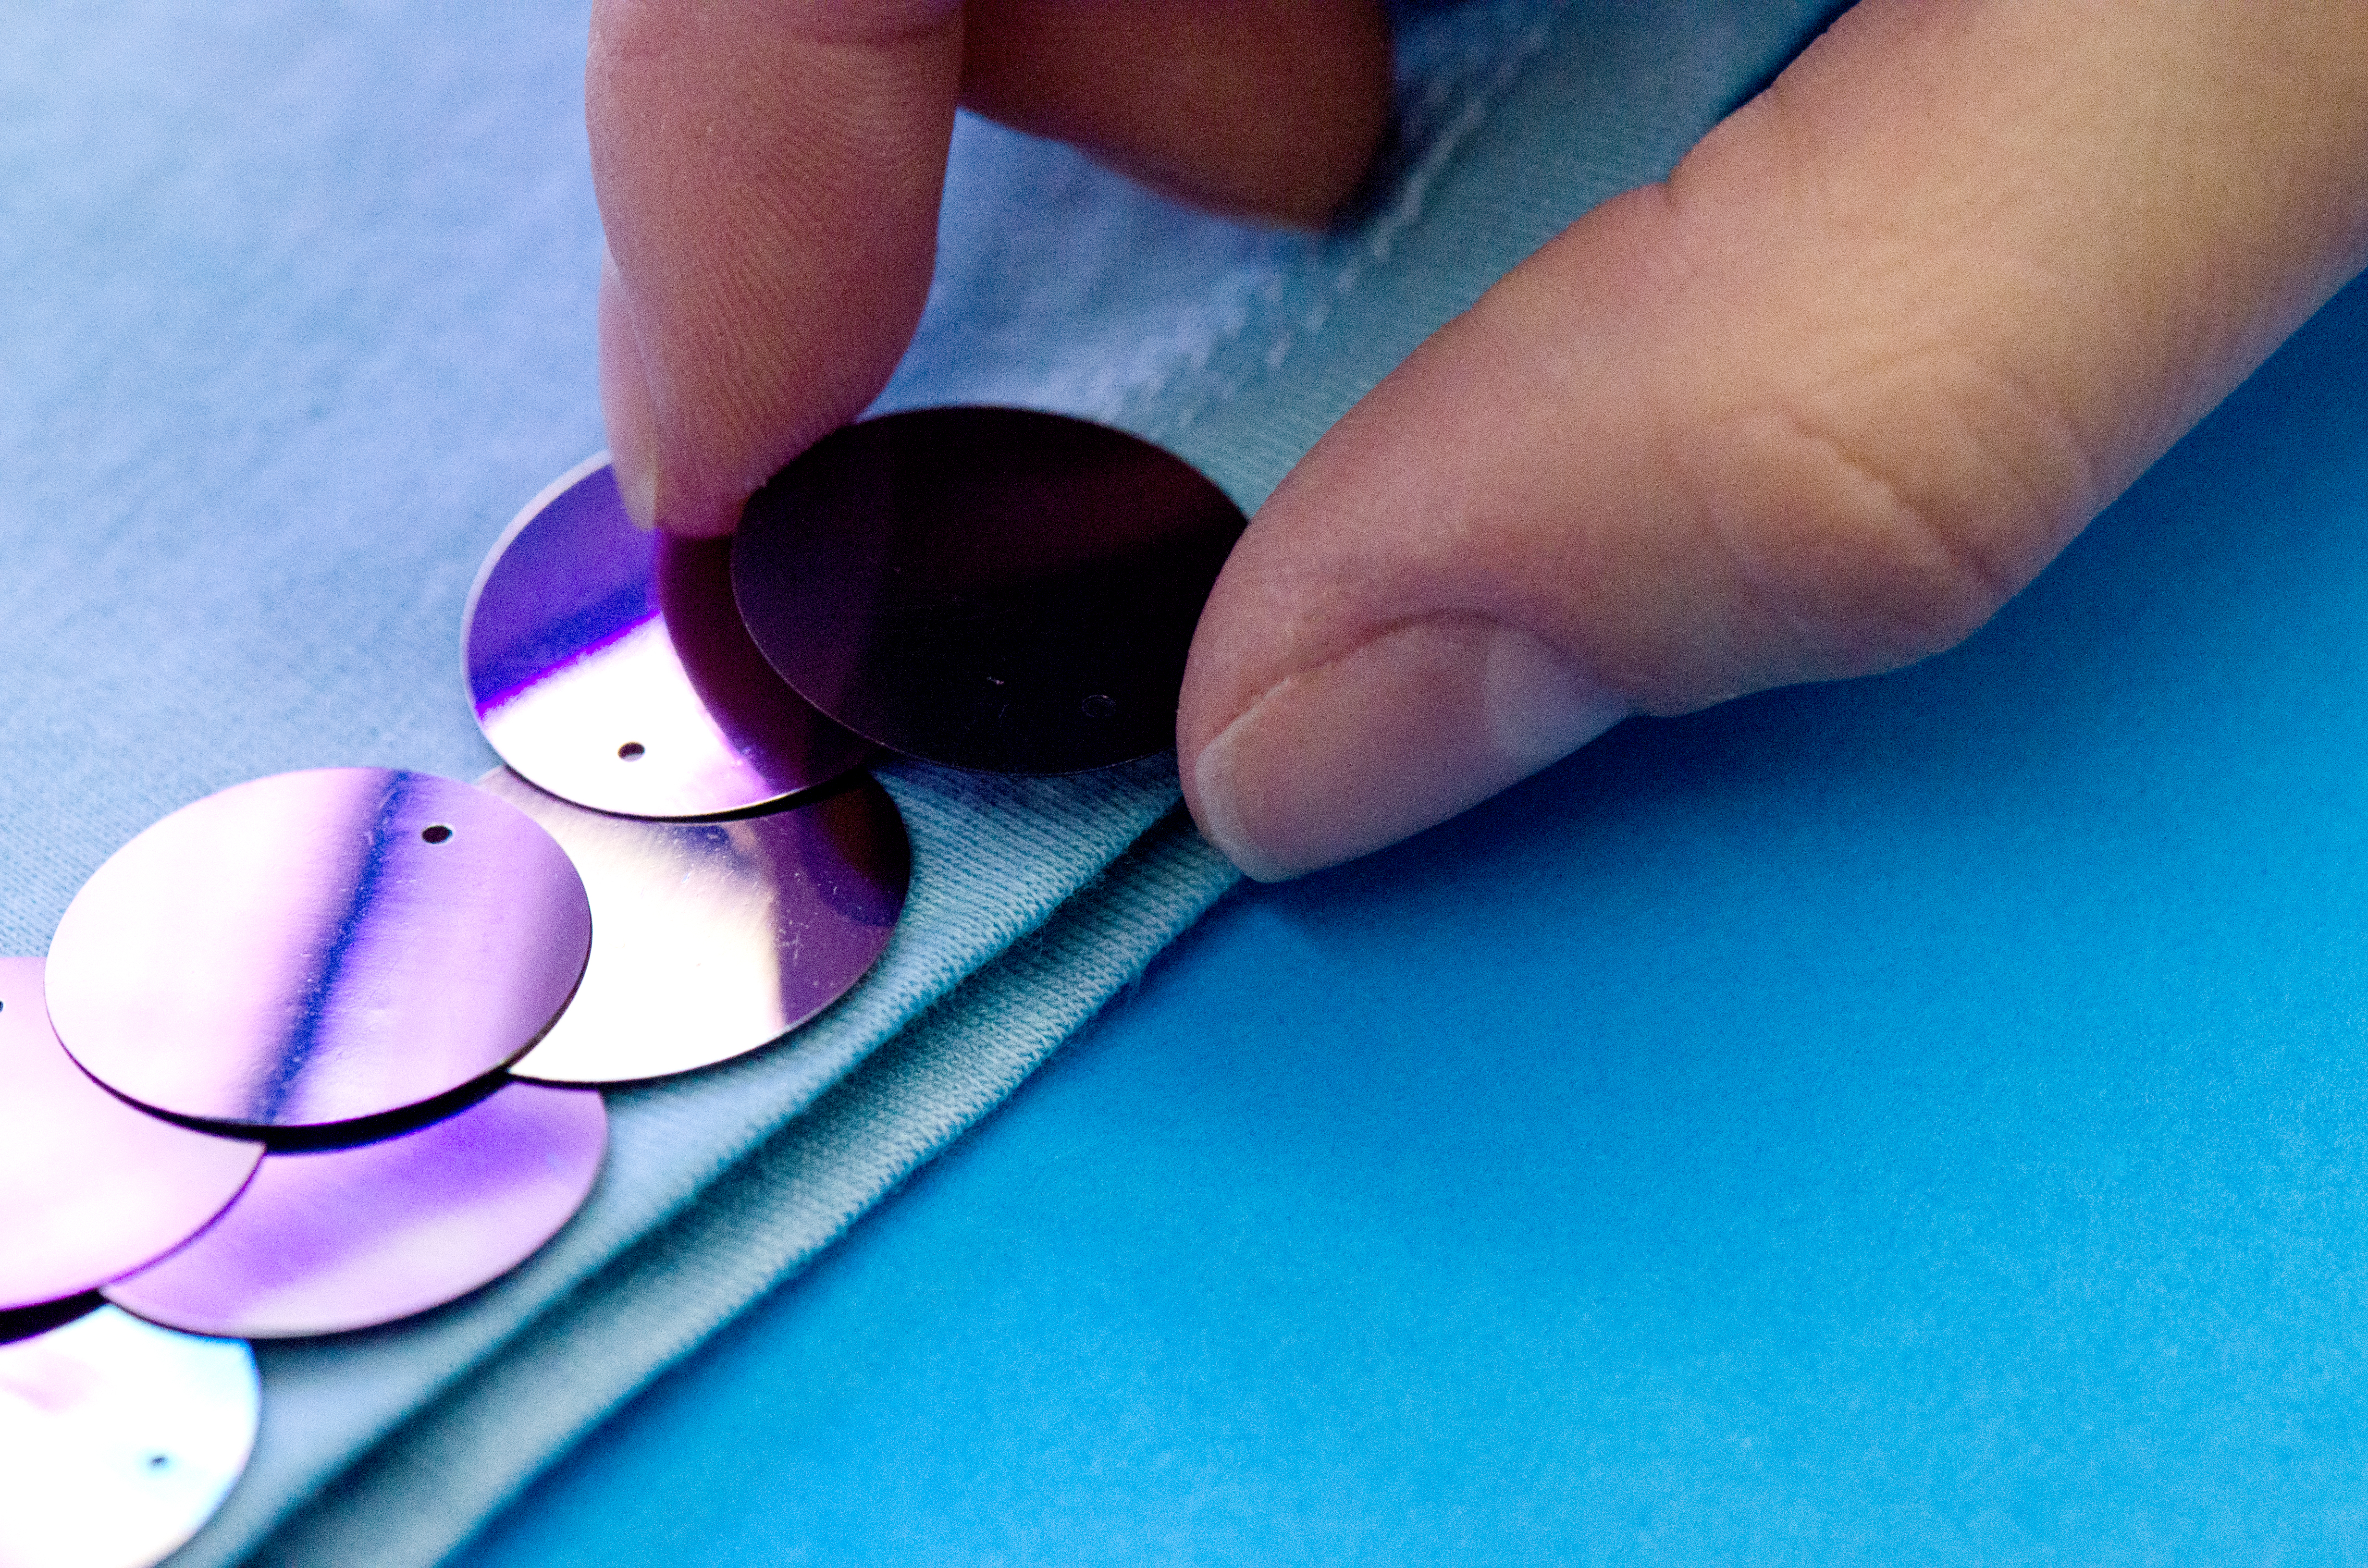
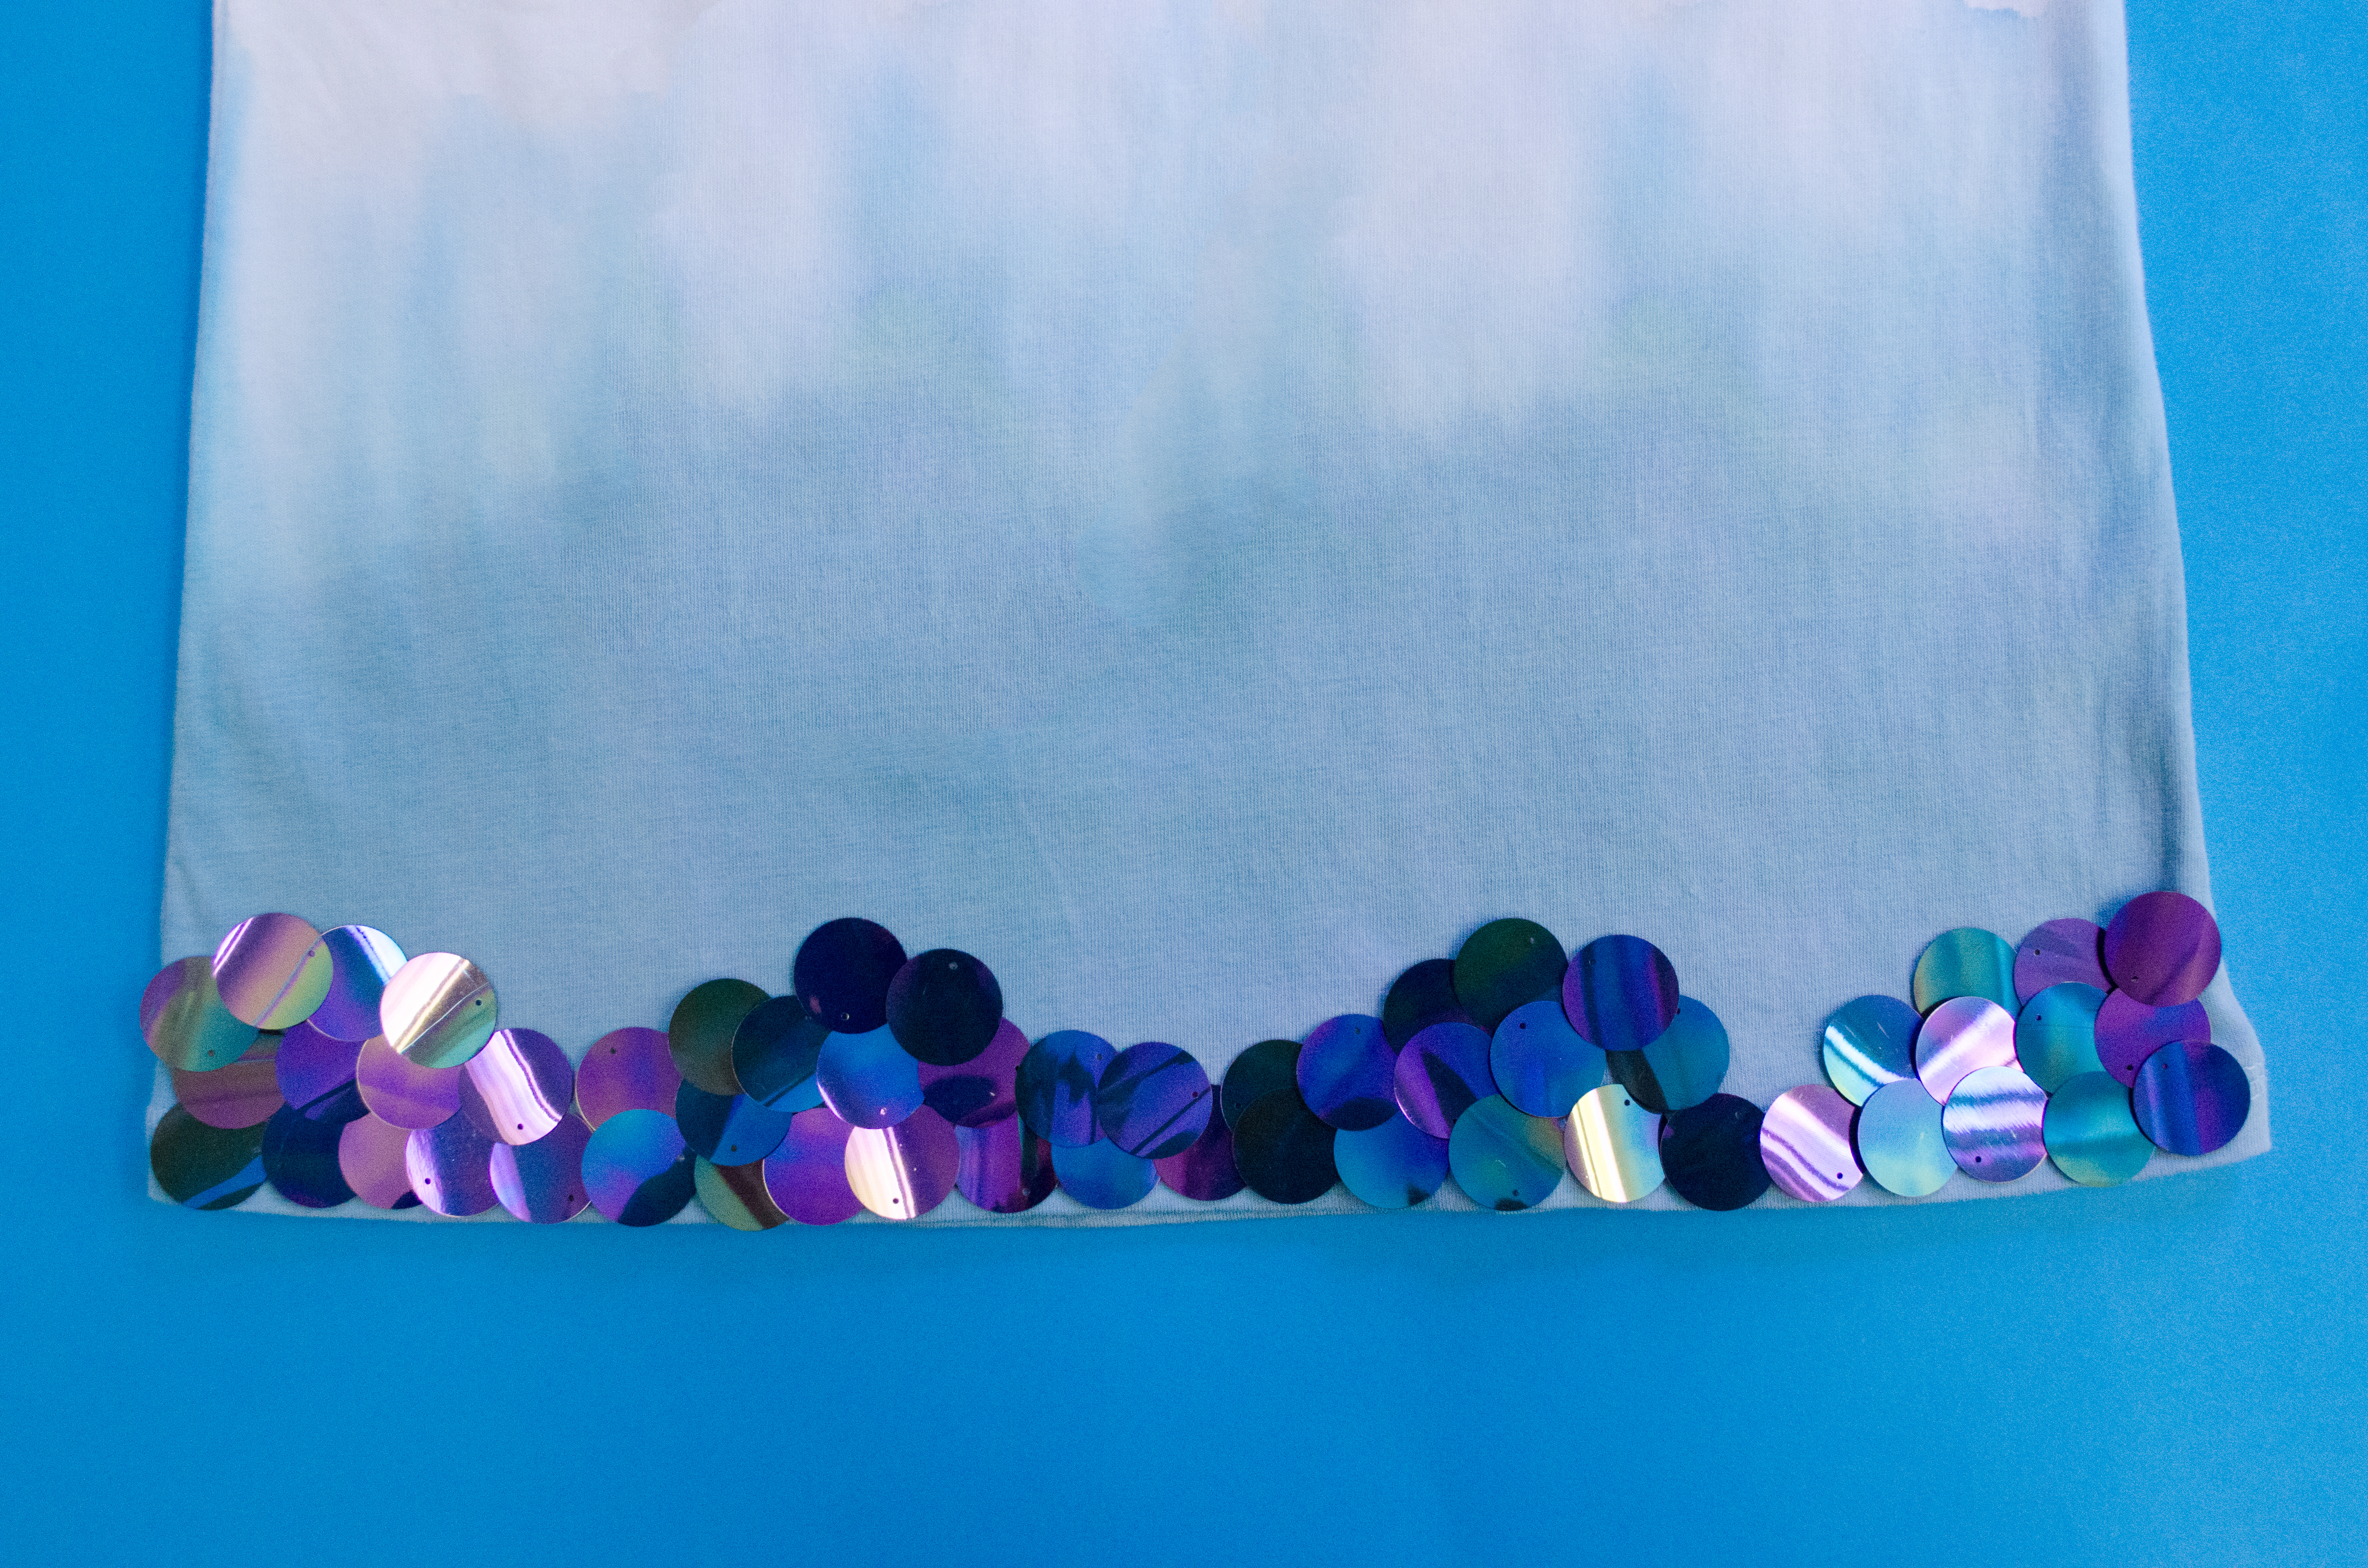
5. When your tank is dry, create a design on the bottom of the colored tank using paillettes.
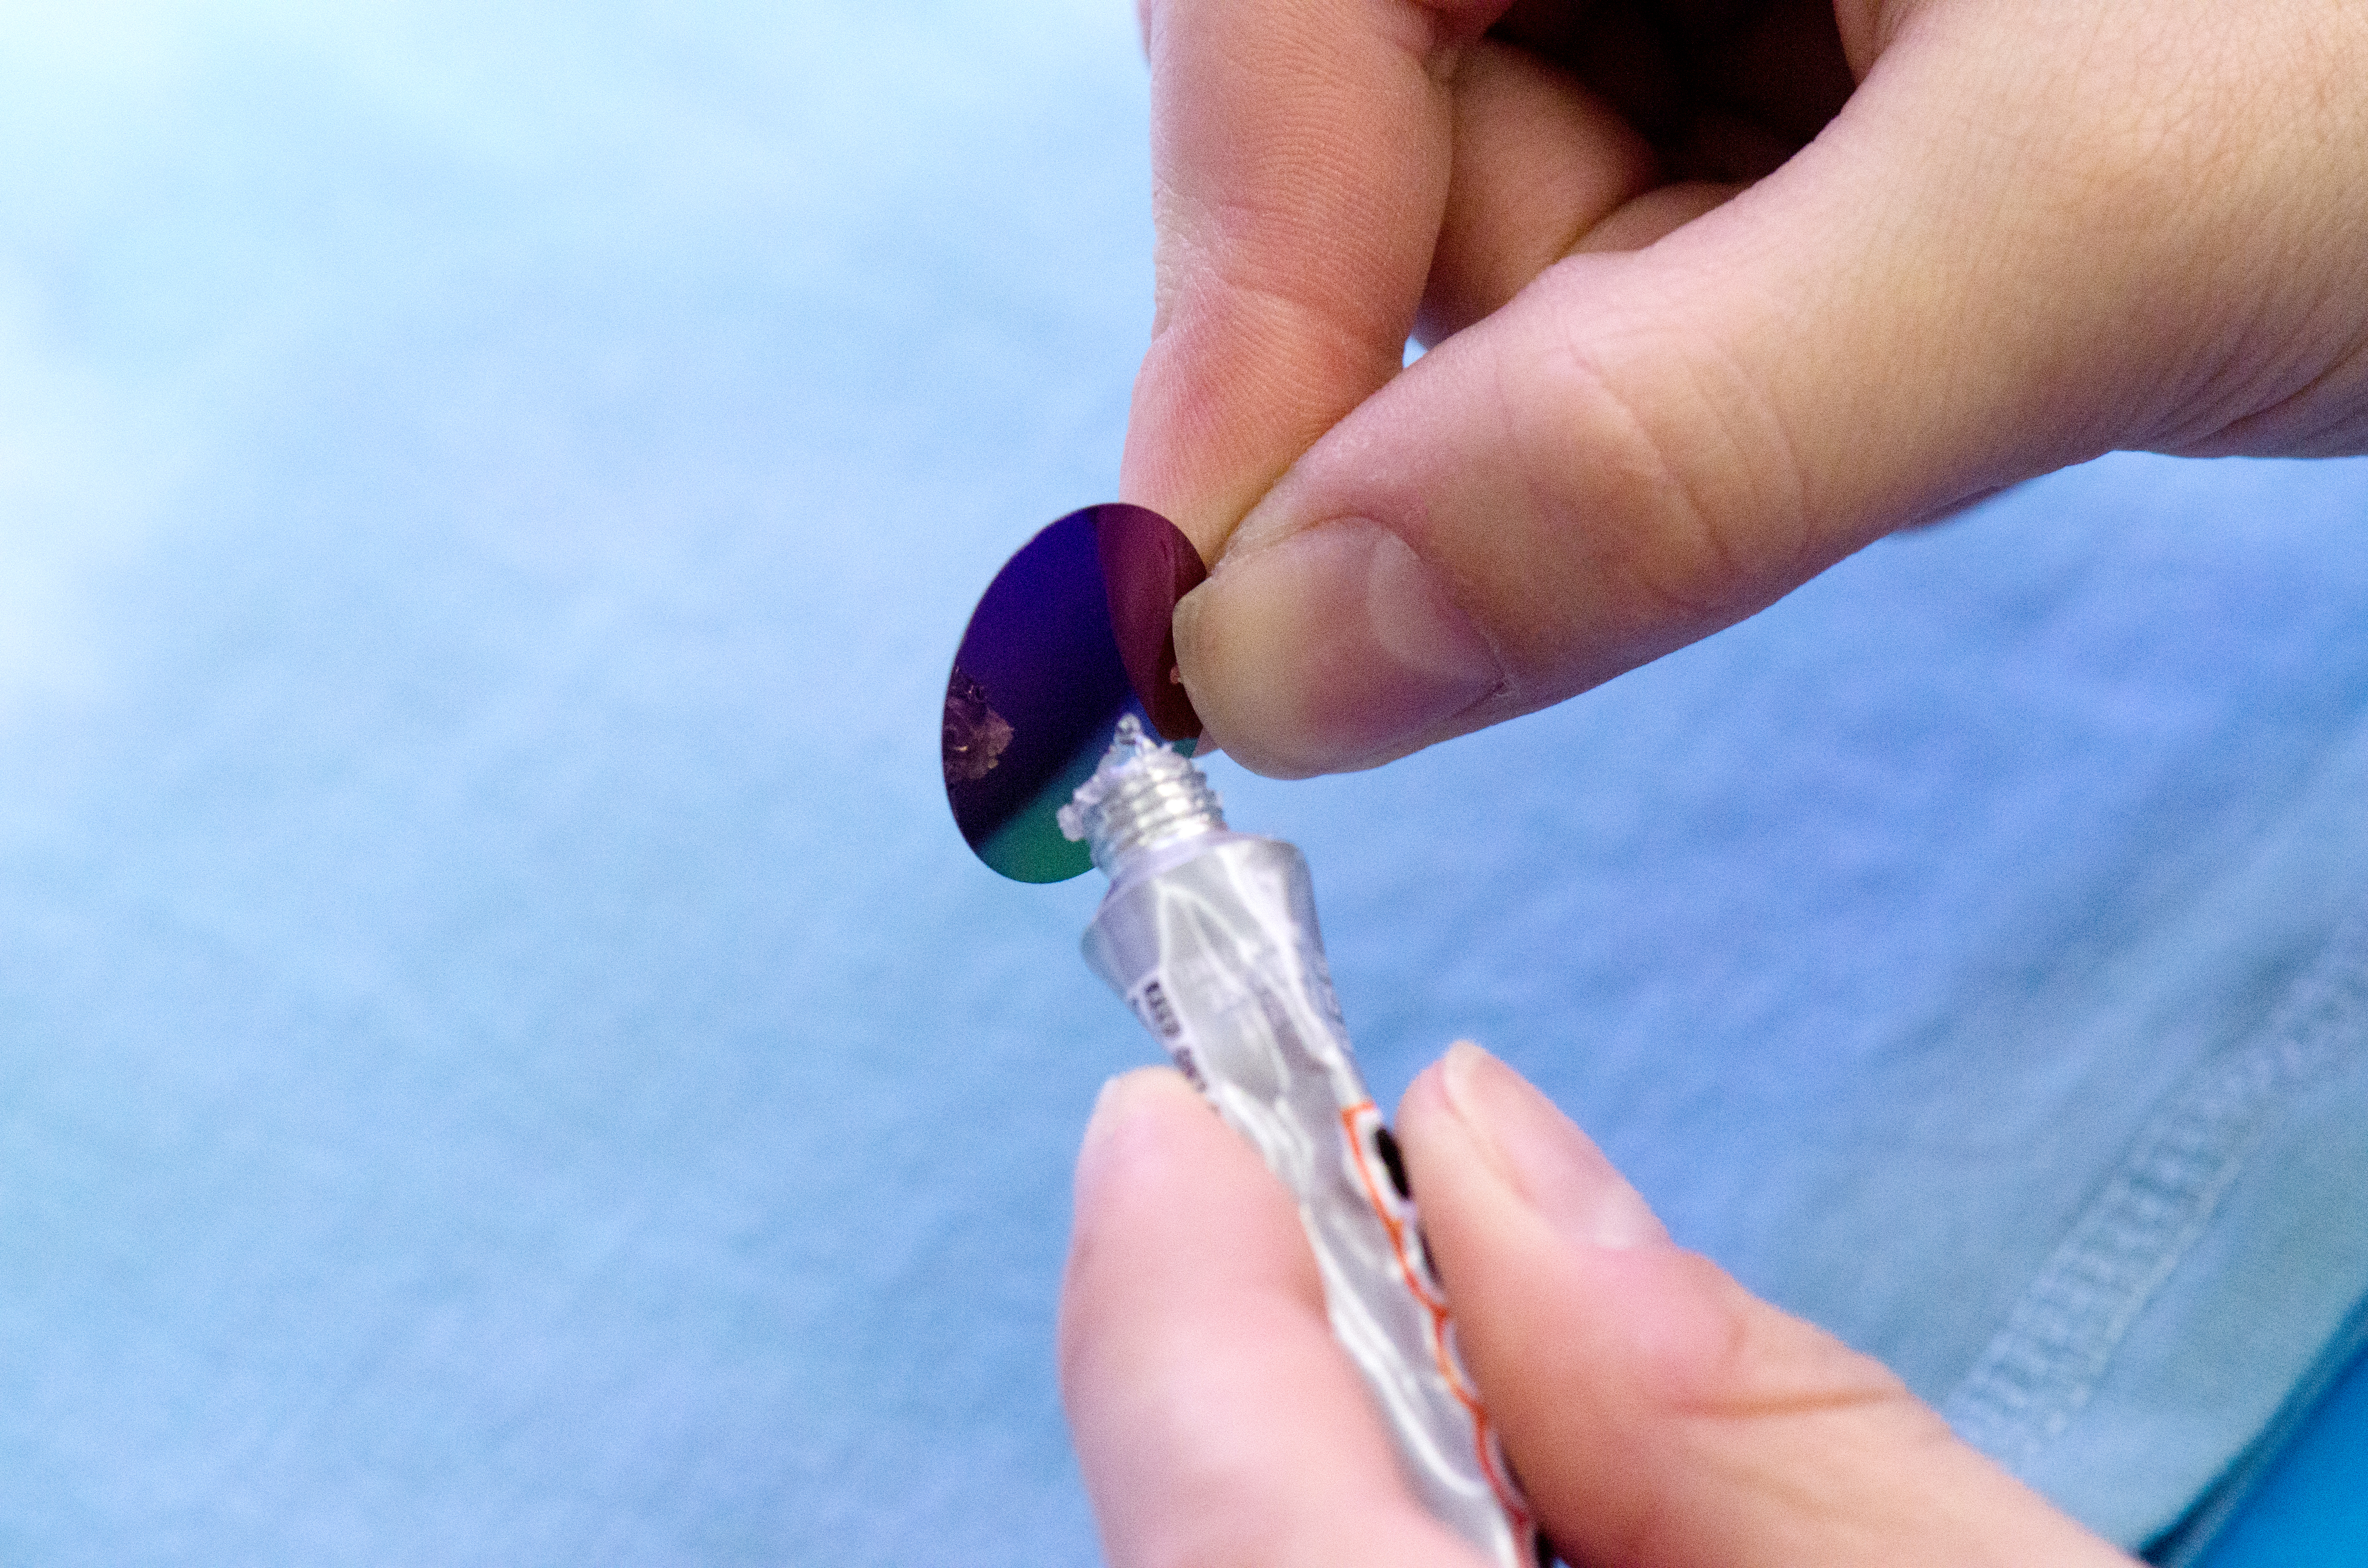
6. Glue your paillettes down in your desired pattern. We chose to border the bottom of the tank to represent fish scales, but you can choose whatever design you’d like!
And there you have it, an Under the Sea tank top. We know Ariel would trade all of her thingambobs for this shiny tank! Do you want to replace the paillettes with pearls or rhinestones? Take a look at our Under the Sea page for some extra inspiration!

This is super cute and I love the no sewing 😉
E-6000 is so versatile. You can glue just about anything together with it!
I love this! I cant wait to try it!!
http://halliescloset.wordpress.com
I would like to share this with my daughter. she is up at school in boston. how do i share this. thank you, jeanette my e-mail is [email protected]