By Roseann
In the wake of the slow economy many people have turned to do it yourself fashion projects. As a result I have seen some of the most innovative and creative pieces in decades. The best of these hand made accessories display bold mixes of materials and colors. And hey, if you’re going to use the remnants of previous projects you can throw out, “The less is more attitude”. So, go a head and dive into your scrap box and mix it up.
Materials:
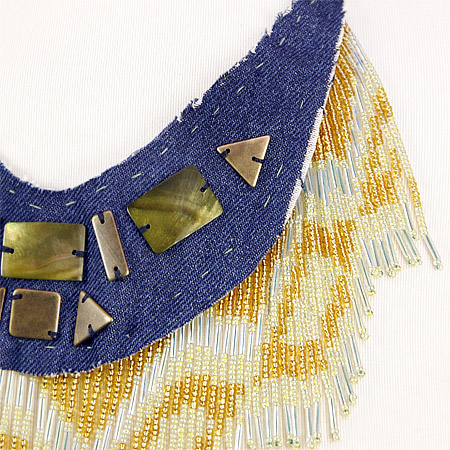
- 3 shell sew on jewels Style # 39433-Lime
- 4 triangle sew on jewels Style #39983-Antique Brass (1-800-9-MJTRIM)
- 2 rectangular sew on jewels Style #39982 (1-800-9-MJTRIM)
- 1 square sew on jewel Style #39983 (1-800-9-MJTRIM)
- ½ yd gold chain Style #39535 (1-800-9-MJTRIM)
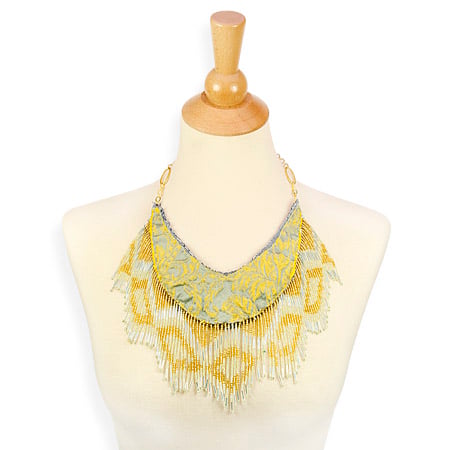
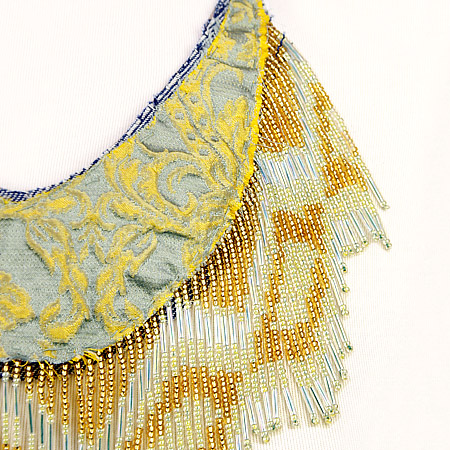
- Glass bead fringe Style #17796 (1-800-9-MJTRIM) M&J has a wide variety of glass beaded fringe available on line
- 1 6” square of two complimentary fabrics
- Needle and thread
- 1 jewelry clasp
- Fabric pen
- French curve and ruler
Instructions:
- On the back side of 1 6” fabric square mark the middle at one edge. Measure up 2 ¼” and mark. At top right corner mark ¼” in from the side. From your 2 ¼” mark draw curved line to ¼” mark in right corner. Do the same from the bottom mark to right corner. Fold square and cut on lines so that you have an even crescent shape. Repeat steps with the other fabric square.
- Find the outer measurement of your crescent. Subtract 2” and cut fringe to this length.
- Pin fringe to bottom curve and baste.
- Embellish face of the other fabric crescent. I chose flat sew on jewels so that the piece can be reversible. If you like you can embellish with larger sew on jewels and beads and where your piece from 1 side only.
- Pin fabric crescents back to back and stitch around.
- Finding the placement of you piece is up to you. I left my chain a little longer so that it can be adjusted depending on my outfit.
- Stitch chain to the corner of you crescent
- Add jewelry clasp.
- Wear, enjoy!


Are you going to be selling any of these cuz these r super Pretty and it would go great with a outfit I’m tryin to put 2gether. If u already do or you are thinking bout it pleazzzzz email me
-arianna